Cette version peut contenir des modifications incorrectes. Passez au dernier aperçu vérifié.
Ce dont vous avez besoin
-
Cette étape n’est pas traduite. Aidez à la traduire
-
If possible, drain the battery before disassembly. When the battery is charged, there's increased risk of a dangerous thermal event if the battery is overheated or damaged during repairs.
-
If your display is cracked, completely cover it with packing tape to contain the glass shards and avoid injury.
-
Prepare an iOpener and heat the front of the phone along its right edge for about two minutes, or until it's slightly too hot to touch. This will help soften the adhesive securing the display.
-
-
Cette étape n’est pas traduite. Aidez à la traduire
-
In the following steps, you will separate the display assembly from the Moto Z3's chassis.
-
If you plan to re-use the display assembly, pay particular attention to the side edges. When slicing through the glue in this area, you must be careful to insert your tool less than 2 mm, or your tool will come in contact with the LCD and damage it.
-
Take special care when cutting near the display cable. If you pry too deep or too forcefully, it is very easy to damage the cable. If you encounter extra resistance around this area, do not try to force the pick forward. Pull it out and reinsert it on the other side of the display cable before you continue cutting.
-
-
Cette étape n’est pas traduite. Aidez à la traduire
-
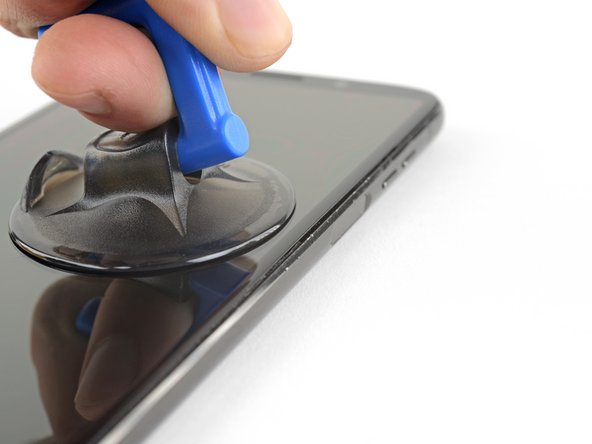
Apply a suction cup to the display, near the middle of the right edge.
-
Pull up on the suction cup with firm, constant pressure to create a slight gap between the display and rear case.
-
This may require a significant amount of force, but you only need to open a very slight gap with the suction cup to insert your tool.
-
If you have trouble, apply more heat to further soften the adhesive, and try again. The adhesive cools quickly, so you may need to heat it repeatedly.
-
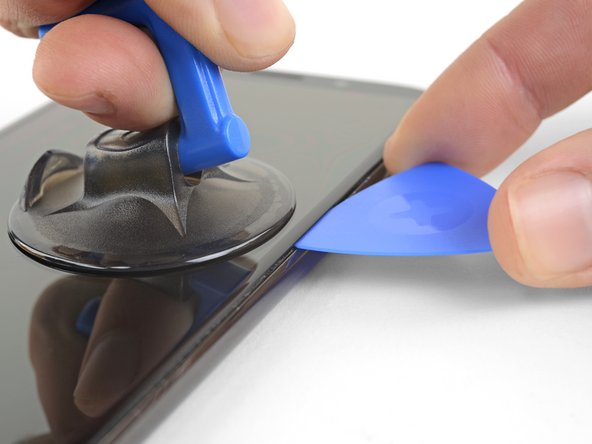
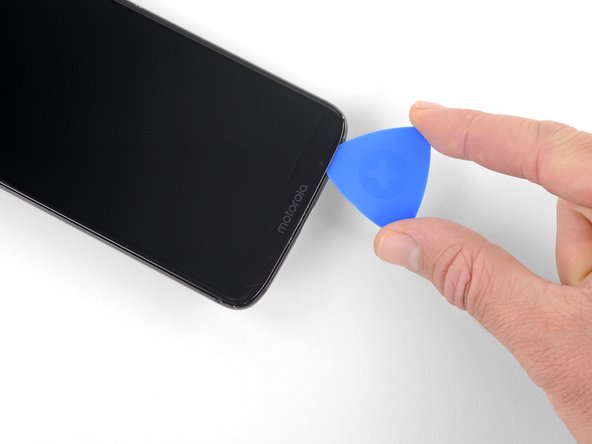
Insert an opening pick (or playing card) into the gap you opened behind the display.
-
-
Cette étape n’est pas traduite. Aidez à la traduire
-
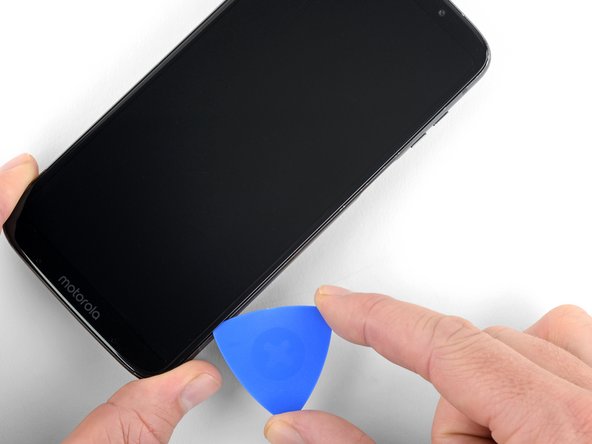
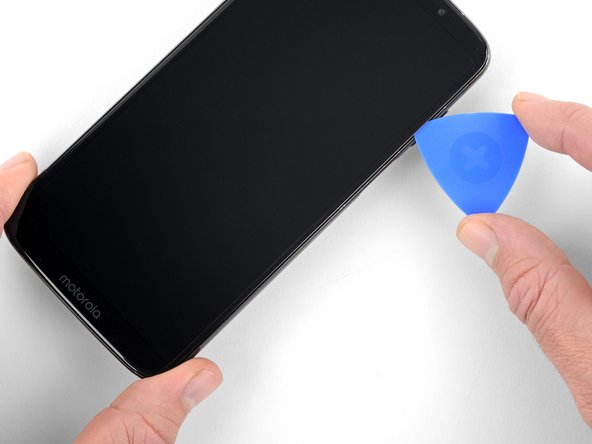
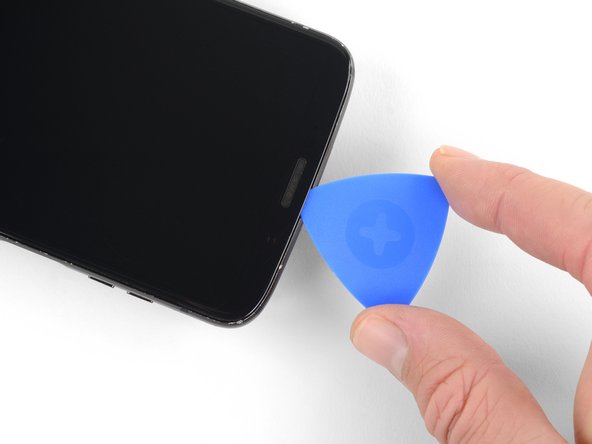
Slide the tool all along the right edge of the phone to slice through the adhesive securing the display.
-
-
Cette étape n’est pas traduite. Aidez à la traduire
-
Heat the upper edge of the display to soften the adhesive underneath.
-
-
-
Cette étape n’est pas traduite. Aidez à la traduire
-
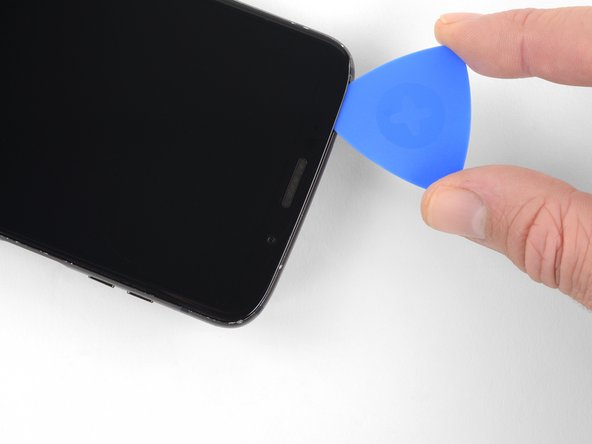
Slide your tool underneath the top bezel to separate the glue.
-
-
Cette étape n’est pas traduite. Aidez à la traduire
-
Heat the left edge of the phone to soften the adhesive securing the left edge of the display.
-
-
Cette étape n’est pas traduite. Aidez à la traduire
-
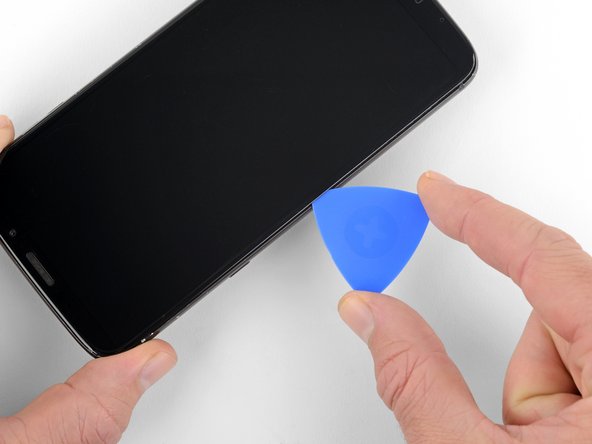
Slide your tool along the left edge of the phone to separate the glue securing the display.
-
-
Cette étape n’est pas traduite. Aidez à la traduire
-
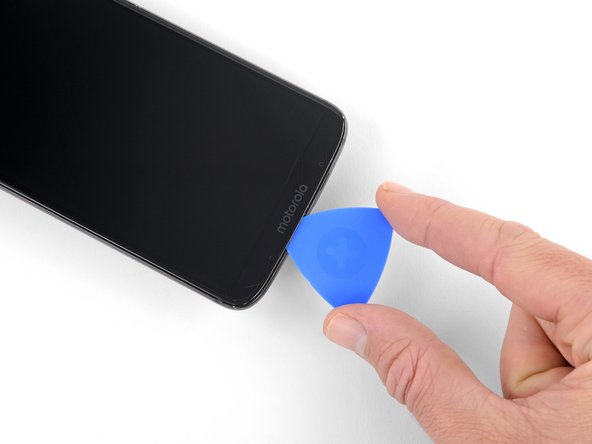
Heat the bottom edge of the phone to soften the adhesive securing the bottom of the display.
-
-
Cette étape n’est pas traduite. Aidez à la traduire
-
If the display remains stuck, re-heat and slice the adhesive repeatedly as needed.
-
Lift the display from the right edge and swing it open, away from the phone. The display is still attached to the phone chassis at the lower left edge, so do not fully remove it yet.
-
-
Cette étape n’est pas traduite. Aidez à la traduire
-
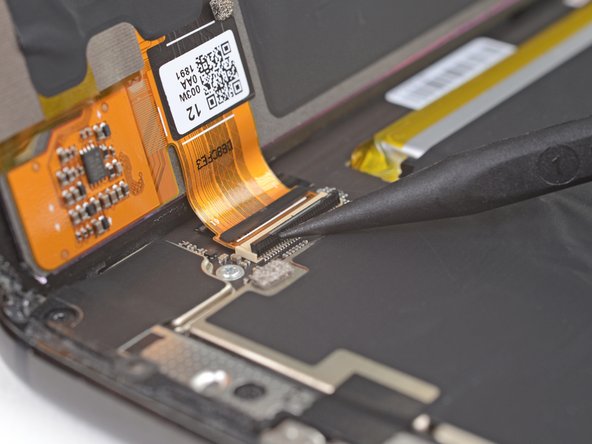
While holding the display open, use tweezers to remove the tape over the display cable connector.
-
Use the point of a spudger to pry up the locking tab on the display cable's ZIF connector.
-
-
Cette étape n’est pas traduite. Aidez à la traduire
-
Gently lift the display, making sure the display cable slides smoothly out of its socket.
-
Remove the display assembly.
-


Annulation : je n'ai pas terminé ce tutoriel.
25 autres ont terminé cette réparation.

6 commentaires
Repair was easier than I thought. Didn’t need to reuse screen so I just heated up one side and went to town slicing all the way around. Took me 5 mins tops.