Il est possible que cette traduction ne reflète pas les dernières mises à jour du tutoriel source. Aidez à mettre à jour la traduction ou bien consultez le tutoriel source.
Introduction
Consultez ce tutoriel pour remplacer la batterie de votre Nexus 7.
Ce dont vous avez besoin
-
-
Éteignez votre appareil.
-
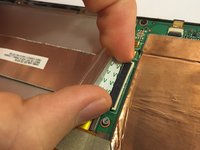
Insérez un outil d'ouverture en plastique dans la jointure sur la tranche de la tablette et parcourez-la en faisant levier de chaque côté, l'un après l'autre.
-
-
-
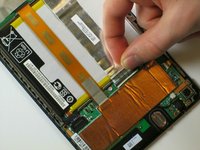
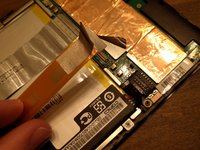
Insérez votre outil d'ouverture en plastique sous le côté du connecteur de la batterie et faites délicatement levier pour le débrancher.
-
-
-
-
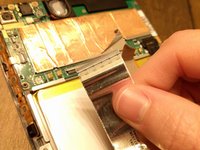
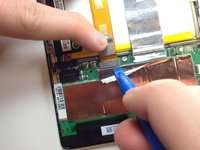
Prenez l'extrémité plate d'une spatule ou votre ongle pour retourner le clapet de protection transparent de la prise ZIF de la nappe.
-
Toujours avec l'extrémité plate d'une spatule ou votre ongle, soulevez la partie étroite du connecteur (du côté opposé de la nappe) pour détacher la nappe de sa prise.
-
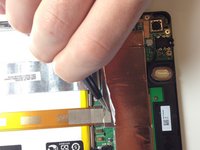
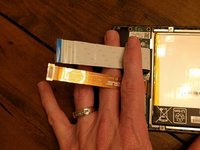
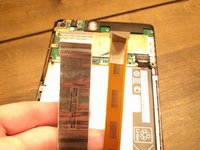
Faites glisser la nappe hors de la prise ZIF.
-
Pour remonter votre appareil, suivez ces instructions en sens inverse.
Pour remonter votre appareil, suivez ces instructions en sens inverse.
Annulation : je n'ai pas terminé ce tutoriel.
73 autres ont terminé cette réparation.
Merci à ces traducteurs :
81%
Claire Miesch nous aide à réparer le monde ! Vous voulez contribuer ?
Commencez à traduire ›
20 commentaires
Don't be a goof like me and spend seven minutes trying to pry in the gap between the screen glass and the plastic. I thought that the plastic cover wrapped around the whole of the side and met the unit just under the glass. Nope...find the seam near the halfway point of the case side, between plastic and plastic. (The first photo here is not sufficiently clear to make this obvious.)
1 If you look closely, you'll see that at the edge of the glossy, black screen there is a glossy, black, 1mm hard plastic band going all the way around the screen. This provides the beveling on the edge of the screen. Around that is the dull, black plastic case. Insert your spunger or fingernail between these two plastic bands. It is easiest to do near the middle both of the long sides. Gently slide up toward the corners popping each little snap. When you get near the corner, keep one fingernail/spunger in the gap you've created on the side, near the corner, then use another nail/spunger to go around the corner. Be careful here. This is the easiest place to damage.
Once the corners have popped, the end/short top edge is easy. The bottom edge is different since the micro-USB port is also there. I did not pry it open but lifted the other three sides and just slid the screen out from that end. I inserted the USB end first also when reassembling, snapping the other edges then corners in afterward.
2 I did crack that hard plastic band in two spots on the top left corner of my Nexus 7 (opposite the camera). On spot a tiny piece broke out, but the band is still continuous at the glass edge. Around the corner, the band actually appears to have broken in two. If I rub my finger there, I can begin to peel it up. I hope my case will keep it protected.
I had trouble with the stupid ribbon cable zif socket. Everything went well until the very end when I was reassembling and I had to stick that sucker in. It was really difficult, and the plastic tab came off. Then the end I pulled out at the beginning wasn't going back in. After trying to glue the plastic pulling-flap back on (hint: don't do that) I gave up, but then I had an idea. I pulled out the entire ribbon from both ends and just flipped them. Put in the troubled end in the bottom socket (it was easier than wrestling with it), and the better end in near the top of the tablet next to that orange ribbon, and it worked! I'm so relieved...! Now my tablet is back to working condition!


