Cette version peut contenir des modifications incorrectes. Passez au dernier aperçu vérifié.
Ce dont vous avez besoin
-
-
Insérez un outil ou embout éjecteur de carte SIM ou bien un trombone déplié dans le petit trou situé sous le tiroir de la carte SIM, près des caméras arrière, le long du bord du téléphone.
-
Appuyez fermement pour éjecter le tiroir.
-
-
-
Retirez les deux vis T2 de 2,6 mm de part et d'autre du port USB-C, sur le bord inférieur du téléphone.
-
-
-
Jointure de l’écran : celle-ci fait partie de l’écran. Ne faites pas levier ici ou vous allez dissocier et endommager l’écran.
-
Jointure du châssis : c’est là où le châssis en plastique touche la coque arrière. Il est encastré dans la coque arrière. Faites levier uniquement ici.
-
Il y a douze clips qui maintiennent le châssis contre la coque arrière. Soyez attentif à leur emplacement lorsque vous ferez levier pour retirer la coque arrière au cours des étapes suivantes.
-
-
-
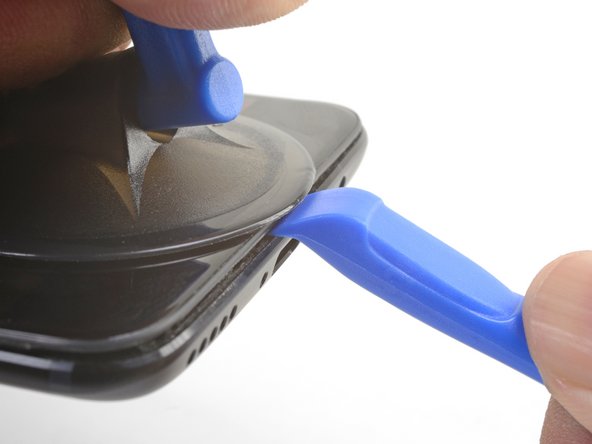
Placez une ventouse près du bord inférieur de l’écran.
-
Tirez fermement sur la ventouse avec une force constante.
-
Insérez l’arête d’un outil pour ouvrir directement dans la jointure du châssis, près de la ventouse, jusqu’à ce qu’il se glisse entre le châssis en plastique et la coque arrière.
-
-
-
Une fois que les bords inférieur et gauche du téléphone sont détachés, remuez légèrement le châssis pour détacher les clips supérieurs et droits.
-
Alignez l’arête supérieure du châssis avec la coque arrière et assurez-vous que les clips supérieurs sont en place.
-
Appuyez sur le long des long bords du téléphone pour attacher les clips restants.
-
-
-
-
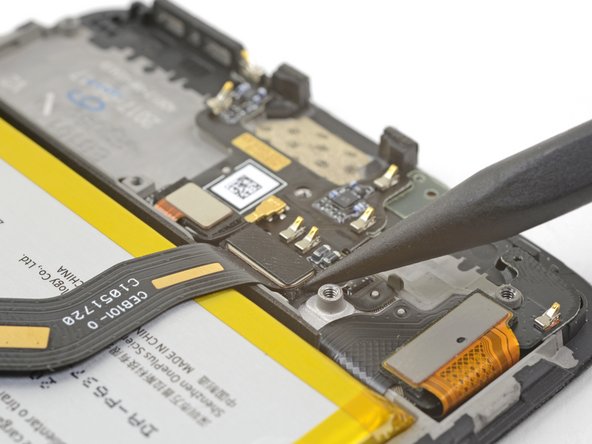
Utilisez la pointe d’une spatule pour faire levier et débrancher le connecteur de la batterie de sa prise.
-
-
-
Retirez les six vis cruciformes de 2,6 mm qui maintiennent le haut-parleur au châssis.
-
-
-
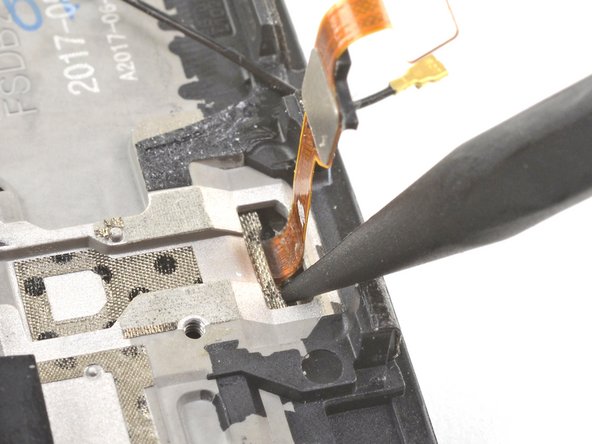
Utilisez la pointe d’une spatule pour faire levier et débrancher la nappe d’interconnexion de sa prise.
-
-
Cette étape n’est pas traduite. Aidez à la traduire
-
Use the point of a spudger the pry up and disconnect the fingerprint scanner connector from its socket on the daughterboard.
-
-
Cette étape n’est pas traduite. Aidez à la traduire
-
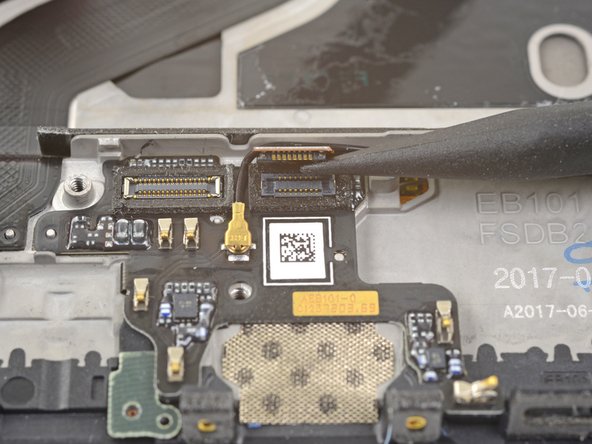
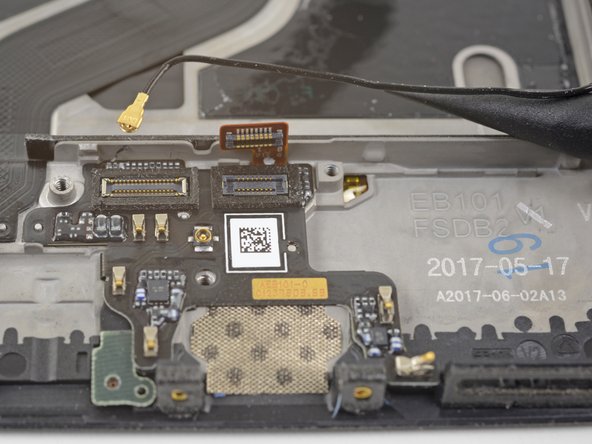
Slip the point of a spudger underneath the antenna interconnect cable and pry up to disconnect it from its socket on the daughterboard.
-
De-route the antenna interconnect cable out of the way of the daughterboard.
-
-
Cette étape n’est pas traduite. Aidez à la traduire
-
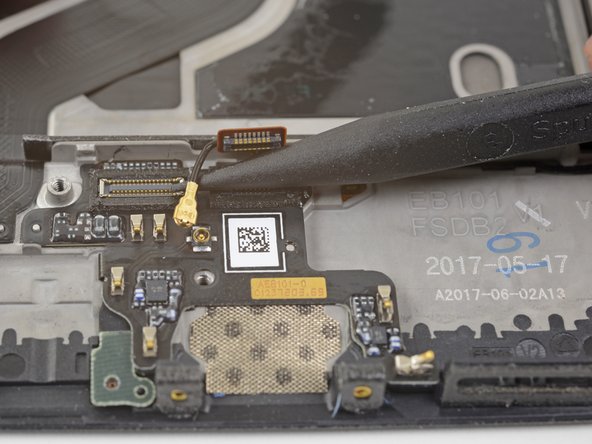
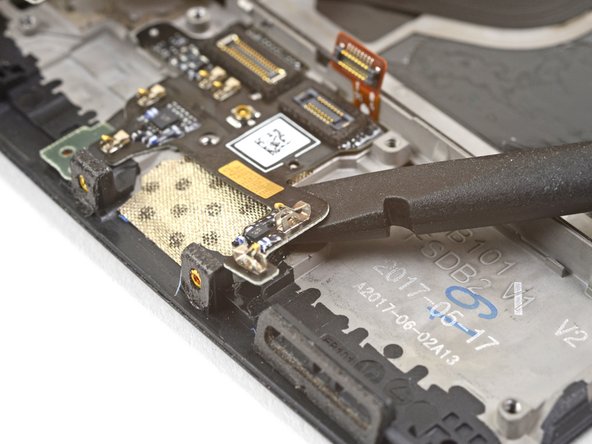
Insert the edge of a flat end of the spudger underneath the microphone board and twist slightly to release the board's adhesive.
-
-
Cette étape n’est pas traduite. Aidez à la traduire
-
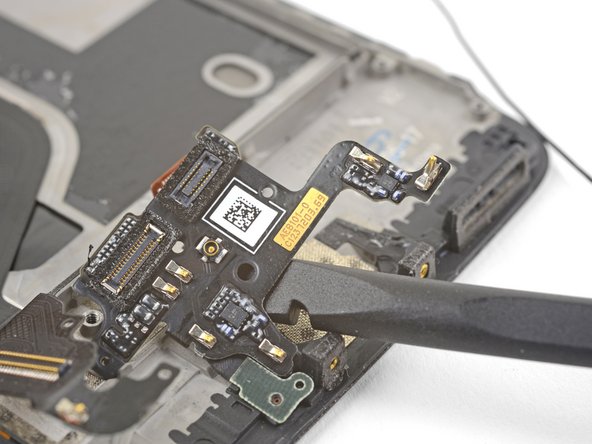
Slide the flat end of a spudger or the point of an opening pick underneath the daughterboard near its right edge.
-
Gently pry to loosen the daughterboard from its recess.
-
-
Cette étape n’est pas traduite. Aidez à la traduire
-
Insert the flat end of a spudger underneath the daughterboard, this time approaching it from the bottom.
-
Twist and slide the spudger slightly to release the daughterboard from its recess.
-
-
Cette étape n’est pas traduite. Aidez à la traduire
-
Slide the flat end of a spudger underneath the tape covering the fingerprint scanner.
-
Lift up to pry and remove the tape.
-
-
Cette étape n’est pas traduite. Aidez à la traduire
-
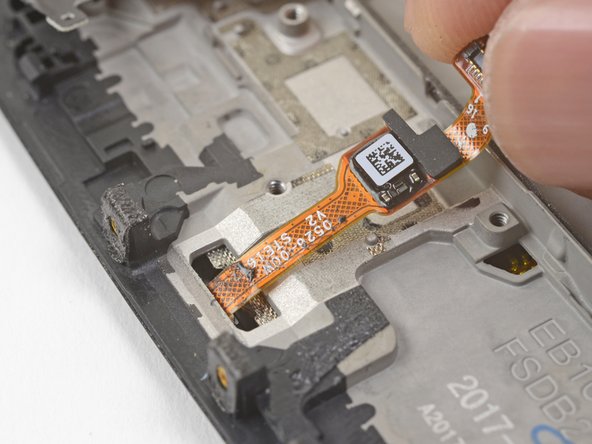
Use your finger to gently lift up the connector end of the fingerprint scanner. Pull upwards slowly. Do not pull directly away from the fingerprint scanner.
-
Keep pulling upwards until the fingerprint scanner cable is freed from its recess.
-
-
Cette étape n’est pas traduite. Aidez à la traduire
-
Insert the point of a spudger into the marked areas on either side of the flex cable, and push until the fingerprint scanner is loosened from its recess.
-
-
Cette étape n’est pas traduite. Aidez à la traduire
-
Once the fingerprint scanner is loosened from its recess, carefully thread its flex cable through the cutout, out of the front of the display.
-
Remove the fingerprint scanner.
-


Annulation : je n'ai pas terminé ce tutoriel.
Une autre personne a terminé cette réparation.


8 commentaires
Is there an extra step involved so that the button stays countersunk in the new display? Mine seems to be slightly proud of the screen
Hi John,
If you may need to apply some new adhesive to the underside of the fingerprint sensor to hold it in place.
Hi,
I change the fingerprint but only works if don’t close the back cover, when I close the back cover the OS don’t detect the fingerprint sensor. Any idea?
Hey César,
It may be that something is shorting the fingerprint sensor. Did you replace the tape in step 24 with electrical tape?
Great news, finally I found the problem, the connector from daughter board to motherboard was disconnected but a lot of pins maked contact and the micro, and other electronics works but not the fingerprint sensor. I dissasembled the motherboard and pushed the connector from the flex cable to the socket, now all is working ok. Thanks for the response Arthur!