Aller au contenu principal
Pour réparer ensemble - Je crée un compte

Panasonic SA-HT810V VHS Drive Replacement

Ce dont vous avez besoin

    1. Panasonic SA-HT810V VHS Drive Replacement, VHS Drive: étape 1, image 1 de 3 Panasonic SA-HT810V VHS Drive Replacement, VHS Drive: étape 1, image 2 de 3 Panasonic SA-HT810V VHS Drive Replacement, VHS Drive: étape 1, image 3 de 3
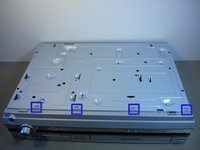
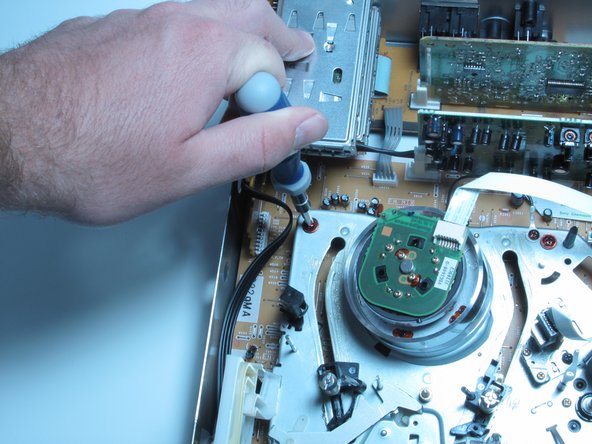
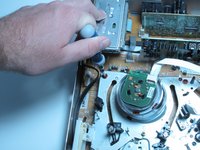
      • With the front display of the device facing you, rotate the device 90 degrees counter clockwise.

      • Now rotate the device 180 degrees and remove the second screw.

      • Remove the screw that is on the right side of the panel facing you.

      • All screws will need to be removed with a phillips head screwdriver.

      Demander à FixBot

      Ajouter un commentaire

    2. Panasonic SA-HT810V VHS Drive Replacement: étape 2, image 1 de 2 Panasonic SA-HT810V VHS Drive Replacement: étape 2, image 2 de 2
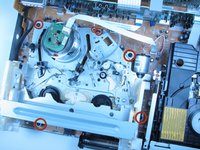
      • Rotate the device so that the back faces you.

      • With a phillips heat screwdriver, locate and remove the four screws highlighted by the red circles in image one.

      Demander à FixBot

      Ajouter un commentaire

    3. Panasonic SA-HT810V VHS Drive Replacement: étape 3, image 1 de 1
      • Before removing cover make sure that the back of the device is facing you.

      • Remove the top cover by bending out on the sides, and pulling the cover towards you while applying upward pressure.

      Demander à FixBot

      Ajouter un commentaire

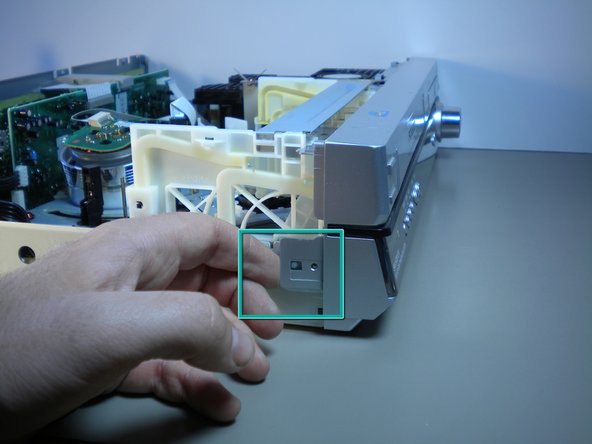
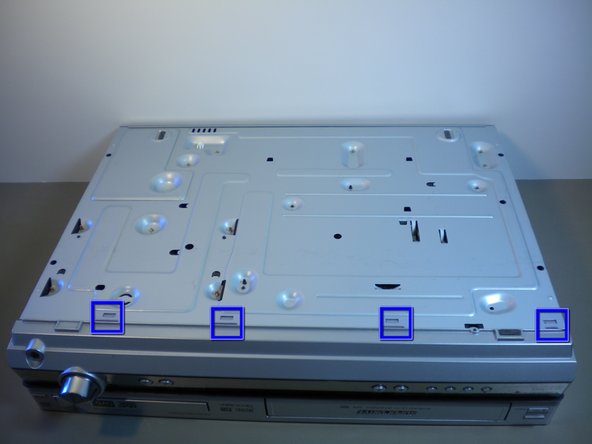
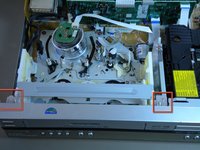
    4. Panasonic SA-HT810V VHS Drive Replacement: étape 4, image 1 de 3 Panasonic SA-HT810V VHS Drive Replacement: étape 4, image 2 de 3 Panasonic SA-HT810V VHS Drive Replacement: étape 4, image 3 de 3
      • Pull up the two tabs on top

      • Pull the the three tabs on the side there is one on the left and two and the right side of the device when it is facing you.

      • Depress the four tabs on the bottom of the device.

      Demander à FixBot

      Ajouter un commentaire

    5. Panasonic SA-HT810V VHS Drive Replacement: étape 5, image 1 de 1
      • Carefully pull off the front panel of the device.

      • The front is attached to the device with cables so be careful when removing.

      Demander à FixBot

      Ajouter un commentaire

    6. Panasonic SA-HT810V VHS Drive Replacement: étape 6, image 1 de 2 Panasonic SA-HT810V VHS Drive Replacement: étape 6, image 2 de 2
      • With the device front facing you remove the six screws with a phillips head screwdriver around the VHS drive.

      Demander à FixBot

      Ajouter un commentaire

    7. Panasonic SA-HT810V VHS Drive Replacement: étape 7, image 1 de 1
      • Remove the three cables attaching the VHS to the Mother Board.

      • Carefully pull the VHS drive out of the device and follow the steps in reverse to place the new one in.

      • Make sure the cables connecting the VHS Drive are fully inserted before powering the machine on to prevent damage to the internal components.

      Demander à FixBot

      Ajouter un commentaire

Conclusion

To reassemble your device, follow these instructions in reverse order.

Annulation : je n'ai pas terminé ce tutoriel.

Nathan Cheadle

Membre depuis le 04/15/10

161 Réputation

7 tutoriels rédigés

Équipe

Cal Poly, Team 16-5, Maness Spring 2010 Membre de l'équipe Cal Poly, Team 16-5, Maness Spring 2010

CPSU-MANESS-S10S16G5

4 membres

32 tutoriels rédigés

0 commentaires de tutoriel

Ajouter un commentaire

Nombre de vues :

Dernières 24 heures : 3

7 derniers jours : 12

30 derniers jours : 44

Total : 1,524