Introduction
Veillez à éteindre complètement votre Moto X4 avant de sortir votre iOpener pour ouvrir le téléphone.
Ce dont vous avez besoin
-
-
Prenez un iOpener ou un pistolet à air chaud pour chauffer les quatre bords de l'écran et ramollir l'adhésif qui le maintient en place. Il doit être légèrement trop chaud au toucher.
-
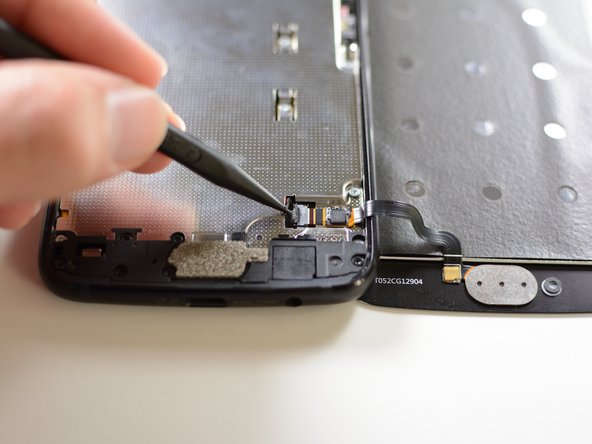
Introduisez un fin outil de levier, un médiator ou une carte de jeu par exemple, sous le bord de l'écran et faites-le glisser tout le long du périmètre de l'écran pour trancher l'adhésif.
-
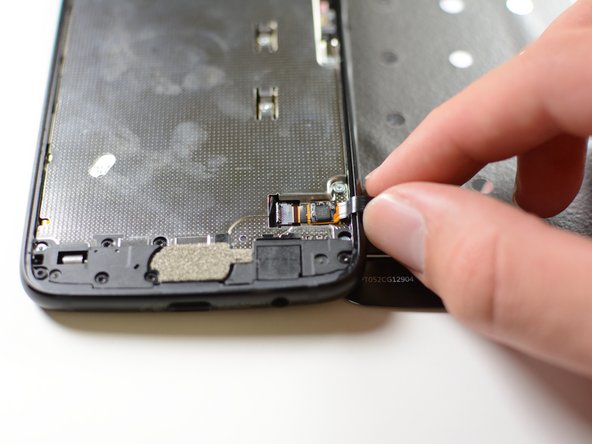
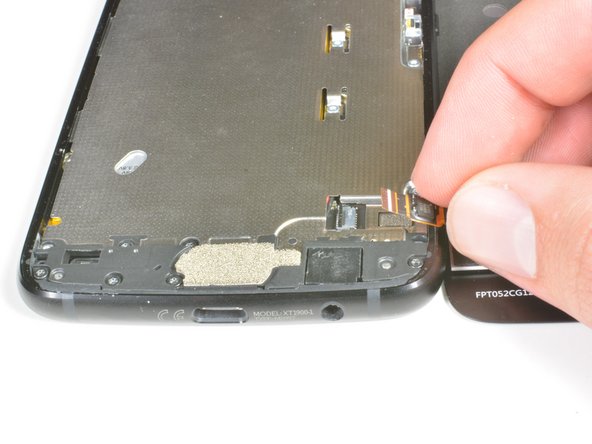
Soulevez le bord gauche de l'écran et retournez-le vers la droite. N'essayez pas encore de le détacher complètement.
-
-


Pour remonter votre appareil, suivez ces instructions en sens inverse.
Pour remonter votre appareil, suivez ces instructions en sens inverse.
Annulation : je n'ai pas terminé ce tutoriel.
23 autres ont terminé cette réparation.
Merci à ces traducteurs :
0%

Claire Miesch nous aide à réparer le monde ! Vous voulez contribuer ?
Commencez à traduire ›


8 commentaires
This guide really only covers screen removal, and should detail replacing the screen as advertised. Here are a few more steps that should be added:
1. Transferring old hardware to the new screen (seals, filters, fingerprint sensor, & the grey carbon mat.
2. Cleaning up old adhesive.
3. Applying new adhesive, whether it’s the one-piece that ifixit carries (recommended), or Tesa tape.
4. Installing the new display assembly
Is it possible to remove and replace only the glass? Can I do that without removing the whole LCD screen and avoid disconnecting/reconnecting wires?
Hi Drew,
I haven’t tried, but I think it is possible to do a glass-only repair for this LCD screen, as long as you have the necessary tools and bonding adhesives. You would still have to deal with the fingerprint sensor, which is sealed onto the glass.
I noticed the fingerprint sensor not being quite as low on the right edge after this. Also, I think it has a bit of “give” now when I press on it with a thumbnail. If the tips of my thumbs weren't so dry right now I might not have noticed, though.
Hey Chris,
Did you add adhesive to the fingerprint sensor, if you didn't add some adhesive it may have some play, as most things need to be glued in place, and you could have forgotten to add some new adhesive.