Aller au contenu principal

Toshiba Satellite U840W RAM Replacement

Ce dont vous avez besoin

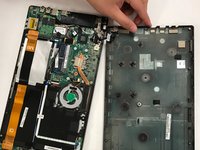
  1. Toshiba Satellite U840W RAM Replacement, Toshiba Satellite U840W Disassembly Guide: étape 1, image 1 de 2 Toshiba Satellite U840W RAM Replacement, Toshiba Satellite U840W Disassembly Guide: étape 1, image 2 de 2
    • There are ten 5mm screws surrounding the edge of the cover.

    • A rubber cap covers the eleventh 5mm screw (in the center).

    • Remove the screws using a Phillips #00 screwdriver.

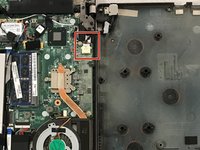
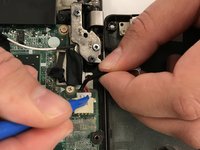
  2. Toshiba Satellite U840W RAM Replacement: étape 2, image 1 de 3 Toshiba Satellite U840W RAM Replacement: étape 2, image 2 de 3 Toshiba Satellite U840W RAM Replacement: étape 2, image 3 de 3
    • Pry between the casing and cover using a plastic wedge tool.

    • Use the wedge tool to move along the case & slowly pry it open.

    • The wire for the 12v charging port connects the cover to the casing.

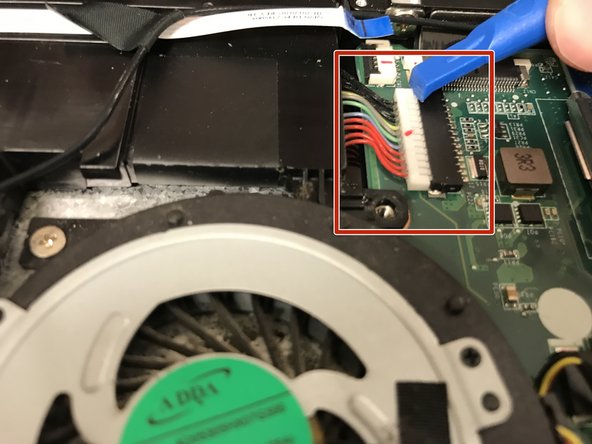
  3. Toshiba Satellite U840W RAM Replacement: étape 3, image 1 de 3 Toshiba Satellite U840W RAM Replacement: étape 3, image 2 de 3 Toshiba Satellite U840W RAM Replacement: étape 3, image 3 de 3
    • Disconnect this connector from the motherboard to avoid damaging the motherboard or charging port cable.

  4. Toshiba Satellite U840W RAM Replacement: étape 4, image 1 de 1
    • Disconnect the battery.

    • Hold down the power button for ~10 seconds to discharge any stored electricity from the motherboard.

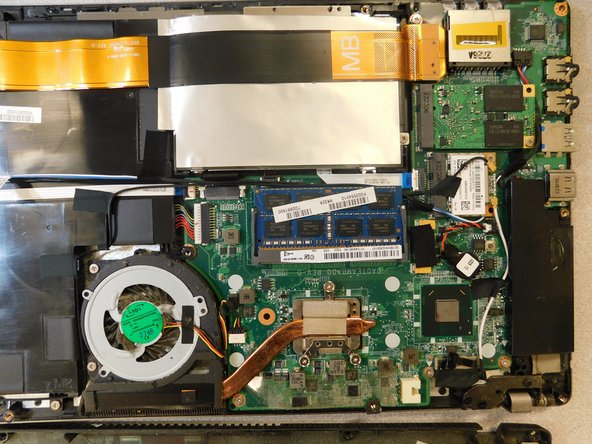
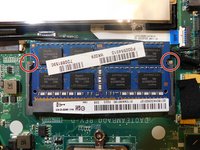
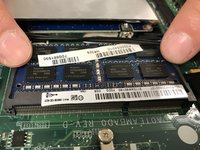
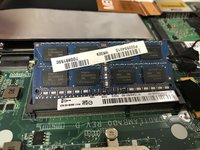
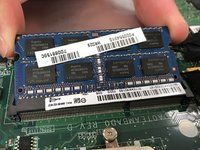
  5. Toshiba Satellite U840W RAM Replacement, RAM: étape 6, image 1 de 3 Toshiba Satellite U840W RAM Replacement, RAM: étape 6, image 2 de 3 Toshiba Satellite U840W RAM Replacement, RAM: étape 6, image 3 de 3
    • Push each latch arm away from the RAM card until the card lifts up, away from the motherboard.

    • The speaker wire may get in the way of the card while you are pushing the arms away. Push the wire out of the way as well.

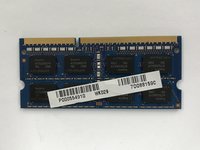
  6. Toshiba Satellite U840W RAM Replacement: étape 7, image 1 de 2 Toshiba Satellite U840W RAM Replacement: étape 7, image 2 de 2
    • Remove the RAM card carefully while holding only the edges.

Conclusion

To reassemble your device, follow these instructions in reverse order.

Eric

Membre depuis le 02/04/19

261 Réputation

2 tutoriels rédigés

Équipe

Gateway, Team S1-G1, Saknee Spring 2019 Membre de l'équipe Gateway, Team S1-G1, Saknee Spring 2019

GCC-SAKNEE-S19S1G1

4 membres

5 tutoriels rédigés

0 commentaires

Ajouter un commentaire

Nombre de vues :

Dernières 24 heures : 0

7 derniers jours : 1

30 derniers jours : 2

Total : 421