Introduction
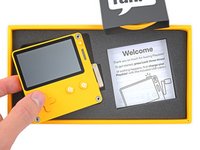
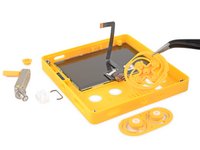
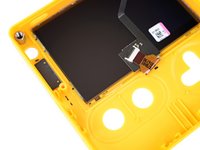
Panic, l'entreprise qui tire les ficelles de la ce-n'est-pas-une-Game-Boy jaune, affirme que cet appareil excentrique a été conçu "juste pour s'amuser" et ça se voit. De l'écran minimaliste à la manivelle unique en son genre, la Playdate détonne. Nous espérons qu'elle sera tout aussi amusante à démonter !
Pour une transparence totale : notre unité de démontage vient direct de chez Panic qui, refusant de se faire graisser la patte, nous l'a fait parvenir gratuitement. Malheureusement, elle a été livrée sans les jeux, donc elle est juste bonne à être démontée. Comment a-t-on pu deviner que démonter est notre jeu préféré. (Ok, c'est peut-être évident.)
N'oubliez pas de nous suivre sur YouTube, Instagram et Twitter, ainsi que de vous inscrire à notre newsletter. Vous serez ainsi parmi les premiers à l'apprendre quand les nouveaux hits de l'high-tech arriveront sur la table de démontage.
Ce dont vous avez besoin
Vidéo d'introduction
-
-
Quelques spécifications pendant que nous déballons notre drôle de bête :
-
Écran à super haute résolution (400 sur 240 pixels) – 2,7 pouces à 173 ppp
-
Processeur 180 MHz Cortex-M7F ARM
-
16 Mo de mémoire intégrée
-
4 Go de stockage flash
-
2.4 GHz Wi-Fi (b/g/n), Bluetooth 4.2, USB-C, prise jack
-
Manivelle mécanique, pourquoi pas ?
-
C'est évident qu'ils n'ont pas mis la gomme sur les spécifications – mais bon, si un des lecteurs a une fixation là-dessus et est déçu, il est passé à côté.
-
-
-
Comme d'habitude, nous commençons notre exploration avec un cliché radio de Creative Electron.
-
Techniquement, nous avons fait le tour de l'intérieur… notre travail s'arrête-t-il donc là ?
-
-
-
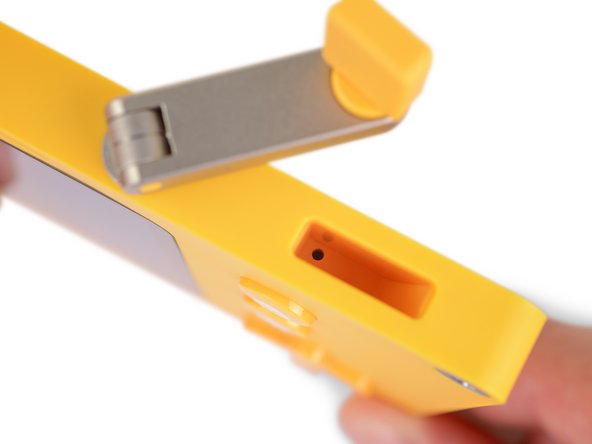
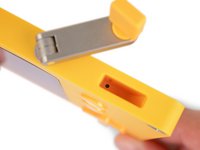
Tiens, des inscriptions secrètes dans la cavité du manche de la manivelle.
-
Notre numéro de série est le 1255. Où sont passées les 1254 premiers modèles ? Aucune idée.
-
Avec un peu de chance, personne n'a encore publié de démontage sur Internet. Franchement, qui ferait une chose pareille ?
-
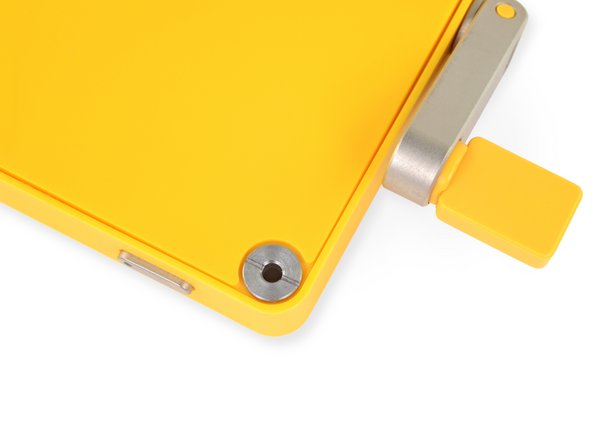
Réponse : quelqu'un qui ne se laisse pas intimider par ces vis plates en forme de donut. Miam… des donuts.
-
Patientez un peu pendant que nous mettons au point une stratégie pour ouvrir ce truc. S'il faut manger une douzaine de donuts pour y arriver, nous sommes prêts à faire ce sacrifice. Qui sera utile ? Oui, d'une manière ou d'une autre.
-
-
-
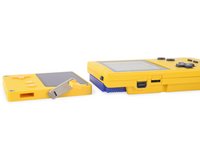
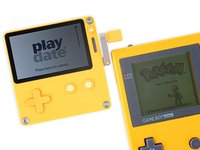
Cette teinte jaune… nous rappelle quelque chose.
-
Quelques différences :
-
Volume : la Playdate gagne haut la main. Fait-elle un quart de l'autre ? Sans blague ? Nous ne sommes pas là pour prendre des mesures pour vous.
-
Qualité de l'écran : là encore, la Playdate l'emporte, sauf si vert épinard est votre couleur préférée.
-
Manivelle : un autre point pour la Playdate.
-
Démontez-la, vous nous dites. Quand vous aurez fini vos épinards, telle est notre réponse. Et après, vous attendrez patiemment le reste de la vue éclatée. C'est bien entendu ?
-
-
-
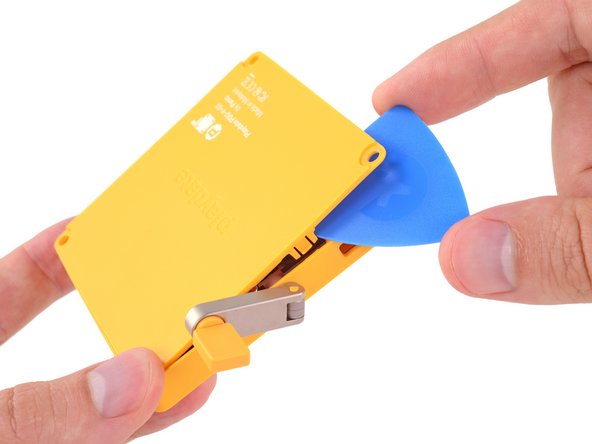
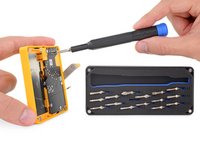
En avant ! Nous sortons notre plus gros tournevis plat pour la console la plus réduite et dévissons quelques vis.
-
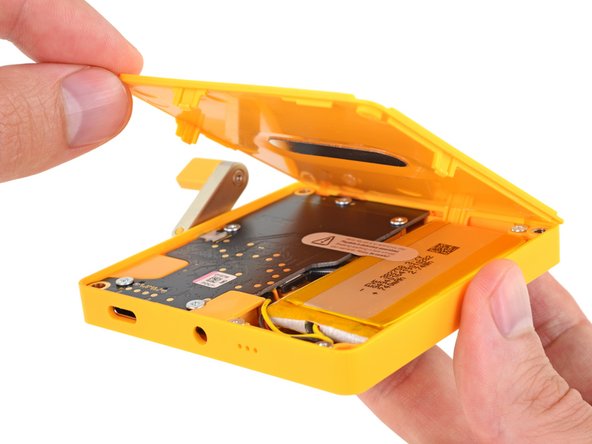
Une poignée de clips en plastique montent également la garde. Nous veillons à ne laisser s'échapper aucun précieux grain de nostalgie pendant que nous manions notre médiator.
-
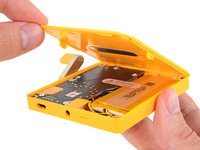
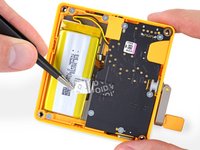
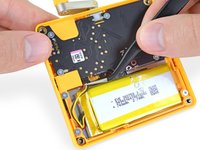
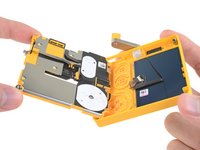
Un joli tableau se révèle à nos yeux. Netteté. Du jaune. Et une batterie facile d'accès, c'-à-d. le bonheur des réparateurs.
-
-
-
-
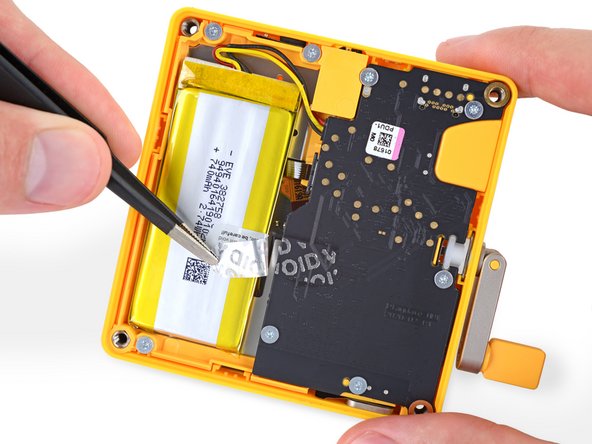
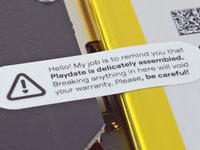
Minute – on dirait qu'un autocollant de garantie garde la batterie.
-
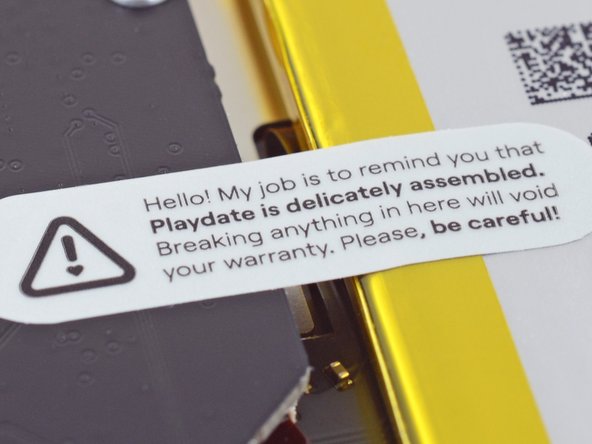
Un petit zoom pour y voir de plus près.
-
Ha : casser annule votre garantie, pas juste ouvrir. Un grand merci messieurs Magnuson et Moss. Nous reprenons la route – soigneusement.
-
-
-
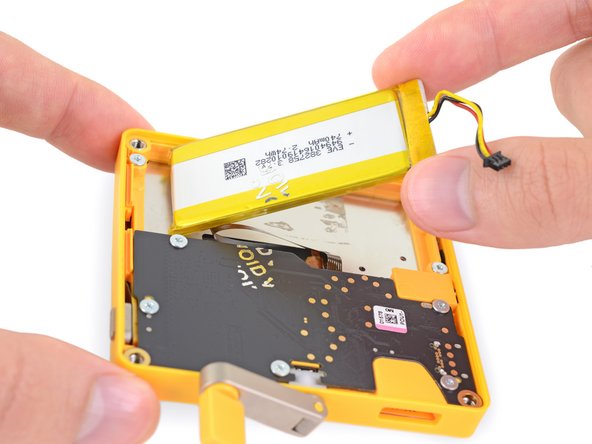
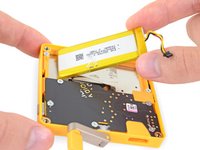
Déconnectabilité de la batterie : 8,5/10, plutôt facile. Faites juste attention à ne rien percer d'inflammable avec votre pincette.
-
La batterie même est moyennement collée. Soyez persuasif, mais ne la fâchez pas.
-
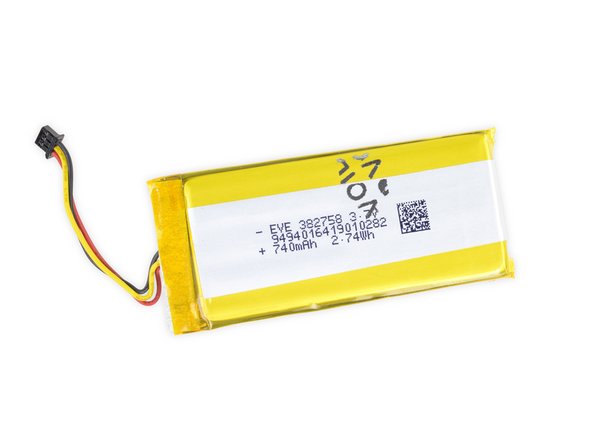
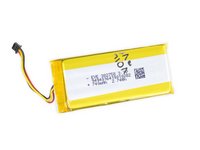
On parle chiffres ? Elle performe à 2,74 Wh (740 mAh @ 3,7 V).
-
Cela fait environ 25 % de la capacité d'un iPhone 12 ou l'équivalent :
-
D'1 % de celle d'une petite voiture (à peu près)
-
Des piles AA "utilisation standard" qui alimentaient les Game Boy
-
Des performances de la batterie à base de 250 kg pommes de terre, qui a fait le tour de Portland, Oregon à l'époque.
-
-
-
Notre Minnow Precision Bit Set minimaliste à l'image de cet appareil minimaliste arrive à dévisser presque tout presque partout.
-
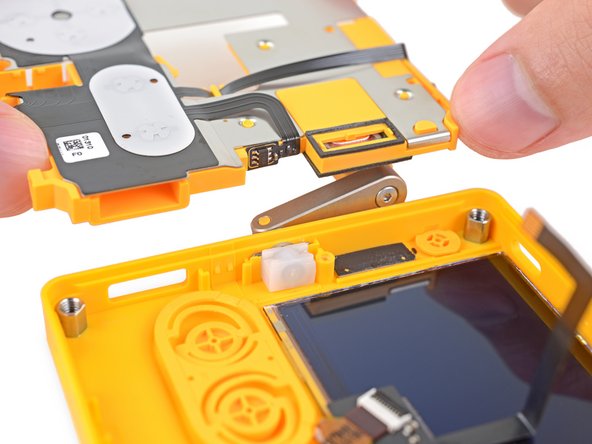
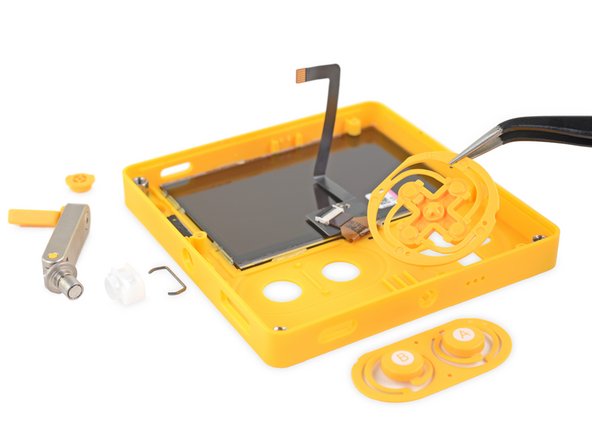
L'écran et la manivelle sont tous deux confortablement installés dans le boîtier, de même pour les caches des boutons.
-
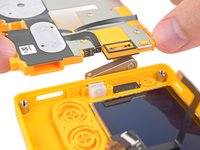
Le reste s'enlève très facilement, à condition de manier habilement la spatule et de réussir à convaincre quelques petites nappes de se pousser.
-
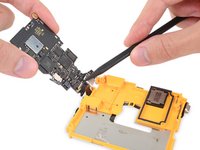
Nous jetons maintenant un œil au fonctionnement de la manivelle. Pas d'engrenages ! Pas de magouilles ! Juste un simple capteur à effet Hall et un… truc… enveloppé de plastique blanc. Et-ce important ? nous verrons.
-
-
-
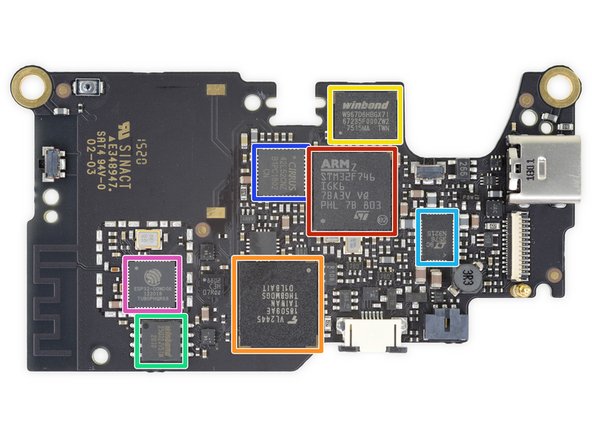
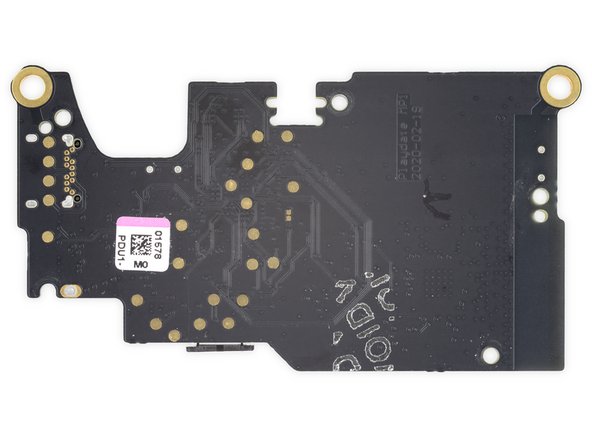
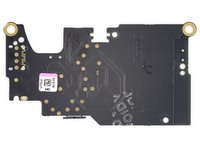
Nous allons nous occuper de la manivelle dans une minute. Regardons d'abord ce qui fait marcher cette merveille de console format de poche. La face cachée du circuit abrite :
-
STM32F746IGK6 STMicroelectronics, un système sur une puce (SoC) basé sur Cortex-M7 ARM
-
4 Go de mémoire flash NAND eMMC THGBMDG5D1LBAIT Kioxia (anciennement Toshiba)
-
128 Mb de SRAM basse consommation W967D6HBG Winbond
-
32 Mb de mémoire flash NOR série W25Q32JV Winbond
-
CI de gestion d'alimentation LTC3576 Analog Devices (anciennement Linear Techology)
-
Codec audio CS42L52 Cirrus Logic avec amplificateurs écouteur/haut-parleur
-
Système sur une puce (SoC) Wi-Fi et Bluetooth ESP32-D0WDQ6 Espressif Systems
-
-
-
Ce petit circuit est plein à craquer, continuons !
-
Accélèromètre MEMS 3 axes LIS3DH STMicroelectronics
-
Interrupteur à effet Hall A1266 Allegro Microelectronics
-
Contrôleur USB Type-C FUSB301TMX ON Semiconductor
-
Détecteur de tension 1,6 V et 2,7 V BU4216FVE et BU4227FVE Rohm
-
Pompe de charge buck-boost 60 mAh REG710NA-5 Texas Instruments
-
Régulateur LDO 150 mA / 3,3 V MIC5365-3.3YC5 Microchip (anciennement Micrel)
-
Convertisseur niveau de tension NTB0104 NXP Semiconductor
-
-
-
Il est temps de titiller un peu la manivelle.
-
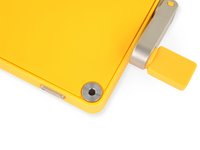
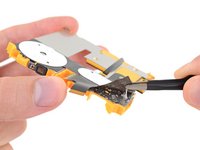
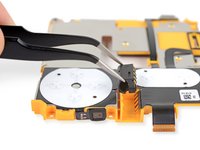
La voilà détachée. Un aimant cylindrique est intégré dans l'axe. Quand on la tourne, le champ de rotation magnétique est détecté par le capteur à effet Hall mentionné ci-dessus, qui active… quelque chose, dans votre jeu.
-
Un truc que cette manivelle ne fera jamais ? Drifter. Pas d'élément mobile, ni de ressort, ni de surface de capteur qui risque de s'user. Cette conception se résume par le mot simplicité. Nous dirions même plus pas de mani…pulations tordues.
-
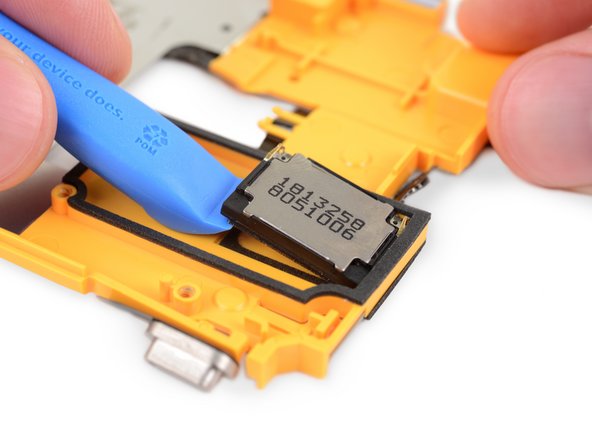
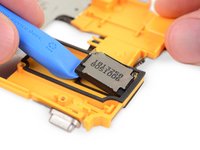
Sur le devant, le minuscule mono-haut-parleur est collé en place. Facile à retirer, mais pas évident à remettre en place.
My crank broke. I have the yellow turner and the yellow disc that sits under it but I don't see how it goes back together in the metal arm. It doesn't seem to screw in. It should snap in?
-
-
-
C'est là que nos efforts de démontage ont été bloqués.
-
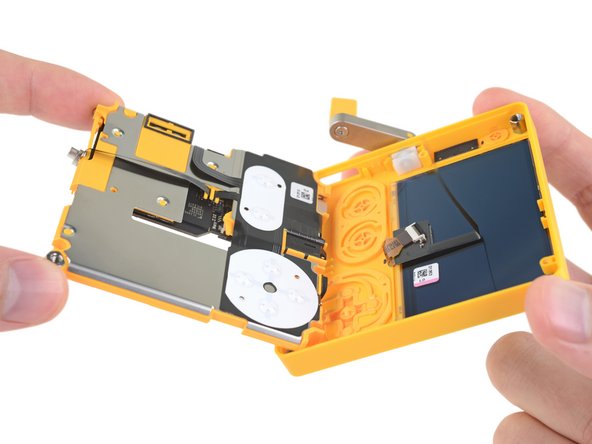
L'écran (qu'on dit être un Sharp Memory LCD) semble solidement collé à la moitié avant du boîtier en plastique. Si vous souhaitez le remplacer, vous aurez probablement besoin de tout un bloc frontal neuf – à notre avis, il y a peu de chances de réussir à le décoller sans le détruire. Ce ne sera probablement pas cher, mais pas idéal.
-
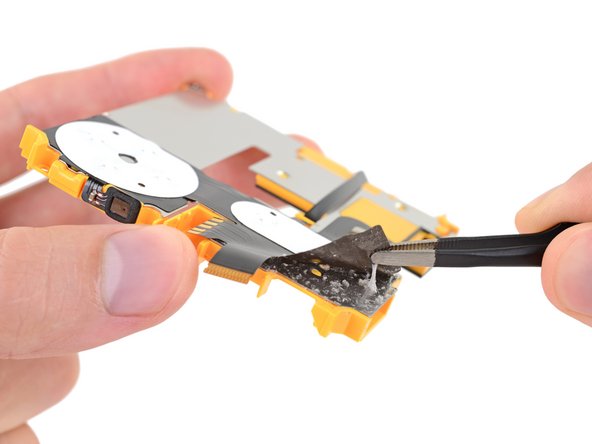
De même, les boutons et différents ports E/S sont logés sur ce circuit imprimé tentaculaire flexible, lui-même collé au châssis central. Nous commençons à le décoller avant de nous rendre compte que c'était pas une bonne idée (réversible).
-
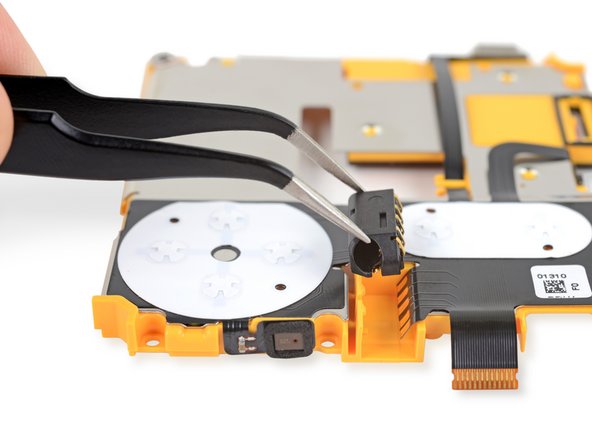
Énorme bon point : la prise jack est 100 % modulaire. Est-ce rétro à présent ? Peu importe, nous sommes complètement fans.
The Sharp Memory LCD link here now goes to a dodgy website.
-
-
-
Est-ce que la console fonctionne si on la remonte ? Effectivement ! C'est bon signe. Guettez une prochaine vidéo pour en voir la preuve de vos yeux, plus un remake du démontage.
-
Comme vous vous en êtes certainement rendu compte, s'y introduire et démonter quelques-uns des composants n'a pas été trop dur.
-
À propose des composants : Panic a travaillé sur ce petit gadget en collaboration avec Teenage Engineering que nous connaissons bien !
-
- Un gros tournevis plat et un médiator suffisent pour vous frayer un chemin à l'intérieur.
- Toutes les vis (Pozidriv) intérieures se dévissent avec un tournevis cruciformes basique.
- On accède immédiatement à la batterie qui est seulement légèrement collée en place.
- La prise jack est entièrement modulaire et le design de la manivelle est simple et accessible.
- On peut changer l'écran, mais seulement en remplaçant tout le bloc frontal.
- Toutes les commandes sont regroupées sur un seul circuit imprimé flexible – facile à remplacer, mais c'est un peu du gâchis si un seul truc se casse.
- Le port USB-C est soudé à la carte mère.
Dernières pensées
Indice de réparabilité


(10 étant le plus facile à réparer)
Merci à ces traducteurs :
82%
Ces traducteurs nous aident réparer le monde ! Vous voulez contribuer ?
Commencez à traduire ›
32Commentaires sur le guide
Wonderful teardown! I think the modding community is going to have a great time with this one!
The Screen (which by the way it may be Sharp LS027B7DH01 or LS027B7DH01A) looks very identical to Adafruit 4694 (SHARP Memory Display Breakout https://www.adafruit.com/product/4694) so aside from being glued, Screen replacement may be possible
I am pretty curious whether if the display is already cracked (from a drop), that it would be acceptable to just put the front part in hot water to soften the glue, and just rip out the cracked display. The only reason I’d swap out is if the display was already broken.
I can re-glue a new display, perhaps?
It would be pretty hard to crack the display since the bezels on these devices are immense, compared to modern cellphones.
Also, the outside screen with round edges are probably plastic (maybe glass) and are separate from the actual display, so the actual display is even less likely to break.
However, the outside screen, if glass, may be stubbornly glued in place. But again, I didn’t buy and took apart one of these yet.
But yes, if your display is cracked then I’m sure you can replace one yourself.
I managed to damage my display but it did not crack. The device slipped right out of my hand and slammed face down on hard tile floor. The display has a flicker and discoloring issue now. Panic Support has not reached back to me so I am going to attempt to take matters into my own hands.
I am going to attempt to remove the defective display and replace it with the display linked here https://www.adafruit.com/product/4694
Anyone had any luck with this? I’m only worried about removing the defective screen from the plastic case since it is apparently glued down. Any recommendations would be appreciated!
Seems like the connector on the display is mostly identical, and so perhaps a display swap is a doable process.
Any luck with the screen replacement? I had the same problem after one whole day of having it. I'm now Shame-Googling options.
MMcMen -
The display is unfortunately quite easily cracked if you drop something else on it. I'm also interested if anyone has managed a self-repair of the LCD.
Well, I decided to give it a shot and attempted to replace my cracked screen by myself. This teardown worked well as a disassembly guide, and the Sharp LS027B7DH01 was the right display. I got it for $30 from DigiKey. They say the LS027B7DH01A is the same model, just the units that had 1 or 2 bad pixels so they sell them a bit cheaper.
Unfortunately I failed at separating the LCD from the front glass. I tried heating them up, applying alcohol and slicing them apart with a blade, but I broke the front glass. I'm not experienced with this stuff, so there's probably something I should have done differently and I definitely should have researched more when I realized it wasn't easy.
I reassembled it with the new LCD and no front glass, and it almost works, but the enclosure doesn't quite keep the LCD in properly so it kind of pops out at the top. It looks janky and obviously is less protected. So, yeah, I would recommend trying this until there's a way to get a replacement front glass.
I’m at a loss to understand how the USB-C connector could be better by not being soldered.
Soldering is easy to repair, right ?
What do you want, a screw-terminal connector ?
For it to be on a separate board, so you can replace the damage prone connector without rework on the mainboard
If a USB-C port gets really damaged, damage to the main board can also occur. This may not be repairable.
These small things are almost impossible to repair with a generic soldering iron (station, temperature controlled or alike) and is more than a challenge with hot air guns (which may overheat the board) especially if it is half-smt and half thru-hole “hybrid” mounting kind.
But given the 4GB of storage, it’s unlikely one need to frequently plug and unplug the device to flash software. But again, charging will be frequent, and the USB-C, while being stronger than both USB-Micro-B and USB-Mini-B, is still far from being indestructible.
A row of pin headers, especially male ones, are practically indestructible (aside from being bent), and allows freedom of connections.
@cdr_xavier in what world is USB-C “stronger” than USB-Micro-B and USB-Mini-B?
logically: USB-C packs far more and far smaller pins into a smaller surface than older USB variants. These simply cannot be made as robust as a result.
empirically: over many years of use I never saw a USB-B connector fail, not once. USB-C? I’ve blown through dozens of cables due to failed connectors over the the covid period alone. so has my wife. so have my co-workers. there are reasons to like USB-C but robustness simply is not one of them - it’s the first significantly fragile USB connector since USB was first deployed.
The reason USB-C is more "stronger” is not because it have more pins. It is because the external “metal housing” is made larger, more thick, and more strong than either micro USB A/B or mini USB A/B.
Yes, good micro USB ports are very tough, but a good C is even tougher. At least, on the PCB side.
Realistically, a stress test probably end up with both connectors snapping the cables right away. But that’s okay, because cables are replaceable. Ports are not.
I can't say the USB-C connector is more sturdy than micro-USB, they fair equally in the near hundred devices we have in IT class like microcontroller boards and such. On the cable side reliability is best for micro-USB.
What is a big pain-in-the-ass is that soldering a new USB-C connector needs reflow soldering. Where you can do a USB-micro port swap with a regular soldering station. The pin spacing is way tighter.
Blanka -
In step 11 you mention that the crank stimulates the aforementioned hall-effect sensor from step 10, however the hall-effect switch from step 10 appears to be a different part? It seems like the hall-effect switch circled in orange might be for detecting stowage of the crank in the body, whereas there is a separate 3D hall-effect sensor for actual crank rotation. I wonder where that is on the PCB? Anyways, phenomenal tear down, it was very entertaining!
Hall effect sensor for the crank is located right here!
So, not a repair question, but one asking about the capabilities of the Hall sensor. I'm noodling with some game ideas.
Do people here expect it to provide a reliable position reading? No need to calibrate it occasionally, etc.
I'm wondering if it will be precise enough for something like using the four cardinal directions for settings.
Also, does the Playdate know if the crank is furled or not?
Fretting about a USB connector being soldered to a board shows that iFixit doesn't know anything about mechanical engineering or PCB design. They always make these pronouncements about what they'd like to see in a perfect world, but that are never grounded in reality.
In fairness, modular connectors beat non-modular connectors (in terms of repairability, at least)
Even though the connectors last really long
The problem is more with modern connectors like USB-C, MicroUSB/miniUSB or even USB-A where the socket contain parts that can easily wear out (compared to, say, VGA, RS232 or Parallel, or even RJ45 where the sockets are much more robust)
Which is fair, since USB is never a industrial standard (compared to the ones mentioned). They never require a locking mechanism, and are built to be more convenient. Broken HDMI and DisplayPort due to cable sag comes to mind.
what is the voltage rating for charging through the screws?
My playdate screen has broken, I wonder if I can replace it by buying the recommended screen https://www.adafruit.com/product/4694. Does anyone know if there would be any issues with to screen not functioning correctly if I'm able to get the original broken screen unglued and replace it with the adafruit sharp memory display?
You can get the LCD here: https://www.digikey.com/en/products/deta...
But read my comment above about the difficulty of repairing the screen.
I should have also mentioned that there's a reasonably priced Playdate repair (replacement) program: https://shop.play.date/products/playdate...
Love this!
Does it look as if the disk space can be increased by changing components?
I opened up my Group #5 Playdate, serial in the 40k range, and my battery says 2.812Wh, 760mAh https://imgur.com/a/pAVwC2t
Panic should really improve warranty handling and spare part buying options.
The yellow handle on the crank has a serious design failure, making it break very easily. For now Panic only allows complete returning the device, which makes us wait for over 3 months now not being able to use it.
Sending out replacement handles through for example Digikey would mean a 2€ part with next day delivery for another 5€, not worth the mess of filling customs forms and waiting crap as a return would demand. Not to mention the returned device will probably become e-waste. If you have such big troubles with processing pre-orders and stock, why mess up your time with full returns for a single piece of plastic, less than 1 gram.
Possible to tighten crank?
nice to meet you. I also bought Playdate I had the same problem. The display is pitch black and doesn't work at all, but I followed the comments above and purchased the display and it arrived immediately. I would like to try to repair it myself. I'll be back to comment once progress has been made. #I'm commenting from Japan using a translator.


