Ce dont vous avez besoin
-
-
You may need to reapply heat repeatedly throughout this process to prevent the adhesive from cooling and hardening.
-
Prepare an iOpener and place it on the bottom edge of the iPad's screen for about two minutes.
-
-
-
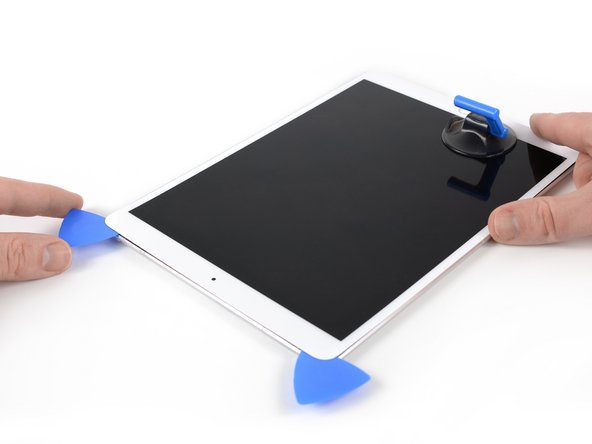
Place a suction cup next to the iPad's home button and press down to create a seal.
-
Firmly pull up on the suction cup to create a small gap between the front panel and the rear case.
-
Once you've opened a sufficient gap, insert an opening pick into the gap.
-
-
-
Slice through the adhesive under the screen by sliding the pick along the edge of the display, towards the bottom left corner.
-
Leave the pick in place temporarily to prevent the adhesive from re-sealing.
-
-
-
Apply heat to the left edge of the iPad for about two minutes, or until it's slightly too hot to touch comfortably.
-
If necessary, re-heat your iOpener for a few seconds or until it's a bit too hot to touch. Be careful not to overheat the iOpener, or it may burst.
-
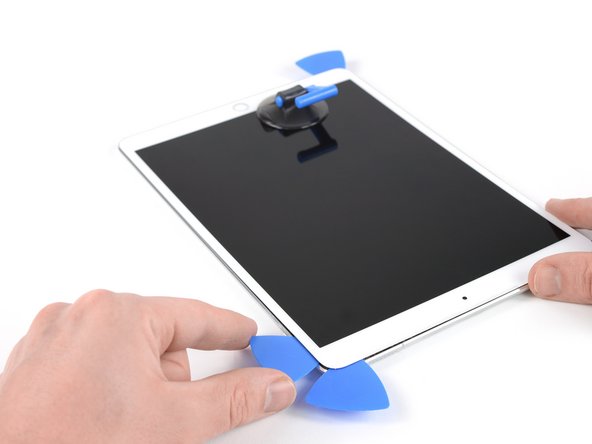
Insert a second opening pick at the bottom left corner of the iPad.
-
Slide the second opening pick along the left side of the display to separate the adhesive underneath.
-
Leave the opening pick inserted near the top left corner of the iPad to prevent the adhesive from re-sealing.
-
-
-
Apply heat to the final, right edge of the iPad for about two minutes, or until it's slightly too hot to touch comfortably.
-
Insert a fourth opening pick at the top right corner of the iPad.
-
Slide the opening pick down to the bottom right corner to cut the adhesive.
-
Slide the opening pick around the bottom right corner—pausing to apply more heat if needed—and cut the remaining adhesive on the bottom edge, but stop before you reach the home button.
-
-
-
-
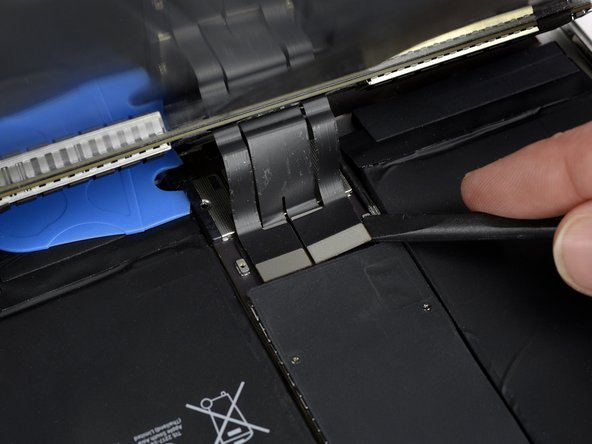
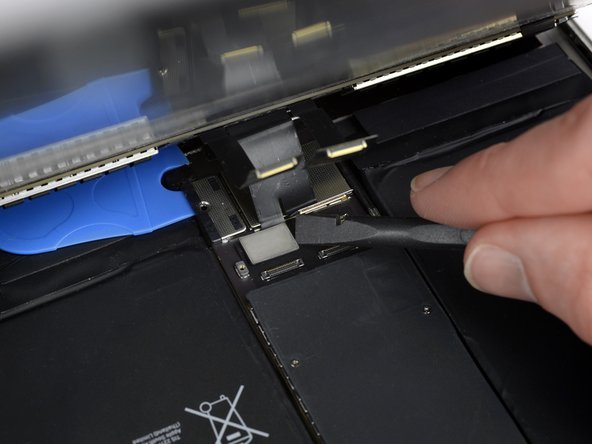
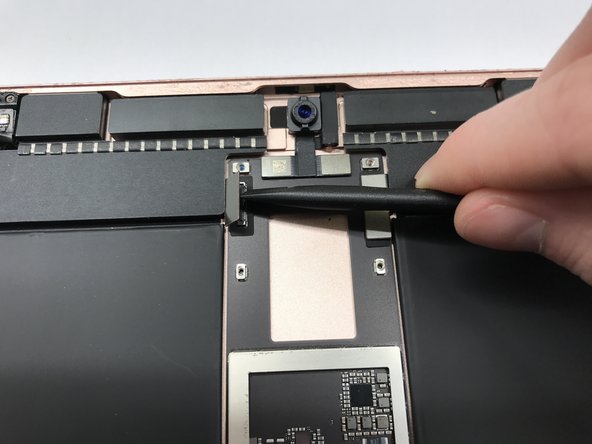
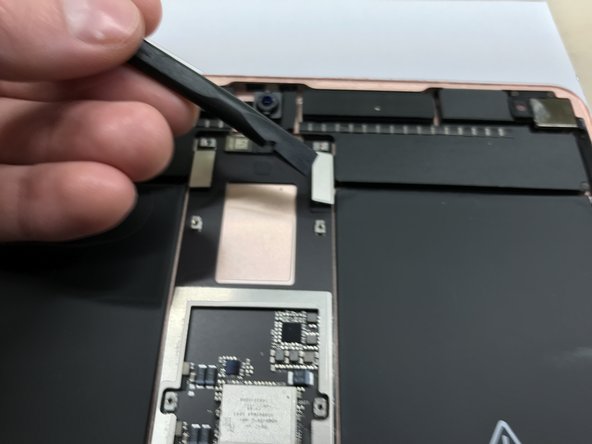
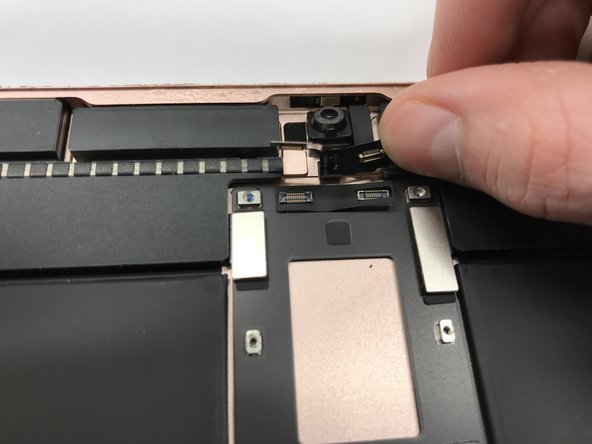
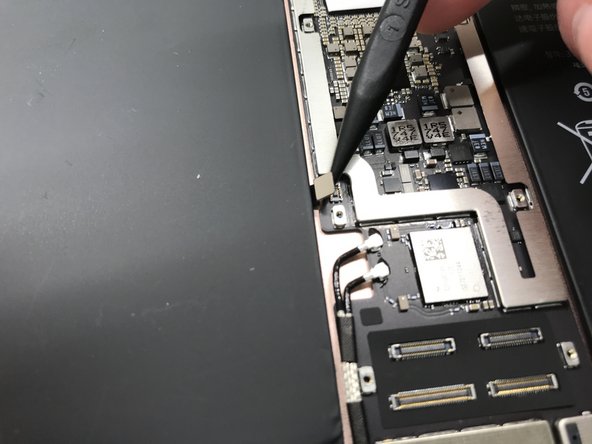
To disconnect the battery, slide one prong of a battery blocker or the tip of an opening pick under the battery power connector to ensure the power circuit is interrupted.
-
Leave the battery blocker in place as you work.
-
-
-
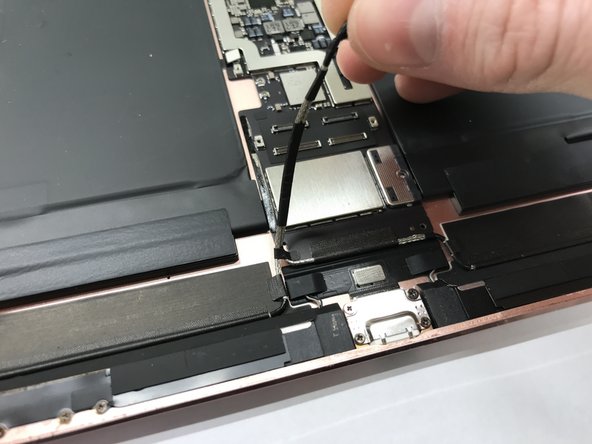
Remove the following 10 Phillips #000 screws.
-
Eight 1.3 mm screws
-
Two 2.3 mm screws
-
-
-
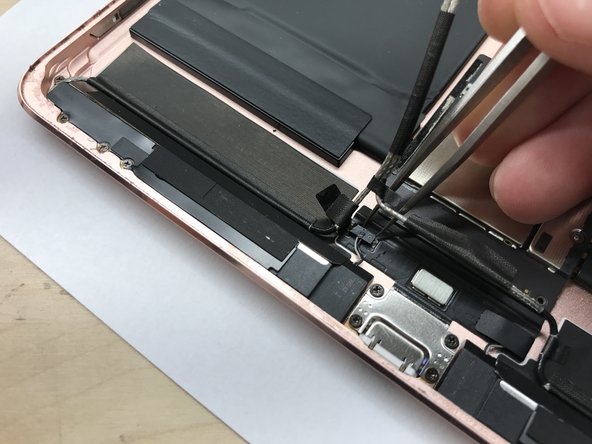
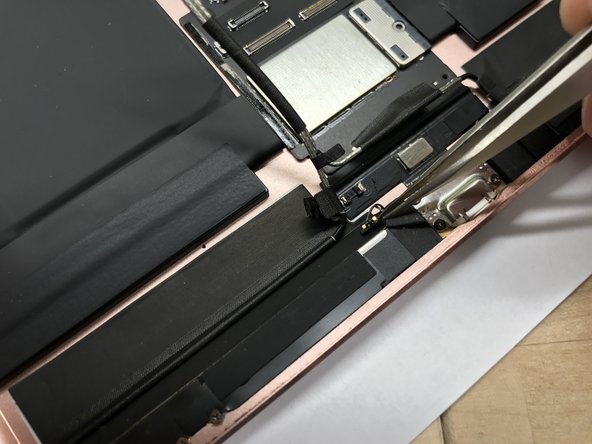
Remove the following Phillips #000 screws.
-
Two 2.4 mm screws
-
Two 1.7 mm screws
-
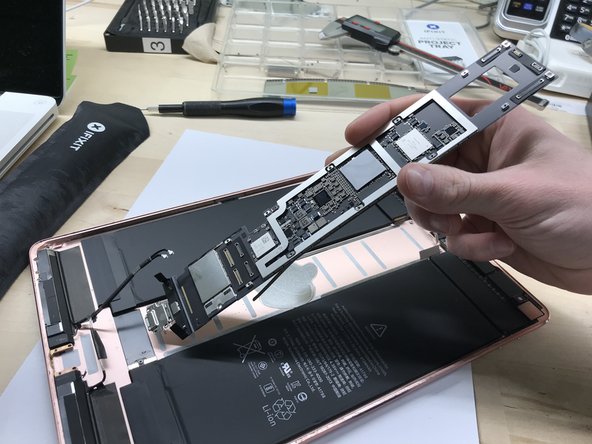
To reassemble your device, follow these instructions in reverse order.
To reassemble your device, follow these instructions in reverse order.
Annulation : je n'ai pas terminé ce tutoriel.
11 autres ont terminé cette réparation.
3 commentaires
Just wanted to share that an easier route is to use an eBay iPad logic board service. You mail your iPad in and they fix and return ship. I have availed services from two sellers for my iPad pro 10.5, once to replace the charging port and a second time when something shorted out on the logic board. Local repair shops can plug in a little tester into the lightening port to test whether it’s a broken connector, burned out tristar power IC or something else shorted out. Depending on where you live, it may be cheaper to just mail in to eBay sellers. Depending on the issue, it can be around ~$100 total to just replace a connector or shorted component, including mailing costs.
Can you replace the logic board w/an (upgrade)A12 chip logic board?
Im broke musician desperate for midi functions & logic plz and ThaNk yOu
🙏


