Introduction
Ce tutoriel détaille comment poser l'adhésif de l'écran d'un iPad qui a été ouvert.
Ce dont vous avez besoin
-
Outil utilisé dans cette étape :Tweezers$4.99
-
Avant d'installer le nouvel adhésif, il faut soigneusement nettoyer tout résidu de l'écran et du châssis.
-
Utilisez une pincette pour retirer les bouts de bande adhésive restants.
-
Utilisez un outil d'ouverture ou une spatule (spudger) pour gratter les résidus. Vous pouvez vous servir d'alcool isopropylique à haute concentration (> 90°) pour ramollir l'adhésif.
-
Enlevez les résidus en essuyant toujours dans la même direction pour éviter de laisser des traces.
-
-
-
-
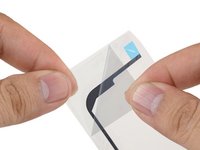
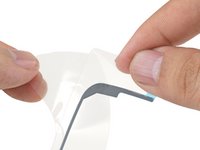
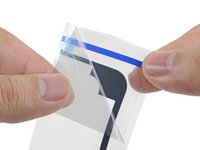
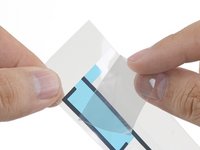
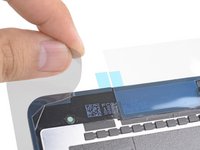
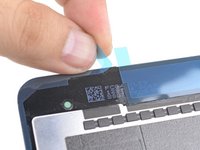
Décollez et retirez la couche en plastique supérieure de la bande adhésive.
-
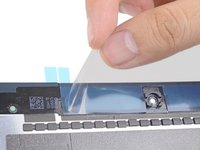
Décollez et retirez la couche en plastique du dessous de la bande adhésive.
-
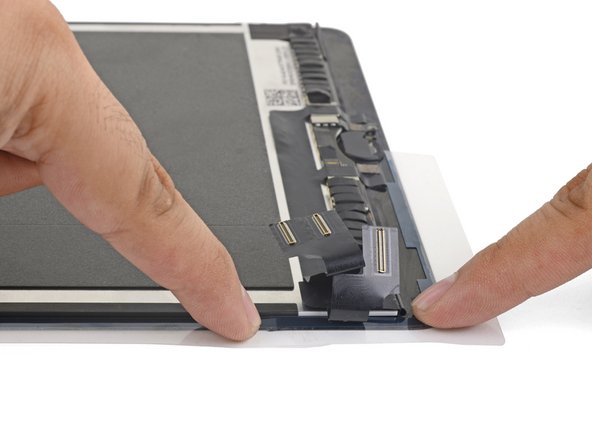
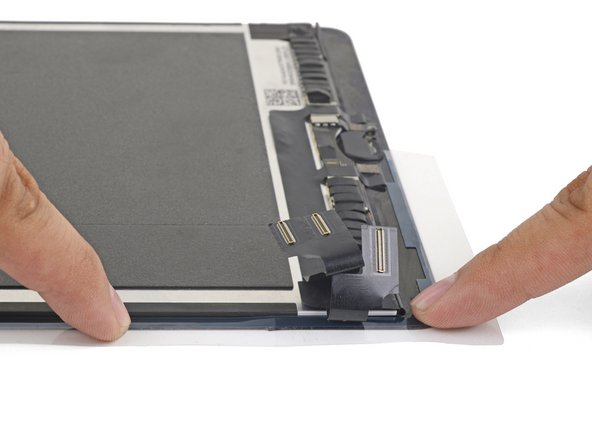
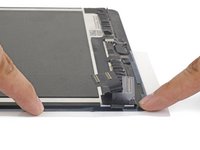
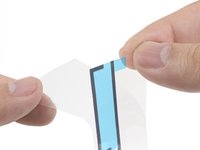
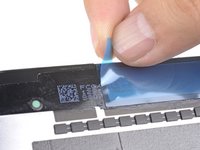
Alignez la bande adhésive avec le bord droit de l'écran.
-
En commençant par un coin, posez la bande adhésive sur l'écran et appuyez dessus pour la fixer.
-
-
-
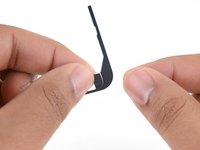
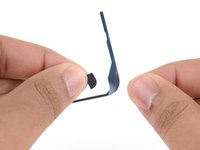
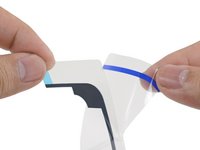
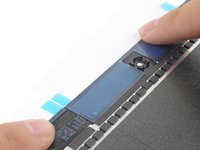
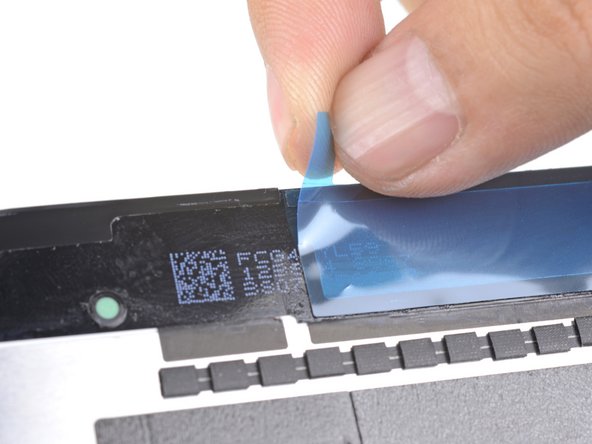
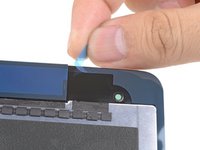
Décollez et retirez la couche en plastique supérieure de la bande adhésive.
-
Décollez et retirez la couche en plastique du dessous de la bande adhésive.
-
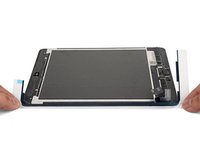
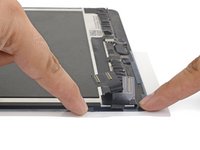
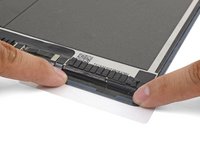
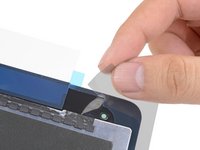
Alignez la bande avec le haut de l'écran de façon que la ligne droite de l'adhésif comble l'écart entre la bande droite et la bande gauche.
-
Appuyez sur la bande pour la fixer.
-


La réparation ne s'est pas déroulée comme prévu ? Consultez notre Forum pour obtenir de l'aide au diagnostic.
La réparation ne s'est pas déroulée comme prévu ? Consultez notre Forum pour obtenir de l'aide au diagnostic.
Annulation : je n'ai pas terminé ce tutoriel.
58 autres ont terminé cette réparation.
Merci à ces traducteurs :
100%


Ces traducteurs nous aident réparer le monde ! Vous voulez contribuer ?
Commencez à traduire ›


11 commentaires
Thanks, I was able to fix my wife’s shattered digitizer screen on the iPad 6th gen with this guide!
I managed to get it done, but this was a personal nightmare for me and more difficult than replacing the battery in my ipad. There are too many instruction that say “remove plastic” and I have no idea which layer; there was nothing on the packaging to indicate which side was up or which side was the front and I ended up guessing the wrong direction because it “looked” right, but wasn’t. A simple sticker on the packaging indicating a direction would have removed all of the frustration. I only managed to figure it out by removing all of the plastic so that the sticky side of the adhesive was exposed and then I could finally see how it was supposed to fit and how I was supposed to press down with the other side of the plastic to push the adhesive side into the frame.
Fixed a cracked iPad 4 mini screen; I agree with twizzlercraze72. Some kind of labeling would have saved so much peeling and re-sticking. I ended up with a gap next to my home button. An expensive lesson to learn.
For me, actually replacing the battery wasn’t too bad, but I ended up using too much isopropyl to clean off the old glue, and it seeped under the display and ruined it. Wish Apple didn’t use so much glue. It massively impedes repairability, which is not very environmentally sound. My iPad was perfect apart from the battery - it’s now got a perfect battery but the iPad is ruined :-(
Same here :(. $50 repair just turned into $250!