Aller au contenu principal

iPhone SE 2022 Logic Board Replacement

Ce dont vous avez besoin

  1. iPhone SE 2022 Logic Board Replacement, SIM Card Tray Removal: étape 1, image 1 de 3 iPhone SE 2022 Logic Board Replacement, SIM Card Tray Removal: étape 1, image 2 de 3 iPhone SE 2022 Logic Board Replacement, SIM Card Tray Removal: étape 1, image 3 de 3
    • Insert a SIM card eject tool, a SIM eject bit, or a straightened paper clip into the hole on the SIM tray located at the right edge of the phone.

    • Press directly into the hole to eject the SIM card tray.

    • Remove the SIM card tray.

  2. iPhone SE 2022 Logic Board Replacement, Remove the pentalobe screws: étape 2, image 1 de 2 iPhone SE 2022 Logic Board Replacement, Remove the pentalobe screws: étape 2, image 2 de 2
    • Power off your phone before beginning disassembly.

    • Remove the two 3.4 mm pentalobe screws on the bottom edge of the iPhone.

  3. iPhone SE 2022 Logic Board Replacement, Heat the front panel adhesive: étape 3, image 1 de 1
    • Prepare an iOpener and apply it to the screen for at least two minutes to loosen the adhesive underneath.

    • A hair dryer, heat gun, or hot plate may also be used, but be careful not to overheat the phone—the display and internal battery are both susceptible to heat damage.

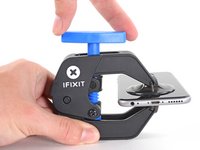
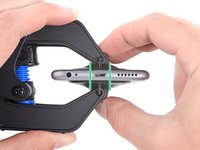
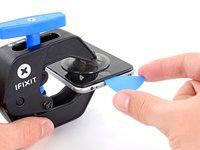
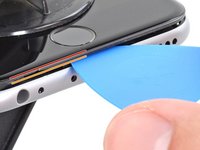
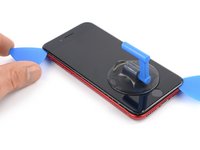
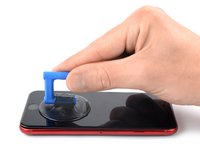
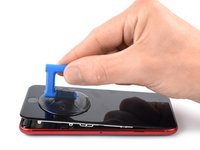
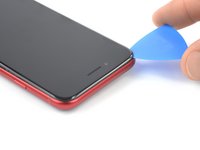
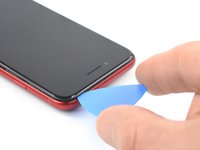
  4. iPhone SE 2022 Logic Board Replacement, Insert an opening pick: étape 4, image 1 de 3 iPhone SE 2022 Logic Board Replacement, Insert an opening pick: étape 4, image 2 de 3 iPhone SE 2022 Logic Board Replacement, Insert an opening pick: étape 4, image 3 de 3
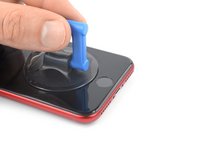
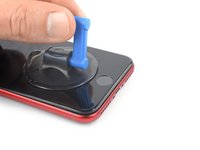
    • Secure a suction handle to the lower half of the front panel, as close to the home button as possible.

    • If the rear glass is cracked, the suction handle may not stick. Try lifting it with strong tape, or superglue the suction handle in place and allow it to cure so you can proceed.

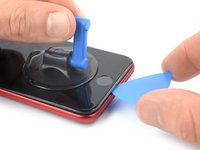
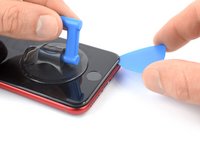
    • Lift the front panel with the suction handle to create a small gap between the front panel and the frame.

    • If you have trouble creating a gap, apply more heat to the bottom half of the screen to further soften the adhesive. Follow the iOpener instructions to avoid overheating.

    • Insert an opening pick into the gap you created.

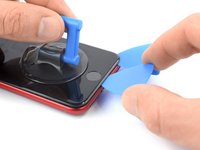
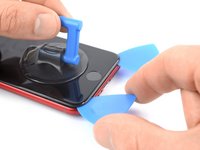
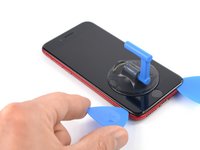
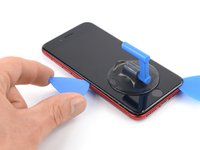
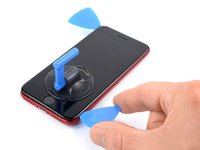
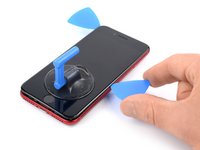
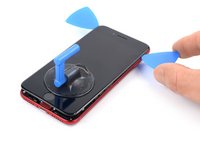
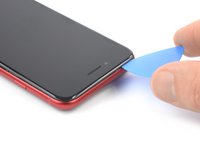
  5. iPhone SE 2022 Logic Board Replacement, Slice the adhesive: étape 5, image 1 de 3 iPhone SE 2022 Logic Board Replacement, Slice the adhesive: étape 5, image 2 de 3 iPhone SE 2022 Logic Board Replacement, Slice the adhesive: étape 5, image 3 de 3
    • Slide the opening pick to the bottom right corner to slice the front panel adhesive.

    • Insert a second opening pick at the bottom edge of your phone.

    • Slide the opening pick to the bottom left corner to slice the adhesive.

    • Leave the opening picks in place to prevent the adhesive from resealing.

  6. iPhone SE 2022 Logic Board Replacement, Slice the adhesive: étape 6, image 1 de 3 iPhone SE 2022 Logic Board Replacement, Slice the adhesive: étape 6, image 2 de 3 iPhone SE 2022 Logic Board Replacement, Slice the adhesive: étape 6, image 3 de 3
    • If the adhesive becomes hard to cut, it has most likely cooled down. Use your iOpener for two to three minutes to reheat it.
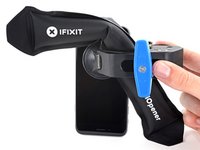
    • Slide the bottom left opening pick along the left edge of your phone to slice the adhesive.

    • Stop near the top left corner of the display.

    • Do not try to pry the top edge of the display away from the rear case, as it is held in place by plastic clips that may break.

  7. iPhone SE 2022 Logic Board Replacement: étape 7, image 1 de 3 iPhone SE 2022 Logic Board Replacement: étape 7, image 2 de 3 iPhone SE 2022 Logic Board Replacement: étape 7, image 3 de 3
    • When you slice along the right edge, insert only the tip of the opening pick (~ 2–3 mm) to avoid damaging the display flex cables.

    • Slide the bottom right opening pick along the right edge of your phone to slice the adhesive.

    • Stop near the top right corner of the display.

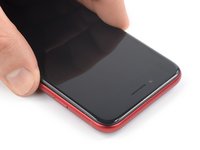
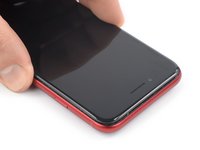
  8. iPhone SE 2022 Logic Board Replacement, Lift the screen: étape 8, image 1 de 2 iPhone SE 2022 Logic Board Replacement, Lift the screen: étape 8, image 2 de 2
    • Remove the opening picks.

    • Gently pull up on the suction handle to lift up the bottom edge of the display.

    • Do not raise the display more than 15º or you'll risk straining or tearing the ribbon cables connecting the display.

    • Remove the suction handle.

  9. iPhone SE 2022 Logic Board Replacement, Slice the remaining adhesive: étape 9, image 1 de 3 iPhone SE 2022 Logic Board Replacement, Slice the remaining adhesive: étape 9, image 2 de 3 iPhone SE 2022 Logic Board Replacement, Slice the remaining adhesive: étape 9, image 3 de 3
    • Slide an opening pick underneath the top left corner of the display.

    • Slide the opening pick around the top left corner and along the top edge of the phone to slice the remaining adhesive.

  10. iPhone SE 2022 Logic Board Replacement, Disengage the front panel clips: étape 10, image 1 de 2 iPhone SE 2022 Logic Board Replacement, Disengage the front panel clips: étape 10, image 2 de 2
    • Slide the display assembly slightly down in direction of the charging port to disengage the clips holding it to the rear case.

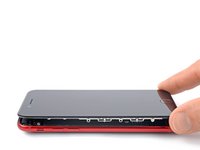
  11. iPhone SE 2022 Logic Board Replacement, Lift up the display: étape 11, image 1 de 3 iPhone SE 2022 Logic Board Replacement, Lift up the display: étape 11, image 2 de 3 iPhone SE 2022 Logic Board Replacement, Lift up the display: étape 11, image 3 de 3
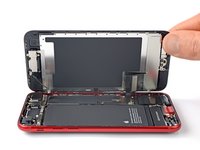
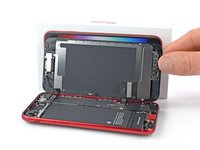
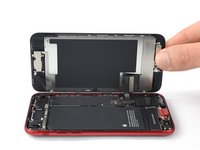
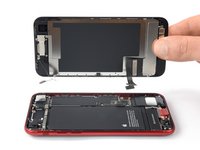
    • Open the phone by swinging the display up from the left side, like the back cover of a book.

    • Don't try to fully separate the display from the phone assembly yet, as several fragile ribbon cables still connect it to the logic board.

    • Lean the display against something to keep it propped up while you're working on the phone.

    • Remove the four Phillips screws securing the lower display cable bracket:

    • Two 1.2 mm-long screws

    • Two 2.8 mm-long screws

    • Throughout this guide, keep careful track of your screws so that each one goes back where it came from during reassembly. Installing a screw in the wrong place can cause permanent damage.

  12. iPhone SE 2022 Logic Board Replacement, Remove the lower display cable bracket: étape 13, image 1 de 2 iPhone SE 2022 Logic Board Replacement, Remove the lower display cable bracket: étape 13, image 2 de 2
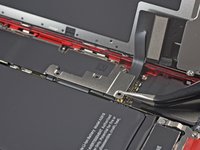
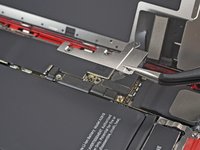
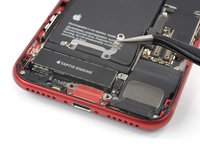
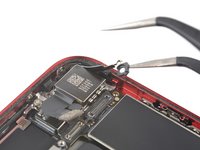
    • Use a pair of tweezers to carefully remove the lower display cable bracket.

  13. iPhone SE 2022 Logic Board Replacement, Disconnect the battery: étape 14, image 1 de 2 iPhone SE 2022 Logic Board Replacement, Disconnect the battery: étape 14, image 2 de 2
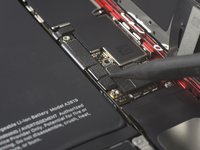
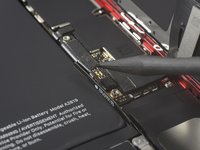
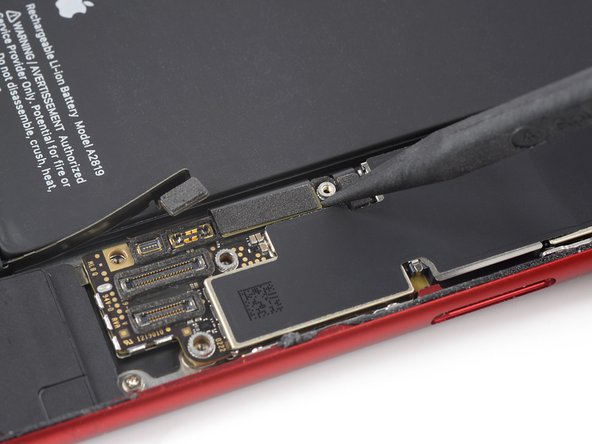
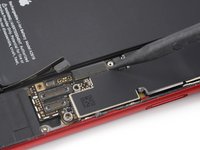
    • Use the pointed end of a spudger to disconnect the battery by prying the connector straight up from its socket.

  14. iPhone SE 2022 Logic Board Replacement, Disconnect the display and digitizer cables: étape 15, image 1 de 3 iPhone SE 2022 Logic Board Replacement, Disconnect the display and digitizer cables: étape 15, image 2 de 3 iPhone SE 2022 Logic Board Replacement, Disconnect the display and digitizer cables: étape 15, image 3 de 3
    • The display and digitizer cables run on top of each other. To avoid cable damage always start by disconnecting the upper cable first and never try to disconnect both at the same time.

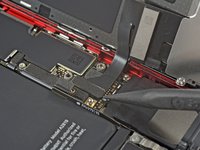
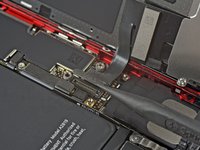
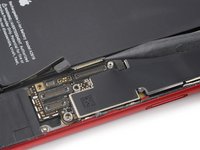
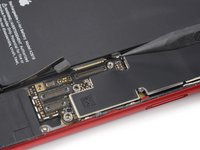
    • Use the pointed end of a spudger to disconnect the bottom two display cables by prying the connectors straight up from their sockets.

    • To re-attach press connectors like this, press down on one side until it clicks into place, then repeat on the other side. Do not press down on the middle. If the connector is even slightly misaligned, the connector can bend, causing permanent damage.

  15. iPhone SE 2022 Logic Board Replacement, Unfasten the front sensor assembly bracket screws: étape 16, image 1 de 1
    • Use a Phillips screwdriver to remove the three 1.2 mm-long screws securing the front sensor assembly bracket.

  16. iPhone SE 2022 Logic Board Replacement, Remove the front sensor assembly bracket: étape 17, image 1 de 2 iPhone SE 2022 Logic Board Replacement, Remove the front sensor assembly bracket: étape 17, image 2 de 2
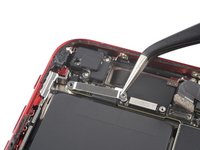
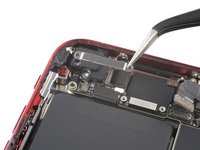
    • Use a pair of tweezers to carefully remove the front sensor assembly bracket.

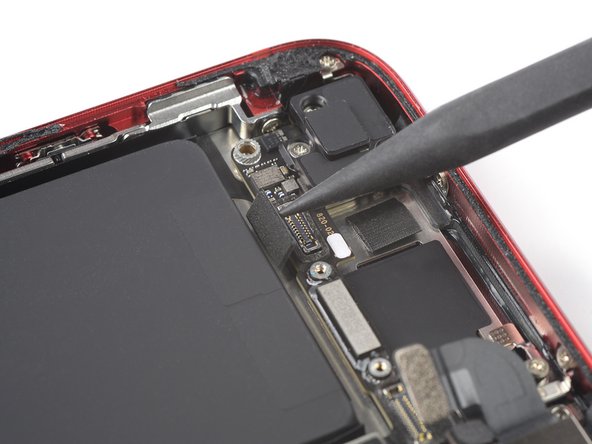
  17. iPhone SE 2022 Logic Board Replacement, Disconnect the front sensor assembly cable: étape 18, image 1 de 2 iPhone SE 2022 Logic Board Replacement, Disconnect the front sensor assembly cable: étape 18, image 2 de 2
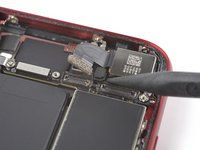
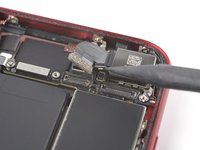
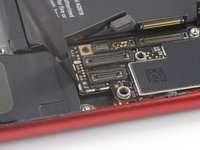
    • Use the pointed end of a spudger to disconnect the front sensor assembly by prying the connector straight up from its socket.

  18. iPhone SE 2022 Logic Board Replacement, Remove the display assembly: étape 19, image 1 de 2 iPhone SE 2022 Logic Board Replacement, Remove the display assembly: étape 19, image 2 de 2
    • Remove the display assembly.

  19. iPhone SE 2022 Logic Board Replacement, Unfasten the Lightning connector bracket screws: étape 20, image 1 de 1
    • Unfasten the three screws securing the Lighting connector bracket:

    • One 1.2 mm-long Y000 screw

    • One 2.7 mm-long Phillips screw

    • One 2.9 mm-long Phillips screws

  20. iPhone SE 2022 Logic Board Replacement, Remove the Lightning connector bracket: étape 21, image 1 de 2 iPhone SE 2022 Logic Board Replacement, Remove the Lightning connector bracket: étape 21, image 2 de 2
    • Use a pair of tweezers to remove the Lightning connector bracket.

  21. iPhone SE 2022 Logic Board Replacement, Loosen the Wi-Fi diversity antenna flex cable: étape 22, image 1 de 3 iPhone SE 2022 Logic Board Replacement, Loosen the Wi-Fi diversity antenna flex cable: étape 22, image 2 de 3 iPhone SE 2022 Logic Board Replacement, Loosen the Wi-Fi diversity antenna flex cable: étape 22, image 3 de 3
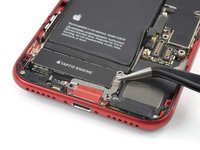
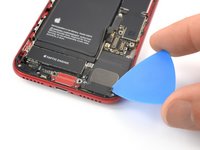
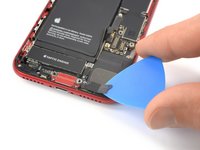
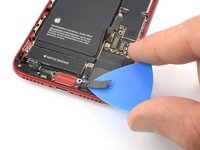
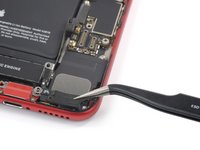
    • Carefully slide an opening pick between the antenna flex cable and the top of the speaker.

    • This portion of the flex cable is lightly adhered to the speaker. If you're struggling to separate the cable from the speaker, apply a little heat from an iOpener or hair dryer to soften the adhesive. This will make it easier to separate the flex cable safely.

  22. iPhone SE 2022 Logic Board Replacement, Disconnect the Wi-Fi diversity antenna: étape 23, image 1 de 2 iPhone SE 2022 Logic Board Replacement, Disconnect the Wi-Fi diversity antenna: étape 23, image 2 de 2
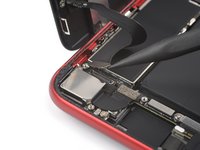
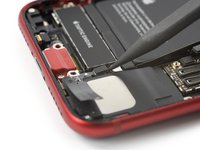
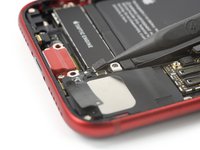
    • Use the pointed end of a spudger to disconnect the Wi-Fi diversity antenna by prying its connector straight up from its socket.

    • The socket of this connector sits loosely between the speaker and the Taptic Engine and it's a bit fiddly to disconnect the cable. To make the disconnection easier, you can use an opening pick to hold down the connector socket during this procedure.

    • Reconnecting this cable can be tricky. Make it easier by using tweezers to hold the flex cable so the connector aligns with its socket. Then, gently press straight down on the connector with the flat of your spudger until it clicks into place.

  23. iPhone SE 2022 Logic Board Replacement: étape 24, image 1 de 2 iPhone SE 2022 Logic Board Replacement: étape 24, image 2 de 2
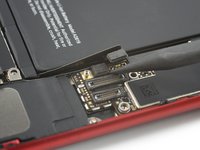
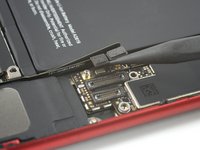
    • Use the pointed end of a spudger to disconnect the Wi-Fi diversity antenna from the logic board by prying the connector straight up from its socket.

  24. iPhone SE 2022 Logic Board Replacement, Remove the Wi-Fi diversity antenna: étape 25, image 1 de 2 iPhone SE 2022 Logic Board Replacement, Remove the Wi-Fi diversity antenna: étape 25, image 2 de 2
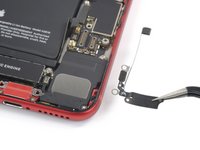
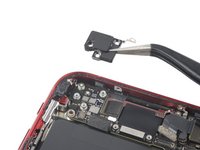
    • Use a pair of tweezers to remove the Wi-Fi diversity antenna.

  25. iPhone SE 2022 Logic Board Replacement, Disconnect the rear camera: étape 26, image 1 de 2 iPhone SE 2022 Logic Board Replacement, Disconnect the rear camera: étape 26, image 2 de 2
    • Use the pointed end of a spudger to disconnect the rear camera by prying the connector straight up from its socket.

    • Remove the two screws securing the rear-facing camera bracket:

    • One 3.0 mm-long standoff screw

    • Standoff screws are best removed using a standoff screwdriver or bit.

    • In a pinch, a small flathead screwdriver will do the job—but use extra caution to ensure it doesn't slip and damage surrounding components.

    • One 3.1 mm-long Phillips screw

  26. iPhone SE 2022 Logic Board Replacement, Remove the rear camera bracket: étape 28, image 1 de 2 iPhone SE 2022 Logic Board Replacement, Remove the rear camera bracket: étape 28, image 2 de 2
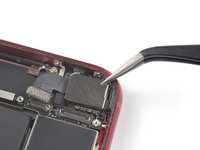
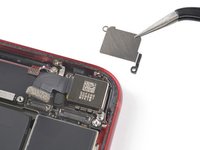
    • Use a pair of tweezers to remove the rear camera bracket.

  27. iPhone SE 2022 Logic Board Replacement, Disconnect the flash: étape 29, image 1 de 2 iPhone SE 2022 Logic Board Replacement, Disconnect the flash: étape 29, image 2 de 2
    • Use the pointed end of a spudger to disconnect the flash by prying the connector straight up from its socket.

  28. iPhone SE 2022 Logic Board Replacement, Unfasten the upper cable bracket screws: étape 30, image 1 de 1
    • Remove the two screws securing the upper cable bracket:

    • One 2.8 mm-long Phillips screw

    • One 1.2 mm-long Phillips screw

  29. iPhone SE 2022 Logic Board Replacement, Remove the upper cable bracket: étape 31, image 1 de 2 iPhone SE 2022 Logic Board Replacement, Remove the upper cable bracket: étape 31, image 2 de 2
    • Use a pair of tweezers to remove the upper cable bracket.

  30. iPhone SE 2022 Logic Board Replacement, Disconnect the upper flex cable: étape 32, image 1 de 2 iPhone SE 2022 Logic Board Replacement, Disconnect the upper flex cable: étape 32, image 2 de 2
    • Use the pointed end of a spudger to disconnect the upper flex cable by prying the connector straight up from its socket.

  31. iPhone SE 2022 Logic Board Replacement, Unfasten the top left antenna component screws: étape 33, image 1 de 1
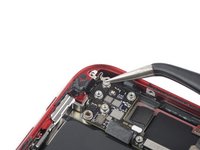
    • Unfasten the three 1.2 mm-long Phillips screws securing the top left antenna component.

    • Don't try to remove the antenna component yet. There's a fourth screw securing it to the rear case.

  32. iPhone SE 2022 Logic Board Replacement: étape 34, image 1 de 1
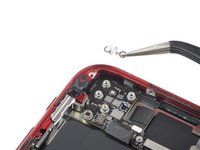
    • Unfasten the 1.4 mm-long Phillips screw securing the antenna component to the top edge of the rear case.

  33. iPhone SE 2022 Logic Board Replacement, Remove the top left antenna component: étape 35, image 1 de 2 iPhone SE 2022 Logic Board Replacement, Remove the top left antenna component: étape 35, image 2 de 2
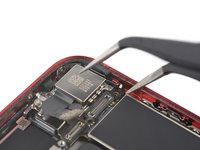
    • Use a pair of tweezers to remove the top left antenna component.

  34. iPhone SE 2022 Logic Board Replacement, Unfasten the grounding bracket screws: étape 36, image 1 de 1
    • Unfasten the two screws securing the top left grounding bracket:

    • One 1.5 mm-long Phillips screw

    • One 1.2 mm-long Phillips screw

  35. iPhone SE 2022 Logic Board Replacement, Remove the top left grounding bracket: étape 37, image 1 de 2 iPhone SE 2022 Logic Board Replacement, Remove the top left grounding bracket: étape 37, image 2 de 2
    • Use a pair of tweezers to remove the top left grounding bracket.

  36. iPhone SE 2022 Logic Board Replacement, Unfasten the logic board screws: étape 38, image 1 de 1
    • Unfasten the four screws securing the logic board:

    • One 1.7 mm-long Phillips screw

    • One partially threaded 1.7 mm-long Phillips screw

    • This screw is covered by protective foam surrounding the rear camera connector. Use a pair of tweezers to peel just enough foam off to unfasten the screw.

    • One 2.5 mm-long standoff screw

    • One 2.2 mm-long standoff screw

  37. iPhone SE 2022 Logic Board Replacement, Pry up the logic board grounding bracket: étape 39, image 1 de 2 iPhone SE 2022 Logic Board Replacement, Pry up the logic board grounding bracket: étape 39, image 2 de 2
    • Use a pair of tweezers to carefully pry up the logic board grounding bracket in the top right corner of the rear case.

  38. iPhone SE 2022 Logic Board Replacement, Position the SIM card eject plunger: étape 40, image 1 de 2 iPhone SE 2022 Logic Board Replacement, Position the SIM card eject plunger: étape 40, image 2 de 2
    • Use the pointed end of a spudger to move the SIM card eject plunger out of the logic board's way by pushing it to the right edge of the rear case.

  39. iPhone SE 2022 Logic Board Replacement, Disconnect the Lightning port and the wireless charging coil cable: étape 41, image 1 de 3 iPhone SE 2022 Logic Board Replacement, Disconnect the Lightning port and the wireless charging coil cable: étape 41, image 2 de 3 iPhone SE 2022 Logic Board Replacement, Disconnect the Lightning port and the wireless charging coil cable: étape 41, image 3 de 3
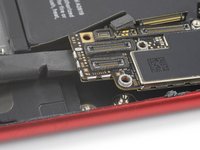
    • Use the pointed end of a spudger to disconnect the Lightning port cable by prying the connector straight up from its socket.

    • Use the pointed end of a spudger to disconnect the wireless charging coil cable by prying the connector straight up from its socket.

  40. iPhone SE 2022 Logic Board Replacement, Pry up the logic board: étape 42, image 1 de 2 iPhone SE 2022 Logic Board Replacement, Pry up the logic board: étape 42, image 2 de 2
    • Use the flat end of a spudger to gently pry up the battery connector end of the logic board.

    • Be careful not to pry against any cables. If you feel resistance, check that all cables, connectors, and components are clear of the board.

  41. iPhone SE 2022 Logic Board Replacement, Remove the logic board: étape 43, image 1 de 3 iPhone SE 2022 Logic Board Replacement, Remove the logic board: étape 43, image 2 de 3 iPhone SE 2022 Logic Board Replacement, Remove the logic board: étape 43, image 3 de 3
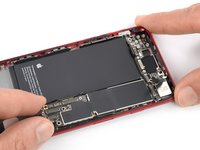
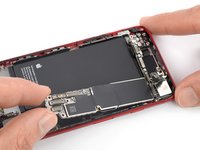
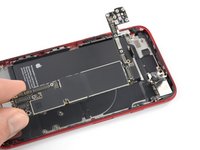
    • Grasping it by the edges, lift the logic board near the battery connector and remove it.

    • Make sure that none of the surrounding cables are tangled with the logic board or blocking its way.

Conclusion

If possible, turn on your device and test your repair before installing new adhesive and resealing.

Compare your new replacement part to the original part—you may need to transfer remaining components or remove adhesive backings from the new part before installing.

To reassemble your device, follow these instructions in reverse order.

Take your e-waste to an R2 or e-Stewards certified recycler.

Repair didn’t go as planned? Try some basic troubleshooting, or ask our Answers community for help.

Dominik Schnabelrauch

Membre depuis le 11/23/16

162 906 Réputation

648 tutoriels rédigés

Équipe

iFixit Membre de l'équipe iFixit

Community

139 membres

16 856 tutoriels rédigés

0 commentaires

Ajouter un commentaire

Nombre de vues :

Dernières 24 heures : 15

7 derniers jours : 61

30 derniers jours : 221

Total : 1,620