Traduction de l’étape 3
Étape 3

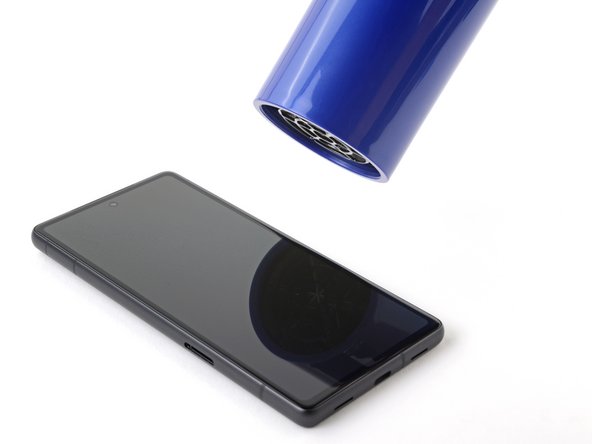


Soften the battery adhesive
-
Two strips of adhesive secure the upper half of the battery. The battery jacket is just below these strips.
-
Flip the phone over and use a hair dryer, heat gun, or hot plate to evenly heat the screen until the entire frame is warm to the touch.
Vos contributions sont faites dans le cadre de la licence open source Creative Commons.