Traduction de l’étape 2
Étape 2

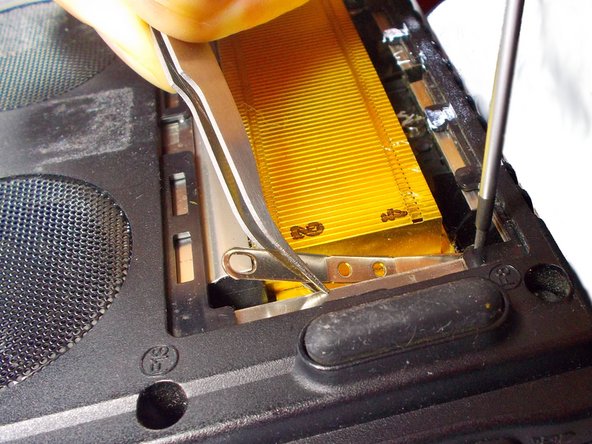


Remove the Heat Sink Brackets
-
This step can be kind of tricky. Using a PH00 screwdriver, remove the eight indicated screws. The screws in the four corners are 5mm while the four screws on the left and right sides are 3mm.
-
If you’re removing one of the top or bottom (red) ones for that side last, make sure to use a pair of tweezers to hold the other end so that the bracket doesn’t drop into the laptop.
| [title] Remove the Heat Sink Brackets | |
| [* red] This step can be kind of tricky. Using a PH00 screwdriver, remove the eight indicated screws. The screws in the four corners are 5mm while the four screws on the left and right sides are 3mm. | |
| [* icon_note] It doesn’t matter which order you unscrew them when removing the heat sink. | |
| - | [* black] If you’re removing one of the top or bottom (red) ones for that side last, make sure to use a pair of tweezers to hold the other end so that the bracket doesn’t drop into the laptop. |
| + | [* black] If you’re removing one of the top or bottom (red) ones for that side last, make sure to use a pair of [product|IF145-020|tweezers] to hold the other end so that the bracket doesn’t drop into the laptop. |
Vos contributions sont faites dans le cadre de la licence open source Creative Commons.