Introduction
The screen of your Garmin Drivesmart 55 EX may become cracked, unresponsive, or present a distorted image over time with frequent use. The touch screen for the Garmin device displays the GPS information. When this screen malfunctions or becomes cracked, the device is essentially unusable.
Replacing the screen requires a disconnection from the motherboard through a simple locking tab mechanism. This guide will provide the step-by-step process for replacing the Garmin Drivesmart 55 EX screen. Replacing a damaged screen restores full function and reliability to the device.
Before you begin, make sure the device is powered off and unplugged from the charger.
Ce dont vous avez besoin
-
-
-
Use a T5 Torx screwdriver to remove the four 4.2 mm black screws from the back case.
-
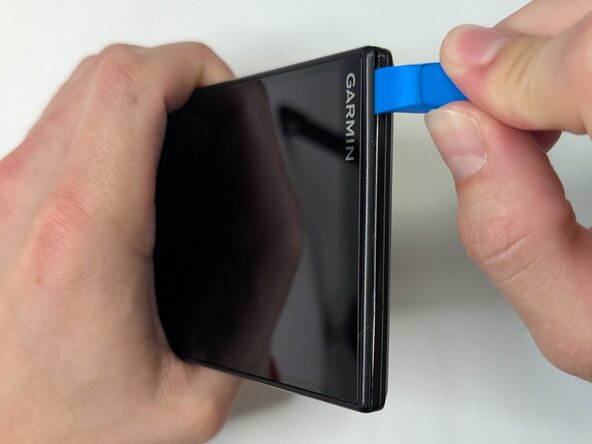
Insert the plastic opening tool into the gap between the screen and case, and release the clips along the edges of the device.
 Demander à FixBot
-
-
-
Gently separate the screen from the case and place the device flat on the surface.
-
Use a T5 Torx screwdriver to remove the four 3.8 mm silver screws from the motherboard.
-
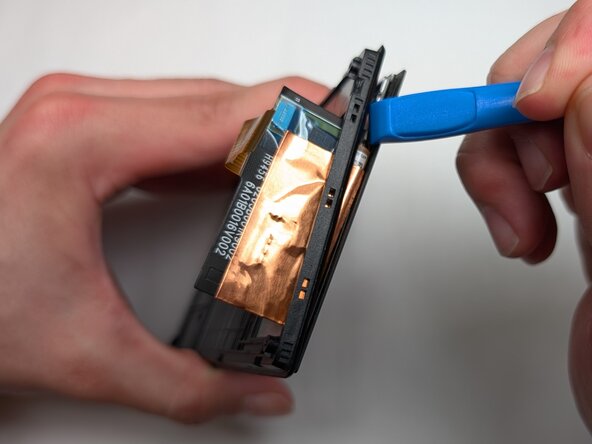
Gently pry the motherboard up using the plastic opening tool.
-
-
-
-
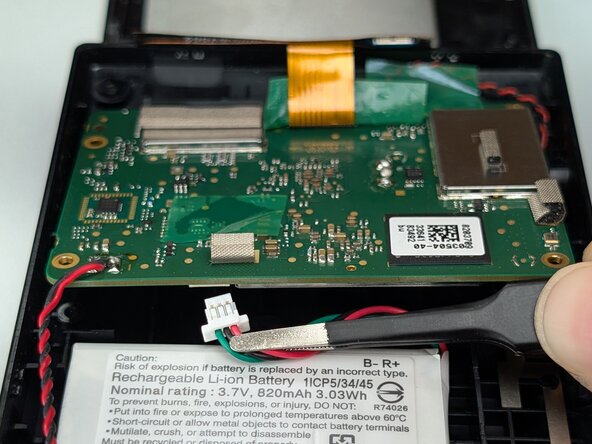
Use your fingers or tweezers to disconnect the battery connector on the underside of the motherboard.
-
-
-
Use a spudger or a clean fingernail to flip up the locking flap on the ZIF connector.
-
Use tweezers to gently pull the gold ribbon cable from the socket on the motherboard.
-
-
-
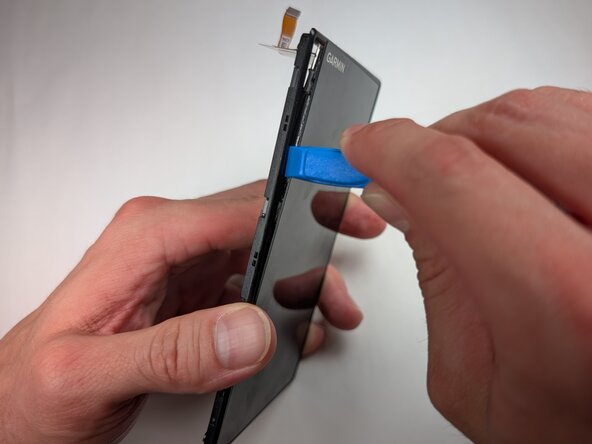
Insert a spudger or plastic opening tool into the gap between the screen and display frame.
-
Once a corner begins to lift, slowly slide the tool around the edges to release the clips securing them.
-
Separate the screen from the device.
-
-







To reassemble your device, follow these instructions in reverse order. Take your e-waste to an R2 or e-Stewards certified recycler.

Équipe

Purdue University Northwest, Team 7-1, Dieterle Spring 2026 Membre de l'équipe Purdue University Northwest, Team 7-1, Dieterle Spring 2026
PNW-DIETERLE-S26S7G1
3 membres
8 tutoriels rédigés
