Introduction
This repair guide was authored by the iFixit staff and hasn’t been endorsed by Google. Learn more about our repair guides here.
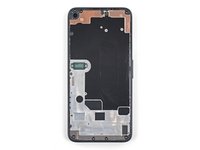
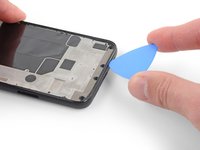
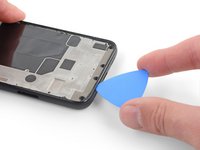
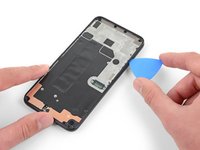
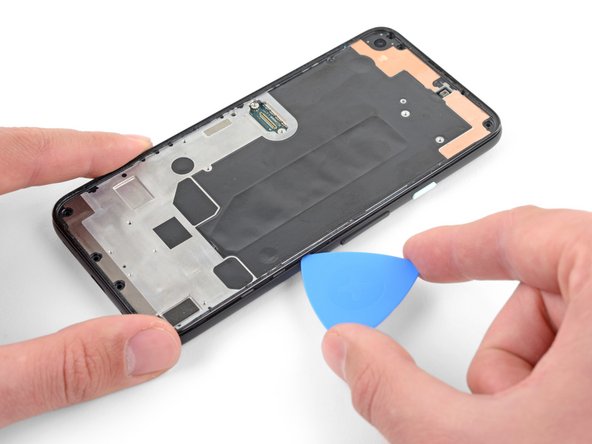
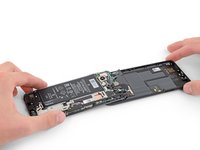
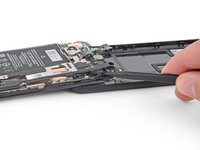
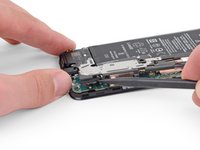
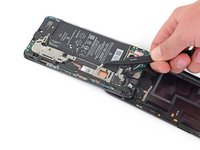
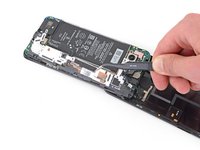
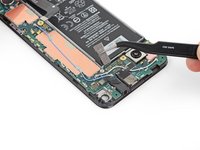
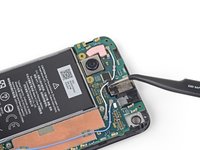
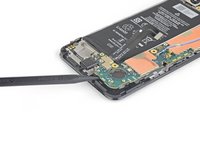
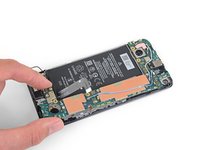
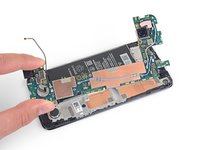
Follow this guide to replace the motherboard on a Google Pixel 4a.
The unreinforced display panel on the Pixel 4a is fragile. Pay special attention to the warnings in the opening procedure if you are reusing the screen.
Ce dont vous avez besoin
-
-
Insert a SIM eject tool, bit, or straightened paper clip into the SIM tray hole.
-
Press directly into the hole to eject the SIM card tray.
-
Remove the SIM card tray.
-
-
-
Take note of the two seams on the edge of the phone:
-
Screen seam: This seam separates the screen from the rest of the phone. This is where you should pry.
-
Frame seam: This is where the plastic frame meets the back cover. It is held in place by screws. Do not pry at this seam.
-
Before you begin, note the following areas on the screen:
-
Screen flex cable: Do not insert the opening pick deeper than instructed or you risk damaging this cable.
-
Adhesive perimeter: Prying beyond this narrow perimeter without angling the pick will damage the OLED panel.
-
-
-
Apply a heated iOpener to the right edge of the display for one minute to soften the adhesive.
-
-
-
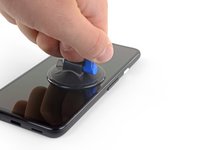
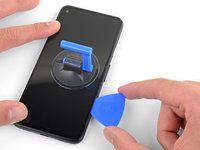
Place a suction cup as close to the right edge of the screen as possible.
-
Lift the suction cup with a strong steady force.
-
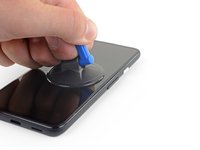
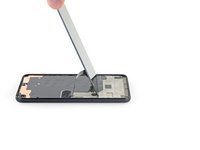
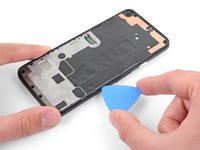
Insert the tip of an opening pick into the screen seam no more than 1 mm.
-
-
-
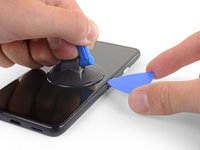
With the pick 1 mm into the gap, pivot the pick upwards to a steep angle.
-
At a steep angle, carefully push the pick into the gap about 1/4 inch (6 mm). The pick should slide in below the OLED panel.
-
-
-
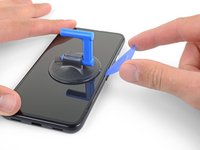
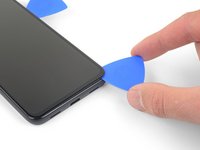
Slide the pick along the right edge of the screen to cut the adhesive.
-
Leave the pick in the top right corner to prevent the adhesive from re-sealing.
-
-
-
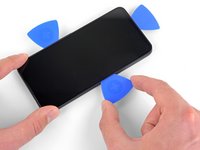
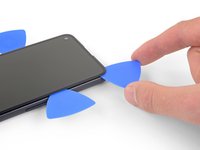
Insert another opening pick into the right edge of the phone at an angle where a gap has already formed to prevent damage to the OLED panel.
-
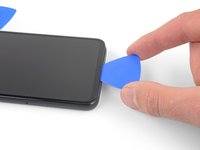
Slide the opening pick around the bottom of the phone to cut the adhesive.
-
Leave the pick inserted along the bottom edge to prevent the adhesive from resealing.
-
-
-
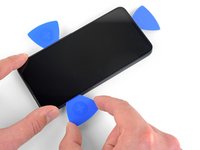
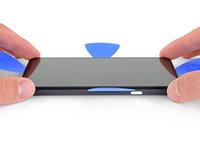
Insert another opening pick into the bottom edge of the phone at an angle where a gap has already formed to prevent damage to the OLED panel.
-
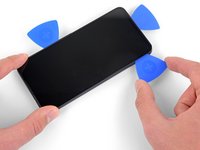
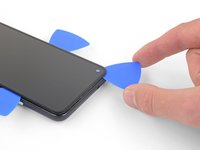
Use the pick to slice through the left edge of the phone.
-
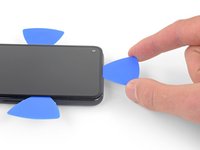
Leave the pick inserted along the left edge of the phone to prevent the adhesive from re-sealing.
-
-
-
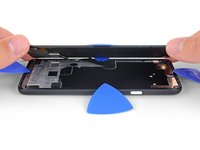
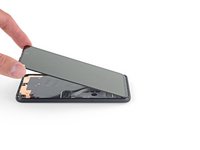
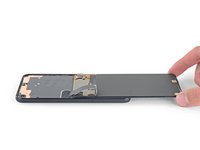
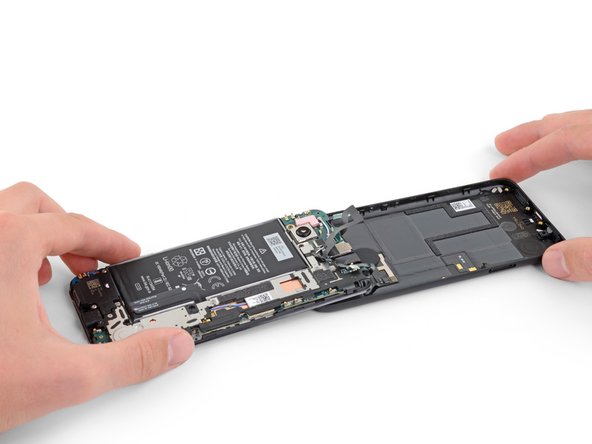
Lift from the top edge and swing the screen over the bottom edge until you can rest it glass-side down.
-
-
Outil utilisé dans cette étape :Tweezers$4.99
-
Use a pair of tweezers to carefully peel up the black tape covering the screen connector bracket.
-
-
-
-
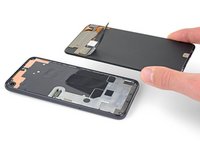
Remove the screen.
-
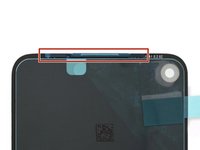
Check if your replacement screen has speaker mesh and top edge adhesive pre-installed.
-
If it does, you won't need the top edge adhesive.
-
If it doesn't, remove the larger clear liner from the top edge adhesive and apply it to the screen (not the frame). Make sure the larger cutout lines up with the speaker mesh.
-
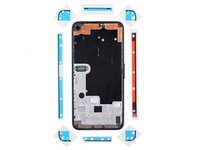
Follow this guide to apply the custom-cut adhesive.
-
-
-
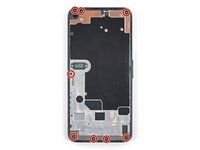
Use a T3 Torx driver to remove the eight 4.3 mm screws securing the back cover to the midframe.
-
-
-
This photo shows the midframe components behind the back cover. Note the spring contacts near the edge of the midframe. As you slice with the opening pick in the next step, be sure not to insert the pick more than 2 mm to avoid damaging the spring contacts.
-
-
-
Insert an opening pick into the seam between the midframe and the back cover. Angle the pick downwards at a steep angle into the seam.
-
Slide the opening pick along the bottom edge of the phone to release the plastic clips securing the back cover to the midframe.
-
-
-
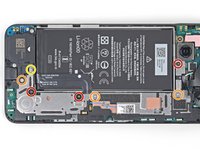
Use a T3 Torx driver to remove the seven screws securing the motherboard bracket:
-
Three 2.9 mm-long black screws
-
Three 2 mm-long screws
-
One 4.1 mm-long screw
-
-
-
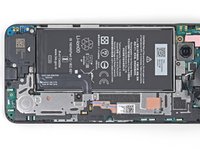
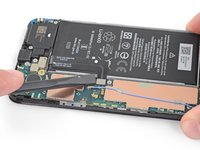
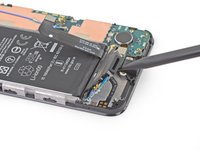
Use the flat end of a spudger to pry up and disconnect the battery cable.
-
-
-
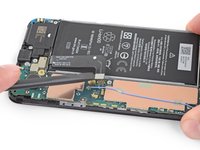
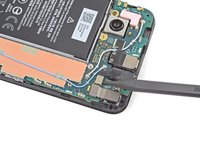
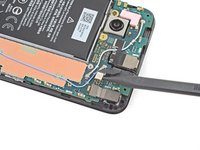
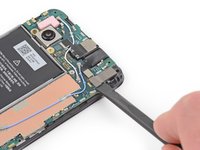
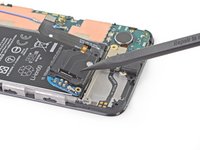
Use the tip of a spudger to disconnect the two flex cables connecting the fingerprint sensor and buttons to the motherboard.
-
-
-
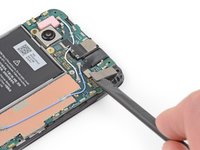
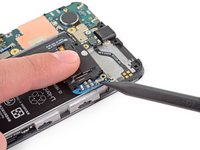
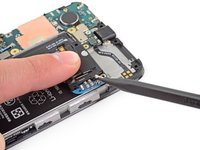
Use the tip of a spudger to disconnect the headphone jack cable from the motherboard.
-
-
-
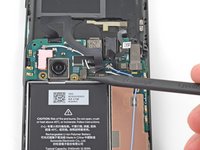
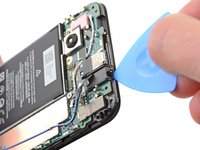
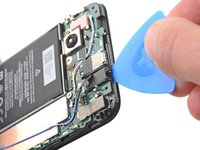
Pry up with the flat end of a spudger to disconnect the front-facing camera from the motherboard.
-
-
-
Use a T3 Torx driver to remove the two 4.1 mm screws securing the loudspeaker assembly.
-
-
-
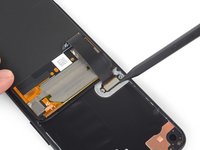
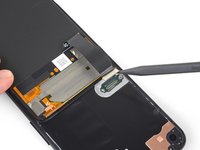
Use the tip of a spudger to disconnect the loudspeaker cable from the motherboard.
-
-
-
Use a T3 Torx driver to remove the three screws securing the motherboard:
-
Two 2.9 mm-long black screws
-
One 2.1 mm-long screw
-
-
-
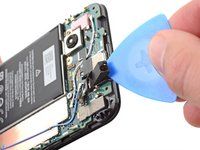
Use the corner of an opening pick to peel up the tape covering the earpiece speaker.
-
-
-
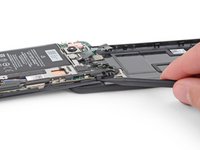
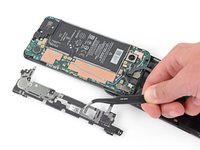
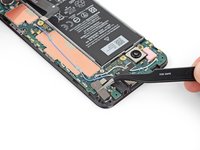
Insert the tip of a spudger underneath the bottom edge of the motherboard and pry it up enough to grip it with your fingers.
-
Compare your new replacement part to the original part—you may need to transfer remaining components or remove adhesive backings from the new part before installing.
To reassemble your device, follow the above steps in reverse order.
Take your e-waste to an R2 or e-Stewards certified recycler.
Repair didn’t go as planned? Try some basic troubleshooting, or ask our Answers community for help.
Annulation : je n'ai pas terminé ce tutoriel.
9 autres ont terminé cette réparation.
6 commentaires
Longshot here… I dropped my phone and it appears to be dead, although no physical signs of damage. Right after it happened, I could see an image on the screen but it was frozen, so I pressed the power button and the screen turned off, and then I wasn’t able to turn it back on from then on. There are no signs of life at all… no lights, no vibrations, no sounds. If I plug it into my computer, nothing happens. So totally dead. I already opened it up and checked for any obvious damage to internal components or loose cables. Didn’t find any smoking guns, so I just tried disconnecting and re-connecting all the ribbon cables. Still no success. I’m wondering if you have any thoughts on whether a battery or motherboard replacement might bring my phone back to life, and if so, if you have any thoughts on one or the other. My initial thought is that’s it more likely that something on the motherboard got damaged from a physical drop vs. the battery, but any other input you could offer would be great.
That’s a tough one Sally… I can’t guarantee replacing any certain component will fix your phone given the information. Disconnecting and reconnecting the cables was a good idea. No signs of life at all suggests to me it’s likely the battery or motherboard, like you said.
If it’s still under warranty see if Google will replace it, they replaced my pixel 3 twice when it bricked for no apparent reason. If it’s not then I think the best course of action would be to meticulously search for the damage starting with the motherboard. Use a magnifying glass. Even if a single tiny transistor popped off that would be enough to brick it. If you can’t find anything, you’ll have to take a chance replacing one part at a time until you get it working again.
Good luck!
Hey there, probably no fix to this, but I went swimming in a salt water pool with my 4a on accident and the repair store said the motherboard was fried and unrepairable. Is there any chance that I can still get data off the phone?
Unfortunately, even if you disassemble your phone clean it in an ultrasonic bath, then replace the battery, you’d still have to be very lucky for it to power back on with data intact.


