Aller au contenu principal
Pour réparer ensemble - Je crée un compte

HTC Vive Pro Sensor Array Replacement

Ce dont vous avez besoin

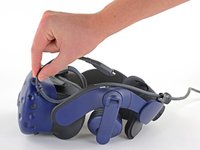
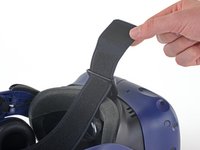
  1. HTC Vive Pro Sensor Array Replacement, Reposition the head strap: étape 1, image 1 de 2 HTC Vive Pro Sensor Array Replacement, Reposition the head strap: étape 1, image 2 de 2
    • Rotate the head strap forward as far as it will go.

    Demander à FixBot
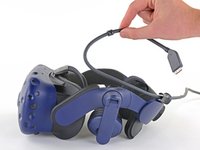
  2. HTC Vive Pro Sensor Array Replacement, Unplug the All-In-One Cable: étape 2, image 1 de 2 HTC Vive Pro Sensor Array Replacement, Unplug the All-In-One Cable: étape 2, image 2 de 2
    • Unplug the All-In-One Cable from your headset.

    Demander à FixBot
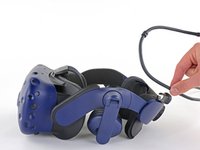
  3. HTC Vive Pro Sensor Array Replacement, Remove the All-In-One Cable: étape 3, image 1 de 3 HTC Vive Pro Sensor Array Replacement, Remove the All-In-One Cable: étape 3, image 2 de 3 HTC Vive Pro Sensor Array Replacement, Remove the All-In-One Cable: étape 3, image 3 de 3
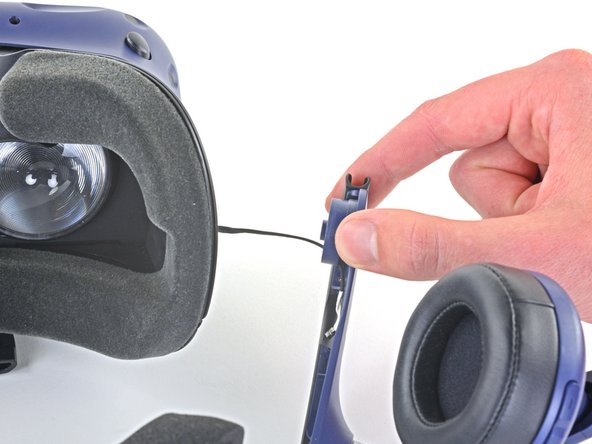
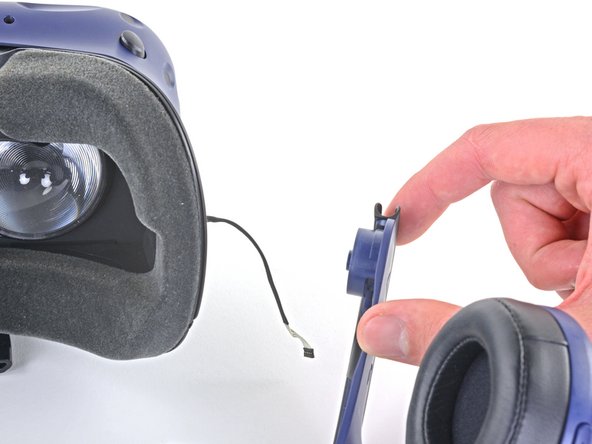
    • Remove the All-In-One Cable from the cable guides along the left side of the head strap.

    • During reassembly, connect the All-In-One Cable to the headset before routing it through the cable guides. This will ensure it has the right amount of slack.

    Demander à FixBot
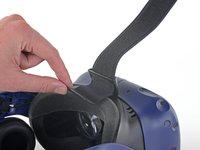
  4. HTC Vive Pro Sensor Array Replacement, Remove the top strap: étape 4, image 1 de 2 HTC Vive Pro Sensor Array Replacement, Remove the top strap: étape 4, image 2 de 2
    • Separate the top strap from itself where the Velcro secures it.

    Demander à FixBot
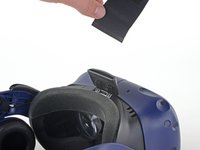
  5. HTC Vive Pro Sensor Array Replacement: étape 5, image 1 de 3 HTC Vive Pro Sensor Array Replacement: étape 5, image 2 de 3 HTC Vive Pro Sensor Array Replacement: étape 5, image 3 de 3
    • Peel back the Velcro securing the rear of the top strap.

    • Feed the top strap out through the head strap to partially remove it.

    Demander à FixBot
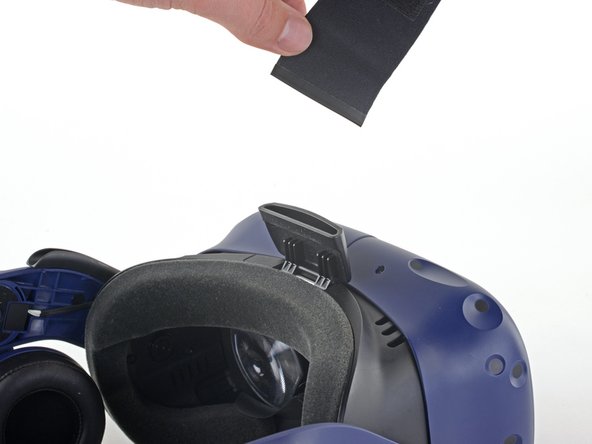
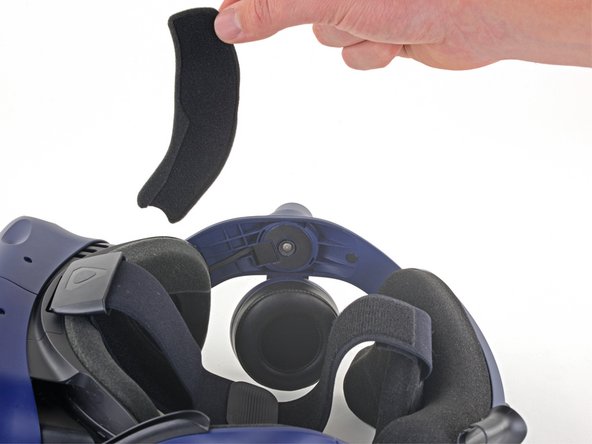
  6. HTC Vive Pro Sensor Array Replacement: étape 6, image 1 de 3 HTC Vive Pro Sensor Array Replacement: étape 6, image 2 de 3 HTC Vive Pro Sensor Array Replacement: étape 6, image 3 de 3
    • Feed the top strap through the clip near the front of headset to fully remove it.

    Demander à FixBot
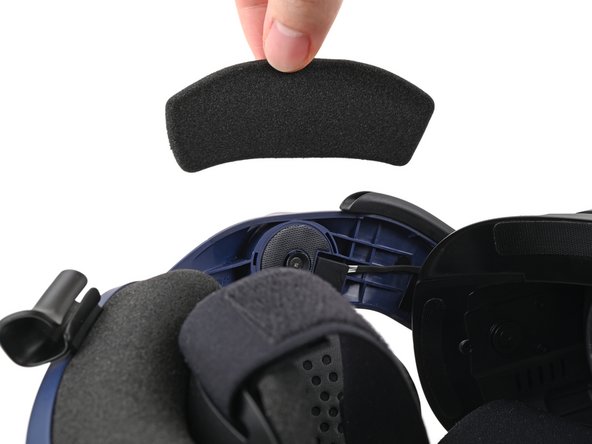
  7. HTC Vive Pro Sensor Array Replacement, Remove the front side foam pads: étape 7, image 1 de 3 HTC Vive Pro Sensor Array Replacement, Remove the front side foam pads: étape 7, image 2 de 3 HTC Vive Pro Sensor Array Replacement, Remove the front side foam pads: étape 7, image 3 de 3
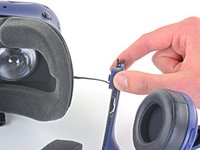
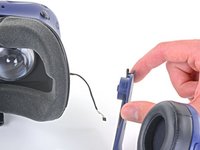
    • Peel off both front side foam pads to uncover the speaker wires.

    Demander à FixBot
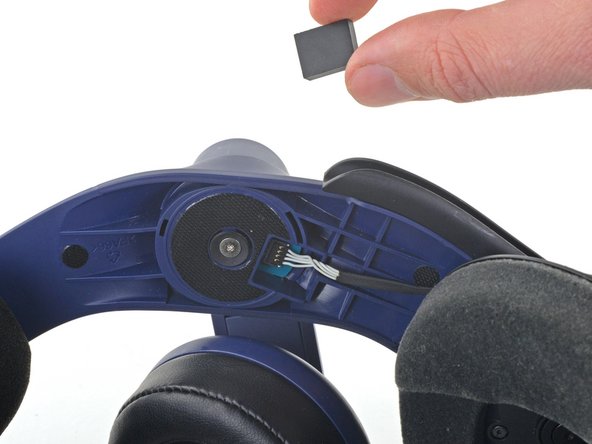
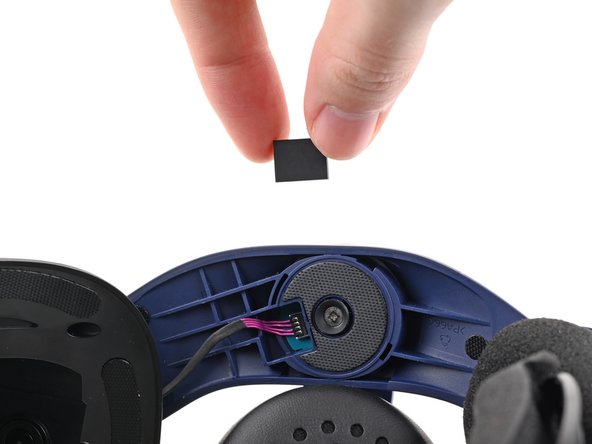
  8. HTC Vive Pro Sensor Array Replacement, Remove the two rubber spacers: étape 8, image 1 de 3 HTC Vive Pro Sensor Array Replacement, Remove the two rubber spacers: étape 8, image 2 de 3 HTC Vive Pro Sensor Array Replacement, Remove the two rubber spacers: étape 8, image 3 de 3
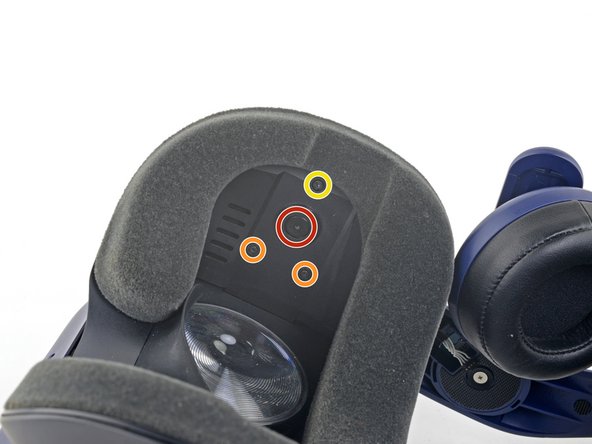
    • Use the point of your spudger to pry out the two rubber spacers next to the headphone screws.

    • Be careful not to accidentally pry any of the speaker wires under the rubber spacer.

    Demander à FixBot
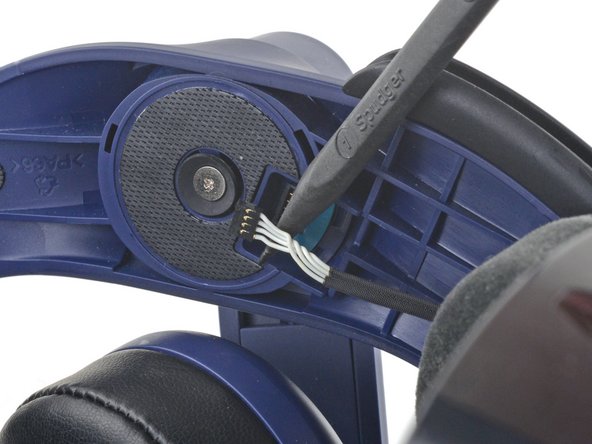
  9. HTC Vive Pro Sensor Array Replacement, Disconnect the speaker wires: étape 9, image 1 de 3 HTC Vive Pro Sensor Array Replacement, Disconnect the speaker wires: étape 9, image 2 de 3 HTC Vive Pro Sensor Array Replacement, Disconnect the speaker wires: étape 9, image 3 de 3
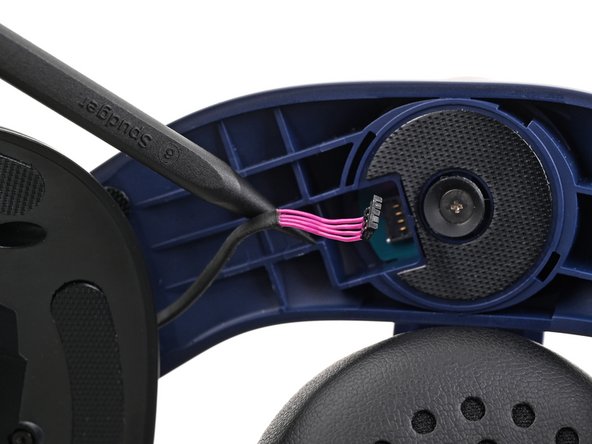
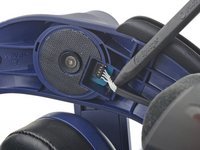
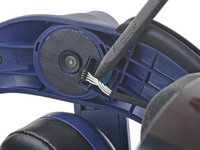
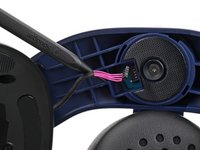
    • Use the point of your spudger to pry up and disconnect both the left and right headphone speaker wires.

    Demander à FixBot
  10. HTC Vive Pro Sensor Array Replacement, Remove the head strap: étape 10, image 1 de 2 HTC Vive Pro Sensor Array Replacement, Remove the head strap: étape 10, image 2 de 2
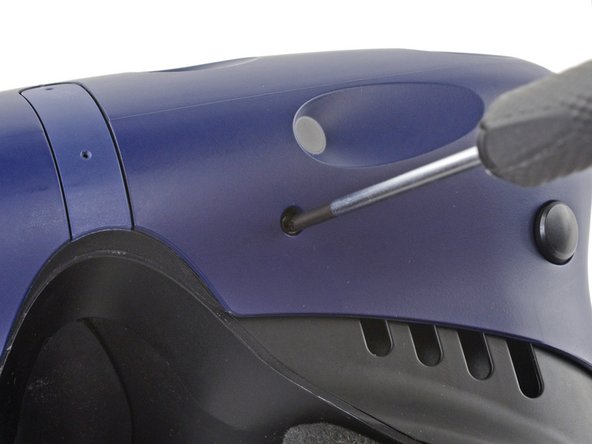
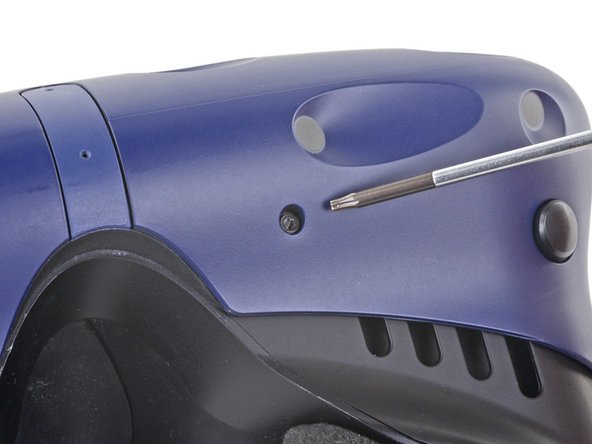
    • Use a T6 Torx screwdriver to remove the two 12.1 mm screws (one on each side) securing the head strap to the headset.

    • Use a T5 Torx screwdriver to remove the following screws securing the head strap to the headset:

    • Four 3.9 mm screws (two on each side)

    • Two 4.1 mm screws (one on each side)

    Demander à FixBot
  11. HTC Vive Pro Sensor Array Replacement: étape 11, image 1 de 1
    • Remove the two plastic spacers underneath the previously removed Torx T6 screw.

    Demander à FixBot
  12. HTC Vive Pro Sensor Array Replacement: étape 12, image 1 de 3 HTC Vive Pro Sensor Array Replacement: étape 12, image 2 de 3 HTC Vive Pro Sensor Array Replacement: étape 12, image 3 de 3
    • Thread the headphone speaker wires out through both ends of the head strap.

    Demander à FixBot
  13. HTC Vive Pro Sensor Array Replacement, Remove the outer shell: étape 13, image 1 de 3 HTC Vive Pro Sensor Array Replacement, Remove the outer shell: étape 13, image 2 de 3 HTC Vive Pro Sensor Array Replacement, Remove the outer shell: étape 13, image 3 de 3
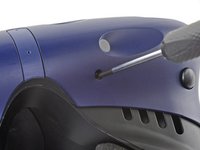
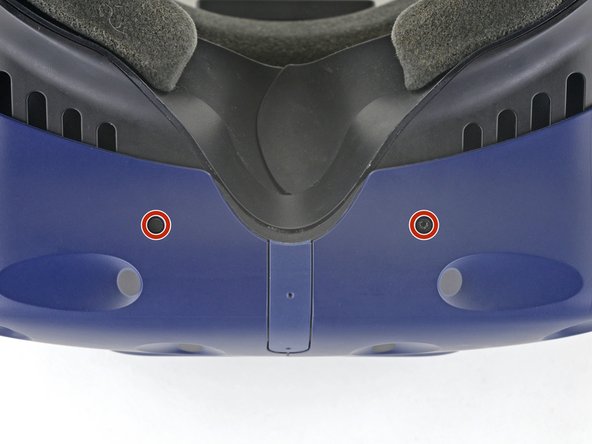
    • The four screws securing the outer shell are covered with black stickers. If the stickers are difficult to remove, simply press your T6 Torx driver through them.

    Demander à FixBot
  14. HTC Vive Pro Sensor Array Replacement: étape 14, image 1 de 2 HTC Vive Pro Sensor Array Replacement: étape 14, image 2 de 2
    • Use a T6 Torx screwdriver to remove the four 3.9 mm screws (two on top, two on bottom) securing the outer shell to the headset.

    Demander à FixBot
  15. HTC Vive Pro Sensor Array Replacement: étape 15, image 1 de 3 HTC Vive Pro Sensor Array Replacement: étape 15, image 2 de 3 HTC Vive Pro Sensor Array Replacement: étape 15, image 3 de 3
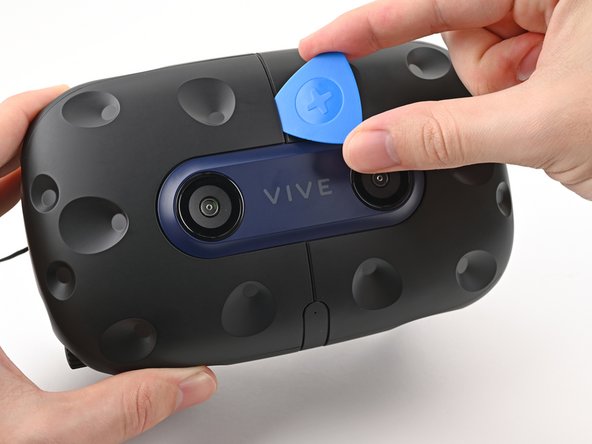
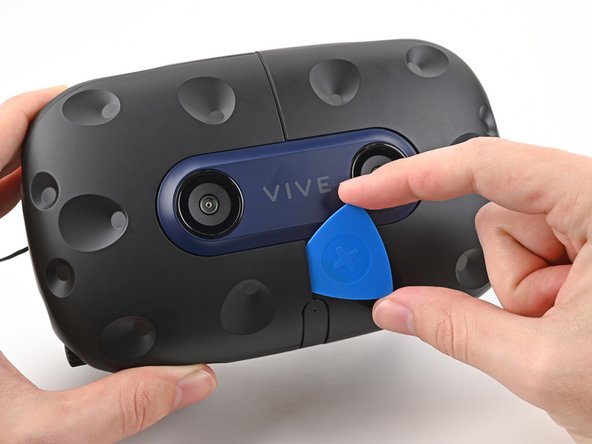
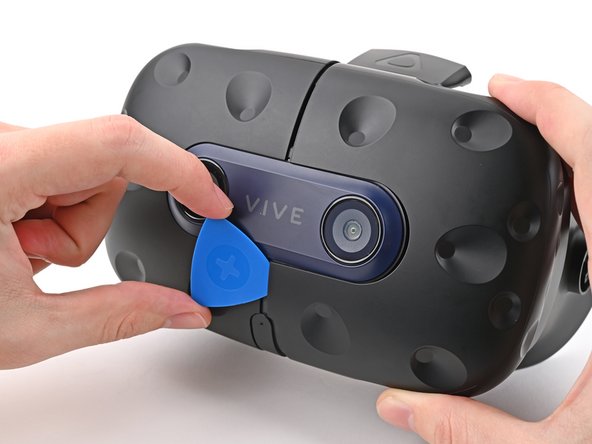
    • Insert an opening pick into the seam between the two halves of the outer shell.

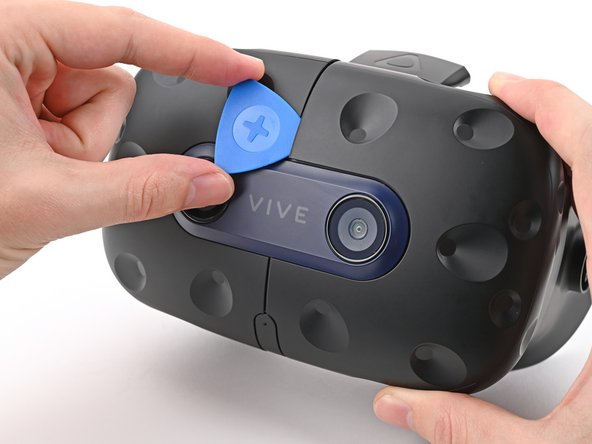
    • Slide the opening pick through the seam to dislodge the clips securing it to the headset.

    • Only insert the opening pick as far as necessary. There are ribbon cables underneath the outer shell.

    Demander à FixBot
  16. HTC Vive Pro Sensor Array Replacement: étape 16, image 1 de 3 HTC Vive Pro Sensor Array Replacement: étape 16, image 2 de 3 HTC Vive Pro Sensor Array Replacement: étape 16, image 3 de 3
    • Continue sliding the opening pick through each seam until all clips have been dislodged.

    Demander à FixBot
  17. HTC Vive Pro Sensor Array Replacement: étape 17, image 1 de 3 HTC Vive Pro Sensor Array Replacement: étape 17, image 2 de 3 HTC Vive Pro Sensor Array Replacement: étape 17, image 3 de 3
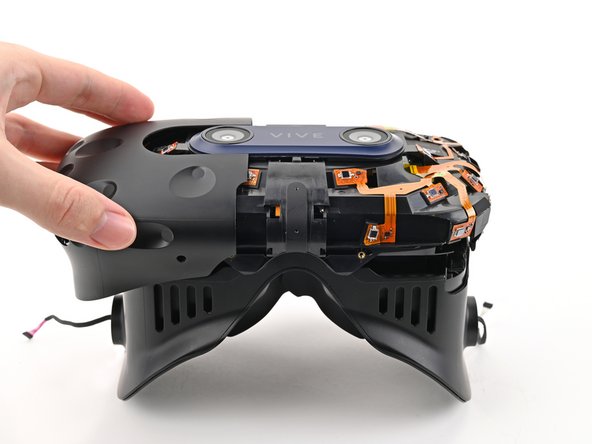
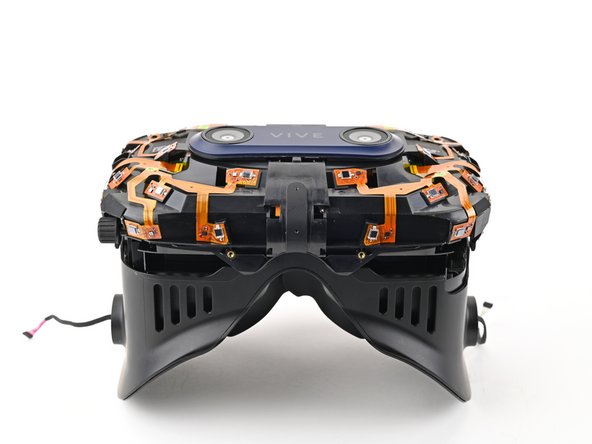
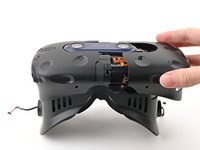
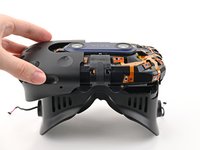
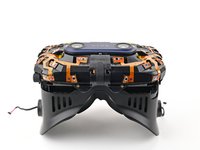
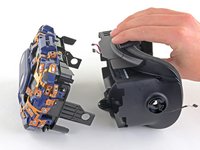
    • Carefully slide each half of the outer shell off of the sensor array.

    • Be careful not to snag any of the ribbon cables underneath.

    Demander à FixBot
  18. HTC Vive Pro Sensor Array Replacement, Remove the face rest cushion: étape 18, image 1 de 3 HTC Vive Pro Sensor Array Replacement, Remove the face rest cushion: étape 18, image 2 de 3 HTC Vive Pro Sensor Array Replacement, Remove the face rest cushion: étape 18, image 3 de 3
    • Use your fingers to gently peel the face rest cushion off of the headset.

    Demander à FixBot
  19. HTC Vive Pro Sensor Array Replacement, Remove the facerest: étape 19, image 1 de 2 HTC Vive Pro Sensor Array Replacement, Remove the facerest: étape 19, image 2 de 2
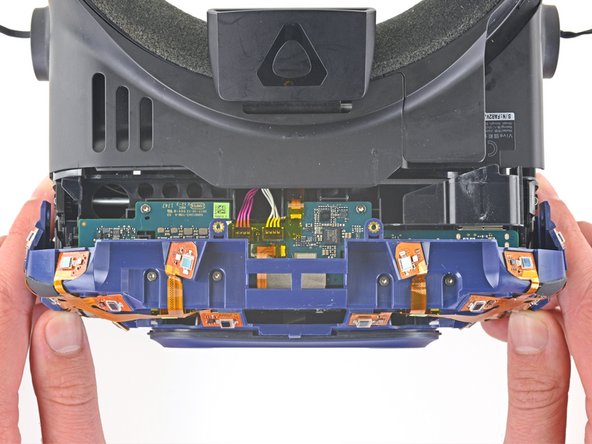
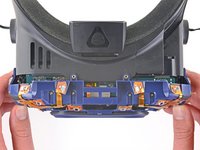
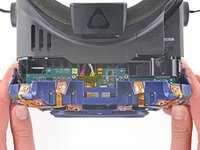
    • Partially separate the facerest and the sensor array to access the daughterboard.

    Demander à FixBot
  20. HTC Vive Pro Sensor Array Replacement: étape 20, image 1 de 2 HTC Vive Pro Sensor Array Replacement: étape 20, image 2 de 2
    Outil utilisé dans cette étape :
    Tweezers
    $4.99
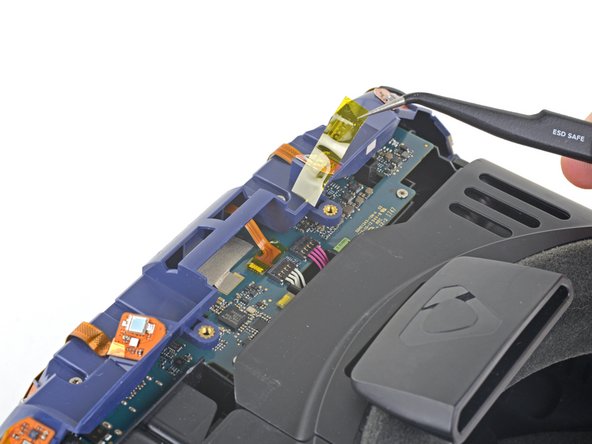
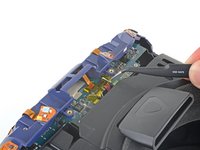
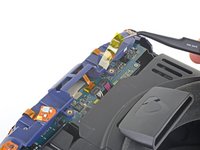
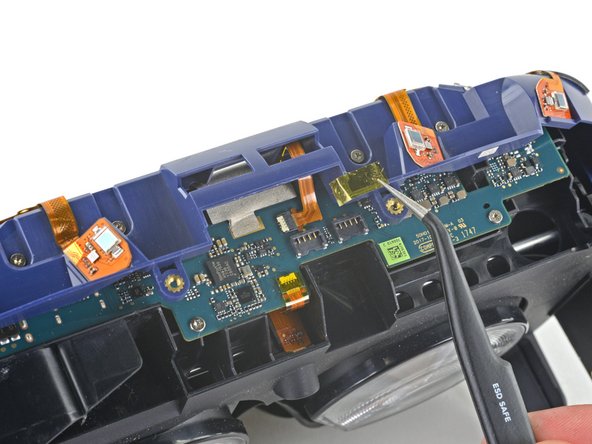
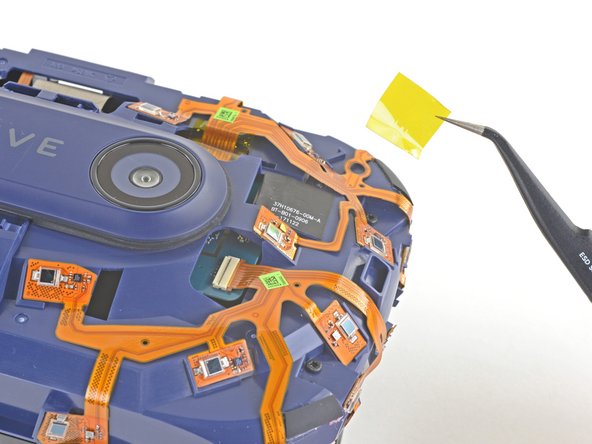
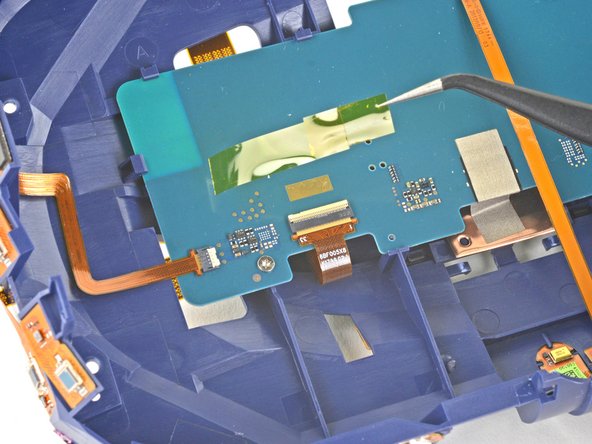
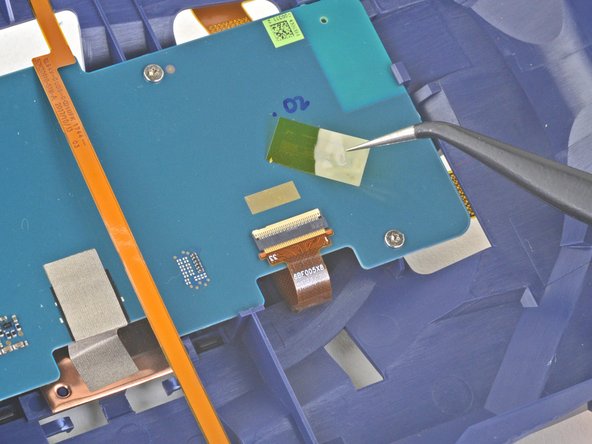
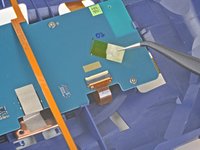
    • Use a pair of tweezers to remove the Kapton tape covering the white and purple wires on the daughterboard.

    Demander à FixBot
  21. HTC Vive Pro Sensor Array Replacement: étape 21, image 1 de 3 HTC Vive Pro Sensor Array Replacement: étape 21, image 2 de 3 HTC Vive Pro Sensor Array Replacement: étape 21, image 3 de 3
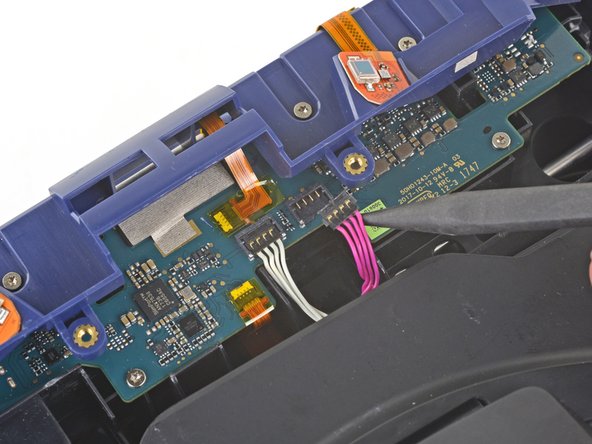
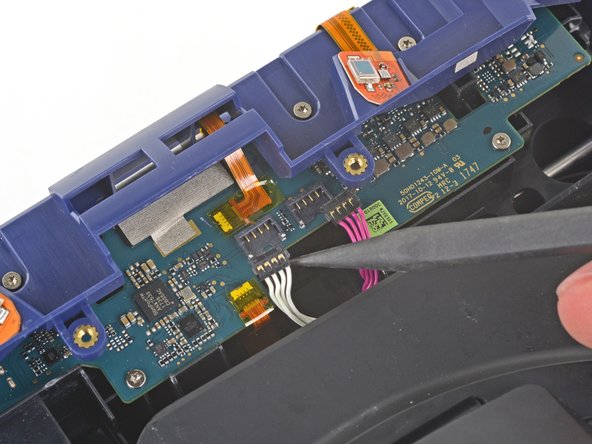
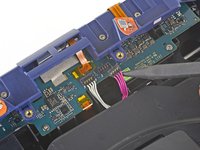
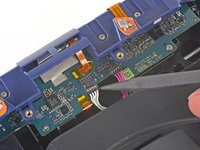
    • Use the pointed end of a spudger to pry up and disconnect the purple and white wires from the daughterboard.

    • Use caution when disconnecting these wires. If you pry up too hard, they may pull out of the connector.

    Demander à FixBot
  22. HTC Vive Pro Sensor Array Replacement: étape 22, image 1 de 2 HTC Vive Pro Sensor Array Replacement: étape 22, image 2 de 2
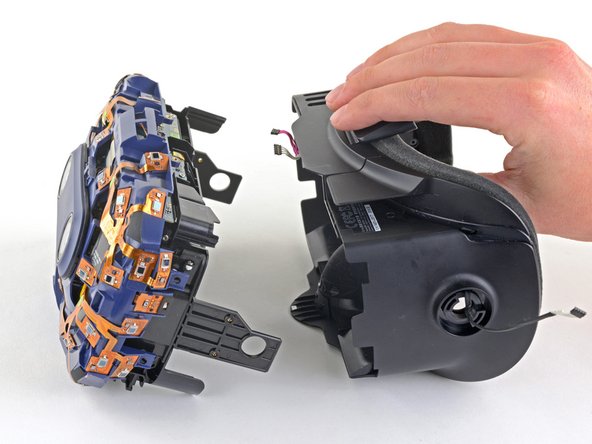
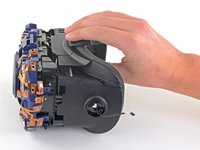
    • Slide the facerest out of the front assembly.

    Demander à FixBot
  23. HTC Vive Pro Sensor Array Replacement, Remove the sensor array: étape 23, image 1 de 2 HTC Vive Pro Sensor Array Replacement, Remove the sensor array: étape 23, image 2 de 2
    Outil utilisé dans cette étape :
    Tweezers
    $4.99
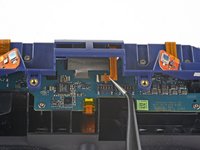
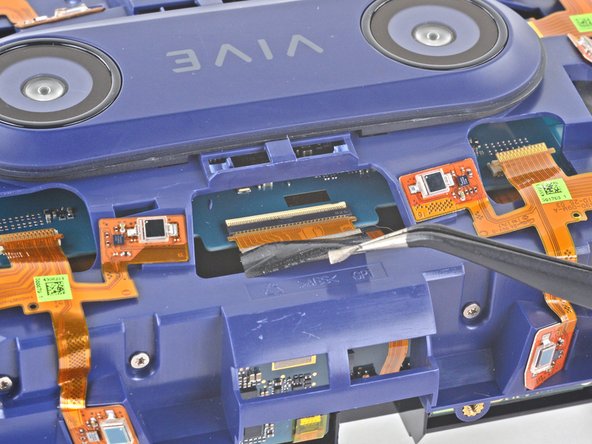
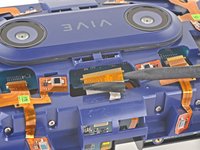
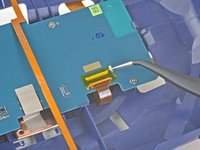
    • Use a pair of tweezers to remove the Kapton tape covering the ZIF connector on the daughterboard.

    Demander à FixBot
  24. HTC Vive Pro Sensor Array Replacement: étape 24, image 1 de 3 HTC Vive Pro Sensor Array Replacement: étape 24, image 2 de 3 HTC Vive Pro Sensor Array Replacement: étape 24, image 3 de 3
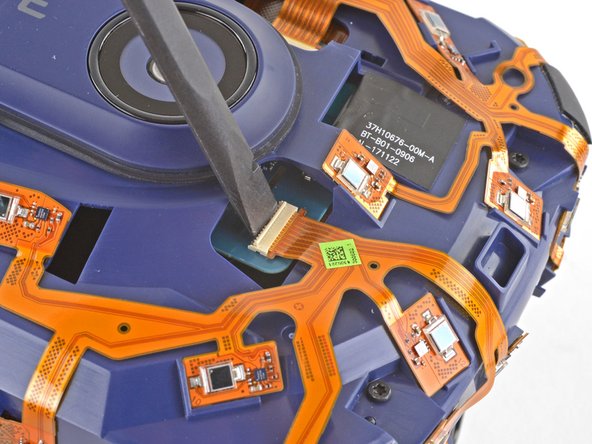
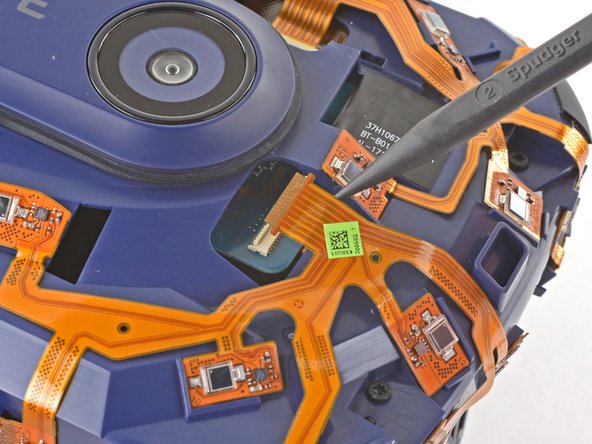
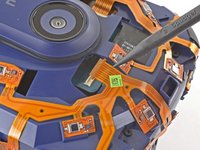
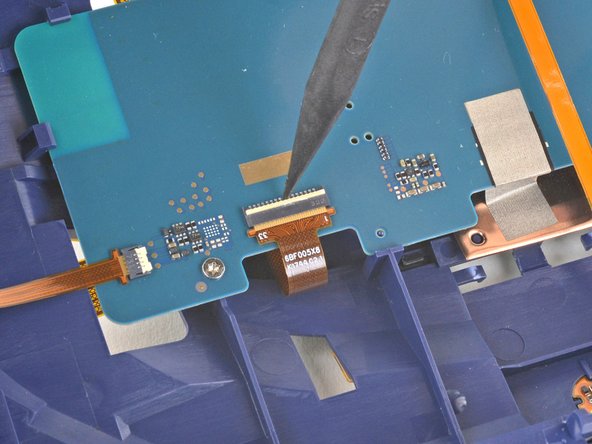
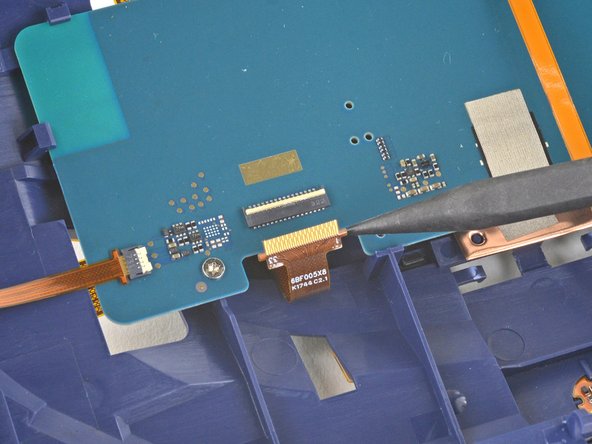
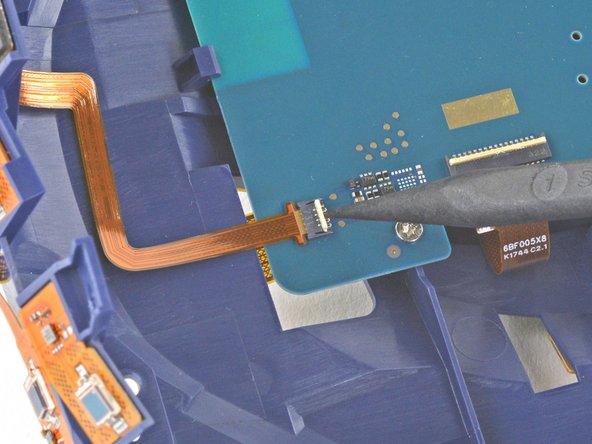
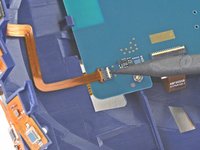
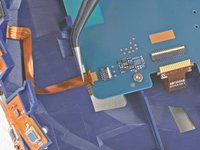
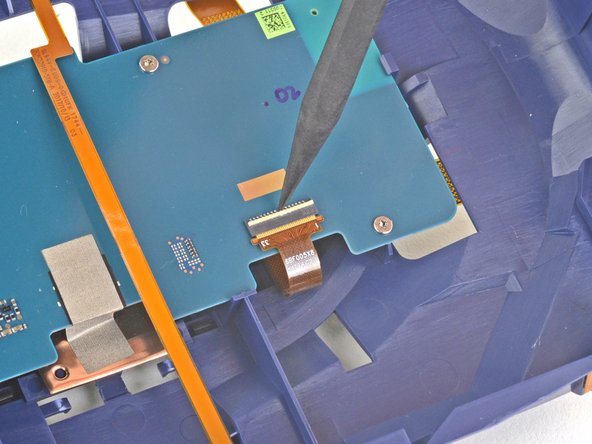
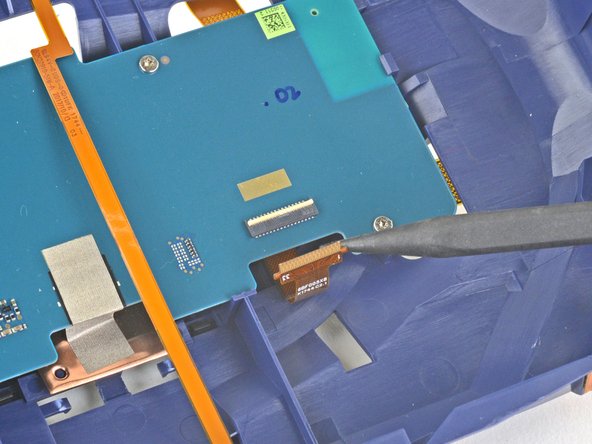
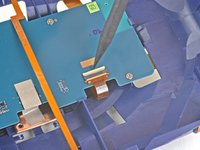
    • Use the pointed end of a spudger to flip up the locking flap on the daughterboard ZIF connector.

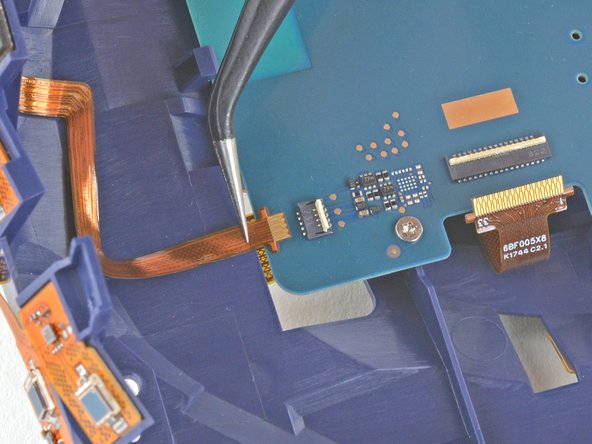
    • Use a pair of tweezers to slide the ribbon cable out of its socket.

    Demander à FixBot
  25. HTC Vive Pro Sensor Array Replacement: étape 25, image 1 de 2 HTC Vive Pro Sensor Array Replacement: étape 25, image 2 de 2
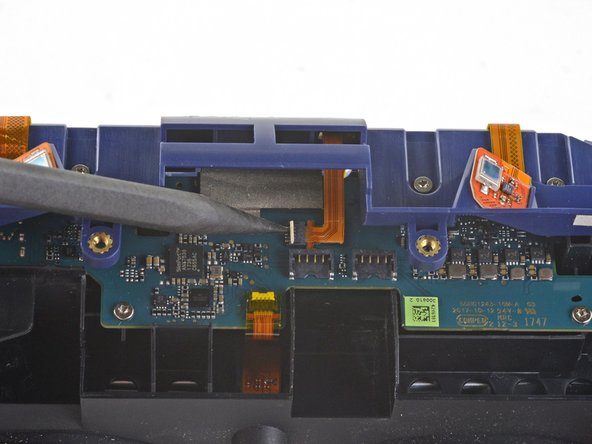
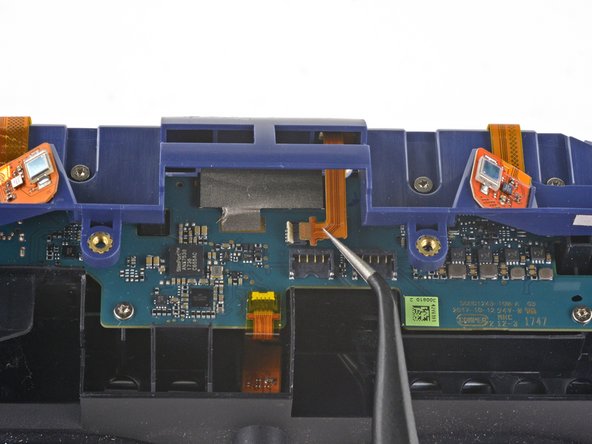
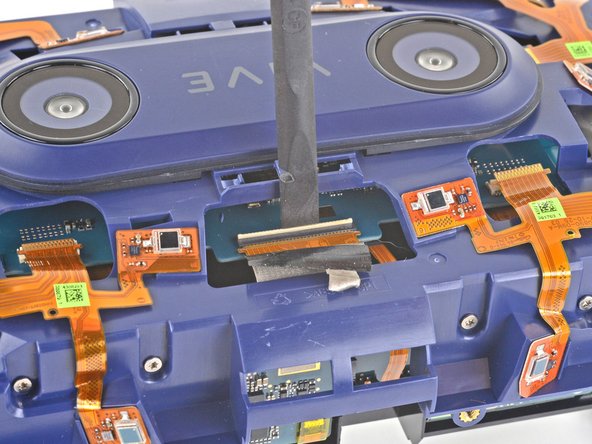
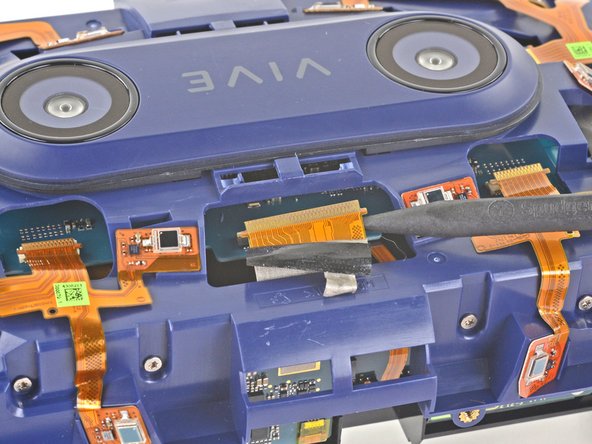
    • Use a pair of tweezers to peel back the grey tape covering the ZIF connector on the motherboard underneath the sensor array.

    Demander à FixBot
  26. HTC Vive Pro Sensor Array Replacement: étape 26, image 1 de 3 HTC Vive Pro Sensor Array Replacement: étape 26, image 2 de 3 HTC Vive Pro Sensor Array Replacement: étape 26, image 3 de 3
    • Use the flat end of your spudger to flip up the locking flap for the ZIF connector on the motherboard.

    • Use the pointed end of your spudger to disconnect the ribbon cable from the motherboard.

    Demander à FixBot
  27. HTC Vive Pro Sensor Array Replacement: étape 27, image 1 de 2 HTC Vive Pro Sensor Array Replacement: étape 27, image 2 de 2
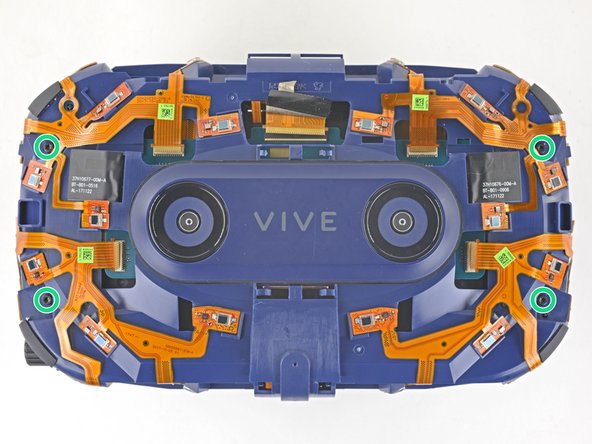
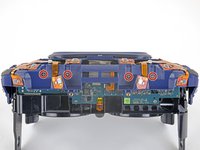
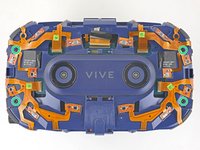
    • Use a T5 Torx screwdriver to remove the four 3.0 mm silver screws securing the sensor array to the lens and OLED assembly.

    • Use a T6 Torx screwdriver to remove the four black 3.8 mm screws securing the sensor array.

    Demander à FixBot
  28. HTC Vive Pro Sensor Array Replacement: étape 28, image 1 de 2 HTC Vive Pro Sensor Array Replacement: étape 28, image 2 de 2
    • Lift the sensor array straight up off of the lens and OLED assembly.

    Demander à FixBot
  29. HTC Vive Pro Sensor Array Replacement, Disconnect the motherboard from the sensor array: étape 29, image 1 de 3 HTC Vive Pro Sensor Array Replacement, Disconnect the motherboard from the sensor array: étape 29, image 2 de 3 HTC Vive Pro Sensor Array Replacement, Disconnect the motherboard from the sensor array: étape 29, image 3 de 3
    Outil utilisé dans cette étape :
    Tweezers
    $4.99
    • Use a pair of tweezers or your fingers to remove the four pieces of Kapton tape covering the ZIF connectors.

    Demander à FixBot
  30. HTC Vive Pro Sensor Array Replacement: étape 30, image 1 de 3 HTC Vive Pro Sensor Array Replacement: étape 30, image 2 de 3 HTC Vive Pro Sensor Array Replacement: étape 30, image 3 de 3
    • Use the flat end of your spudger to flip up the locking flap on a ZIF connector on the sensor array.

    • Use the pointed end of your spudger to disconnect the ribbon cable from its ZIF connector.

    • Repeat this procedure for all four of the ZIF connectors.

    Demander à FixBot
  31. HTC Vive Pro Sensor Array Replacement: étape 31, image 1 de 2 HTC Vive Pro Sensor Array Replacement: étape 31, image 2 de 2
    • Use a pair of tweezers to remove the Kapton tape covering the two ZIF connectors on the back of the motherboard.

    Demander à FixBot
  32. HTC Vive Pro Sensor Array Replacement: étape 32, image 1 de 3 HTC Vive Pro Sensor Array Replacement: étape 32, image 2 de 3 HTC Vive Pro Sensor Array Replacement: étape 32, image 3 de 3
    • Use the point of your spudger to unlock the ZIF connector on the back of the motherboard.

    • Use the spudger, or your fingers, to slide the ribbon cable out of its socket.

    Demander à FixBot
  33. HTC Vive Pro Sensor Array Replacement: étape 33, image 1 de 3 HTC Vive Pro Sensor Array Replacement: étape 33, image 2 de 3 HTC Vive Pro Sensor Array Replacement: étape 33, image 3 de 3
    • Use the point of your spudger to unlock the ZIF connector on the back of the motherboard.

    • Use the spudger, or your fingers, to slide the ribbon cable out of its socket.

    Demander à FixBot
  34. HTC Vive Pro Sensor Array Replacement: étape 34, image 1 de 2 HTC Vive Pro Sensor Array Replacement: étape 34, image 2 de 2
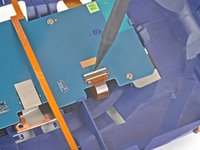
    • Use a pair of tweezers to remove the Kapton tape covering the remaining ZIF connector on the back of the motherboard.

    Demander à FixBot
  35. HTC Vive Pro Sensor Array Replacement: étape 35, image 1 de 3 HTC Vive Pro Sensor Array Replacement: étape 35, image 2 de 3 HTC Vive Pro Sensor Array Replacement: étape 35, image 3 de 3
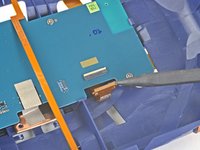
    • Use the pointed end of your spudger to unlock the ZIF connector on the back of the motherboard.

    • Use the spudger, or your fingers, to slide the ribbon cable out of its socket.

    Demander à FixBot
  36. HTC Vive Pro Sensor Array Replacement, Remove the motherboard: étape 36, image 1 de 2 HTC Vive Pro Sensor Array Replacement, Remove the motherboard: étape 36, image 2 de 2
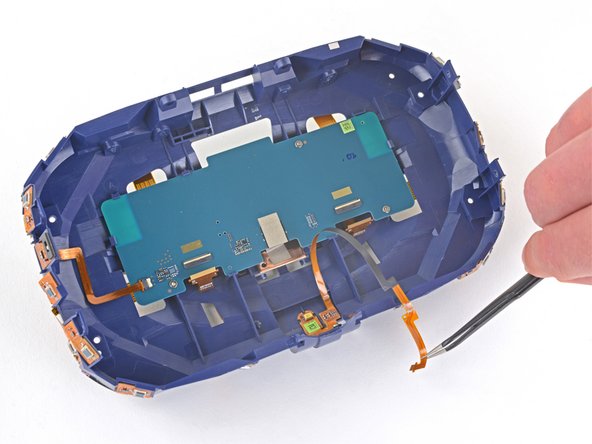
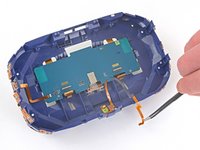
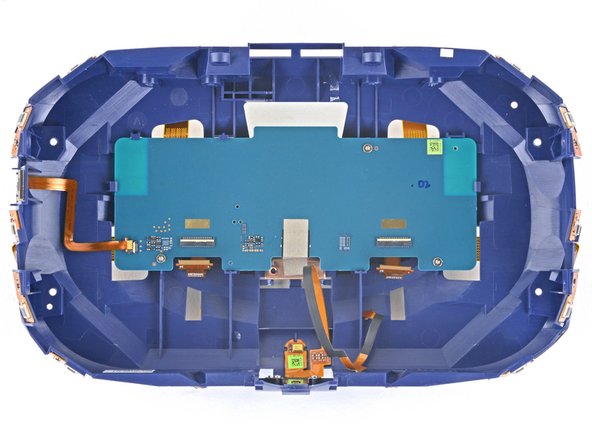
    • Reposition the long ribbon cable covering the back of the motherboard so it's out of the way.

    • Don't sharply crease or fold the ribbon cable.

    Demander à FixBot
  37. HTC Vive Pro Sensor Array Replacement: étape 37, image 1 de 2 HTC Vive Pro Sensor Array Replacement: étape 37, image 2 de 2
    • Use a T5 Torx screwdriver to remove the three 3.0 mm‑long screws securing the motherboard to the sensor array.

    Demander à FixBot
  38. HTC Vive Pro Sensor Array Replacement: étape 38, image 1 de 1
    • Apply a heated iOpener to the back of the motherboard for one minute to soften the light adhesive securing it to the sensor array.

    Demander à FixBot
  39. HTC Vive Pro Sensor Array Replacement: étape 39, image 1 de 1
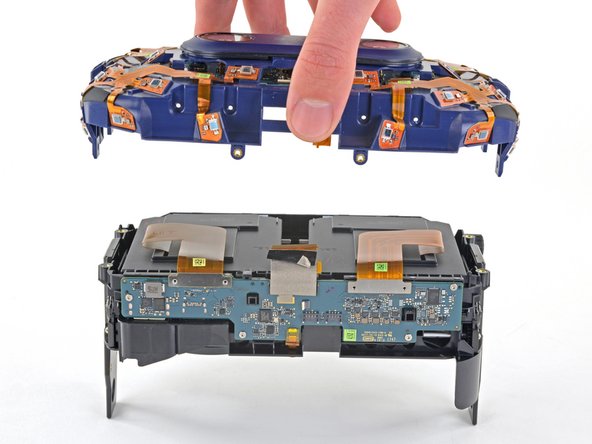
    • Remove the motherboard from the sensor array.

    • There are several plastic clips lightly securing the perimeter of the motherboard to the sensor array.

    • During reassembly, don't forget to reinstall any Kapton tape that was removed during disassembly. This will prevent malfunction of the sensors.

    Demander à FixBot
  40. HTC Vive Pro Sensor Array Replacement, Only the sensor array remains: étape 40, image 1 de 1
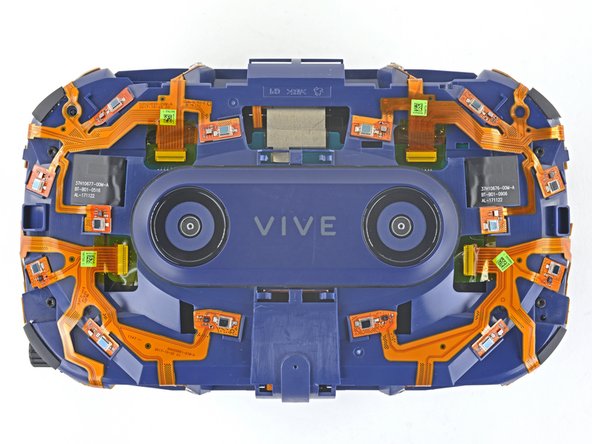
    • Only the sensor array remains.

    Demander à FixBot
Conclusion

Compare your new replacement part to the original part—you may need to transfer remaining components or remove adhesive backings from the new part before installing.

To reassemble your device, follow the above steps in reverse order.

Take your e-waste to an R2 or e-Stewards certified recycler.

Repair didn’t go as planned? Try some basic troubleshooting, or ask our Answers community for help.

Une autre personne a terminé cette réparation.

Sam Omiotek

Membre depuis le 02/25/19

98 417 Réputation

290 tutoriels rédigés

0 commentaires de tutoriel

Ajouter un commentaire

Nombre de vues :

Dernières 24 heures : 1

7 derniers jours : 9

30 derniers jours : 40

Total : 946