Introduction
Follow this guide to remove your trackpad—either to replace it, or to get it out of the way so you can safely remove the battery.
For your safety, discharge your MacBook Pro's battery below 25% before you start. A charged lithium-ion battery can create a dangerous and uncontrollable fire if accidentally punctured.
Ce dont vous avez besoin
-
-
Power on your Mac and launch Terminal.
-
Copy and paste the following command (or type it exactly) into Terminal:
-
sudo nvram AutoBoot=%00
-
Press [return]. If prompted, enter your administrator password and press [return] again. Note: Your return key may also be labeled ⏎ or "enter."
-
sudo nvram AutoBoot=%03
-
-
Outil utilisé dans cette étape :Magnetic Project Mat$19.95
-
Close the display and flip the entire laptop upside-down.
-
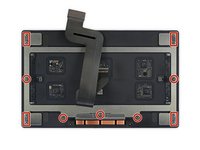
Use a P5 Pentalobe driver to remove six screws securing the lower case, of the following lengths:
-
Four 4.7 mm screws
-
Two 6.6 mm screws
-
-
-
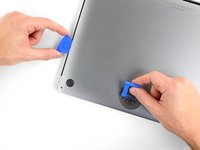
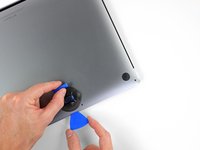
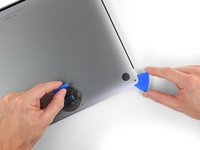
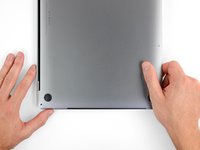
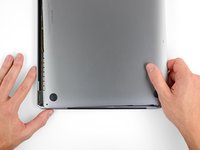
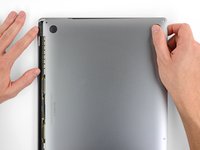
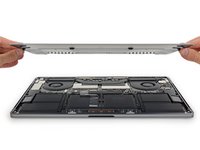
Remove the lower case.
-
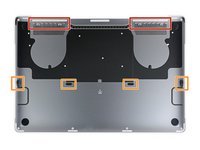
Set it in place and align the sliding clips near the display hinge. Press down and slide the cover toward the hinge. It should stop sliding as the clips engage.
-
When the sliding clips are fully engaged and the lower case looks correctly aligned, press down firmly on the lower case to engage the four hidden clips. You should feel and hear them click into place.
-
-
-
-
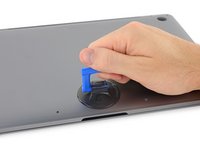
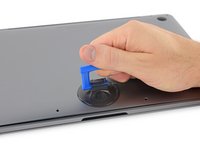
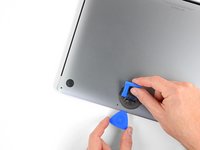
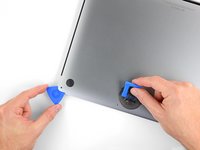
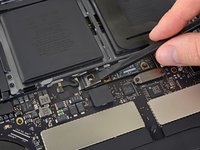
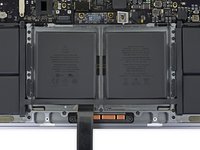
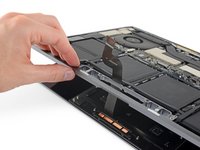
Peel up and remove the large rectangular battery board cover, on the edge of the logic board nearest the battery.
-
If the cover doesn't peel up easily, apply mild heat with an iOpener, hair dryer, or heat gun to soften the adhesive underneath, and try again.
-
-
-
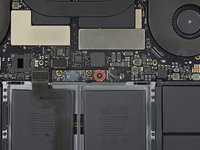
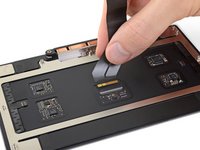
Use a spudger to gently pry up the locking flap on the ZIF connector for the battery board data cable.
-
-
-
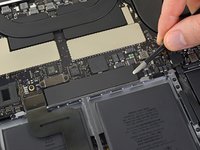
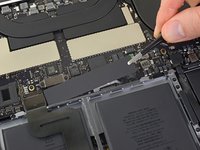
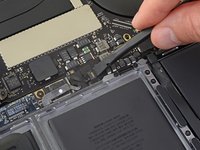
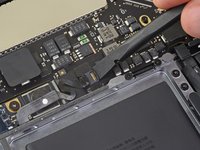
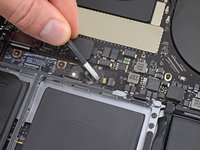
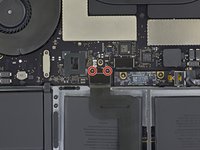
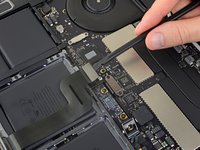
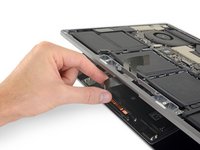
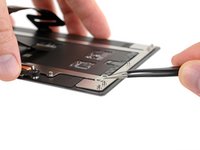
Use a T3 Torx driver to remove the two 1.9 mm screws securing the trackpad cable's cover bracket.
-
Remove the bracket.
-
-
-
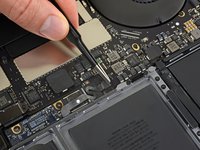
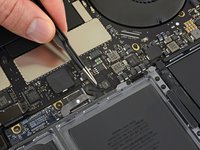
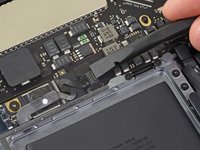
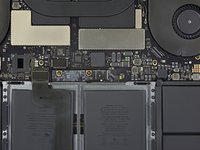
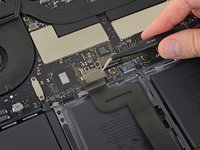
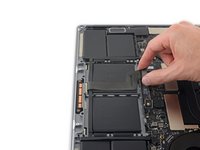
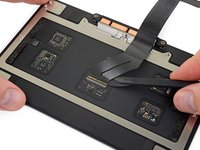
Use a spudger to pry up the retaining flap on the trackpad ribbon cable's ZIF connector.
-
-
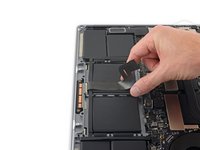
Outil utilisé dans cette étape :Halberd Spudger$2.99
-
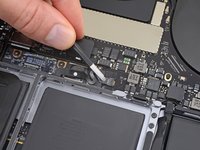
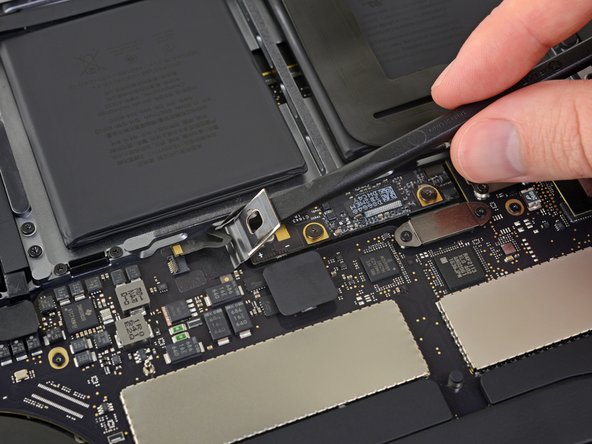
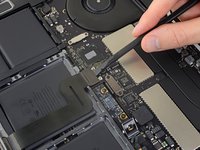
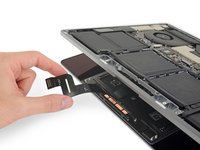
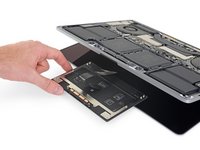
Carefully slide the edge of a halberd spudger or opening pick underneath the ribbon cable, and work the tool back and forth to separate the cable from the trackpad.
-
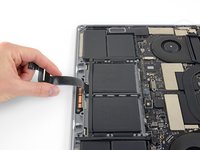
Slide the ribbon cable out of its socket and remove it from the trackpad.
-


Compare your new replacement part to the original part—you may need to transfer remaining components or remove adhesive backings from the new part before installing.
To reassemble your device, follow the above steps in reverse order.
Take your e-waste to an R2 or e-Stewards certified recycler.
Repair didn’t go as planned? Check out our Answers community for troubleshooting help.
Annulation : je n'ai pas terminé ce tutoriel.
6 autres ont terminé cette réparation.


2 commentaires
Can you perhaps Teardown the Trackpad and take a look at the coil?
It would be really helpful for me
There is really nothing you can fix within the coils, beyond that you need the schematic and boardview of the part which are not available.
Dan -