Aller au contenu principal
Pour réparer ensemble - Je crée un compte

Parrot Skycontroller 2 Buttons Replacement

Ce dont vous avez besoin

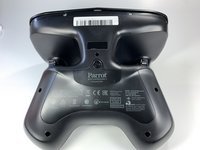
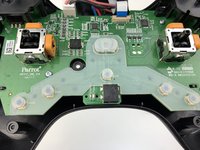
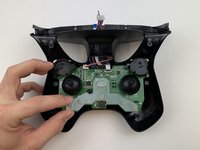
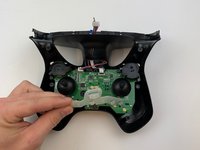
    1. Parrot Skycontroller 2 Buttons Replacement, Battery: étape 1, image 1 de 3 Parrot Skycontroller 2 Buttons Replacement, Battery: étape 1, image 2 de 3 Parrot Skycontroller 2 Buttons Replacement, Battery: étape 1, image 3 de 3
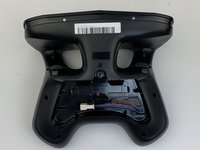
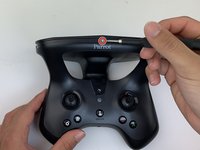
      • Flip your controller face down.

      Demander à FixBot
      Ajouter un commentaire

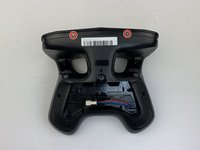
    2. Parrot Skycontroller 2 Buttons Replacement: étape 2, image 1 de 1
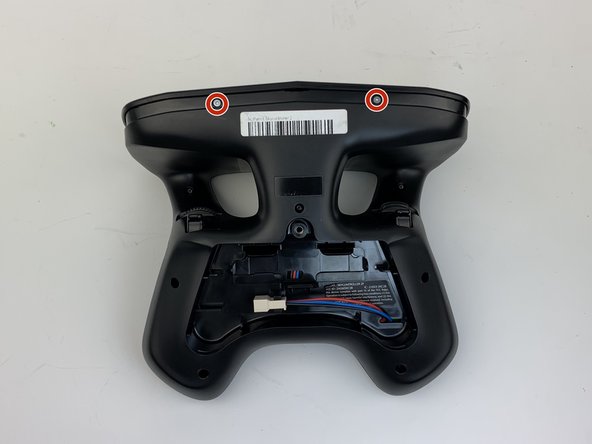
      • Remove one 9mm screw using a #4 flathead screwdriver.

      Demander à FixBot
      Ajouter un commentaire

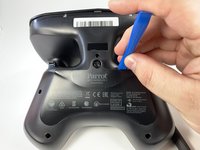
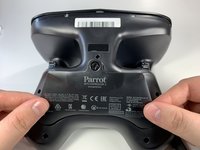
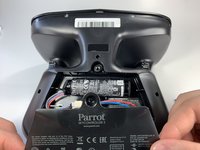
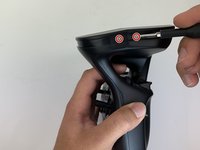
    3. Parrot Skycontroller 2 Buttons Replacement: étape 3, image 1 de 3 Parrot Skycontroller 2 Buttons Replacement: étape 3, image 2 de 3 Parrot Skycontroller 2 Buttons Replacement: étape 3, image 3 de 3
      • Insert the plastic opening tool into the top of the cover and pry upwards to lift the battery cover.

      • Remove the cover by pulling up and out.

      Demander à FixBot
      Ajouter un commentaire

    4. Parrot Skycontroller 2 Buttons Replacement: étape 4, image 1 de 3 Parrot Skycontroller 2 Buttons Replacement: étape 4, image 2 de 3 Parrot Skycontroller 2 Buttons Replacement: étape 4, image 3 de 3
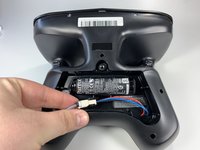
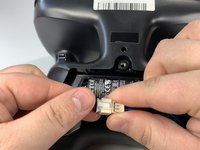
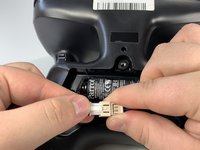
      • Pull the connectors out by gently pushing the tabs and pulling up on the connector.

      • Disconnect the battery from the remote by pressing the white tab and pulling the connectors apart.

      Demander à FixBot

      Ajouter un commentaire

    5. Parrot Skycontroller 2 Buttons Replacement: étape 5, image 1 de 2 Parrot Skycontroller 2 Buttons Replacement: étape 5, image 2 de 2
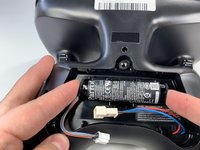
      • Remove the battery from its brackets by pulling up on the ends of the battery.

      Demander à FixBot

      Ajouter un commentaire

    1. Parrot Skycontroller 2 Buttons Replacement, Buttons: étape 6, image 1 de 1
      • Remove the seven black 11mm screws using the Torx TR6 screwdriver.

      • There is a hidden screw located behind the sticker in the battery compartment.

      • Pull back the sticker with your finger nail and remove the one black 11mm screw using the Torx TR6 screwdriver.

      Demander à FixBot

      Ajouter un commentaire

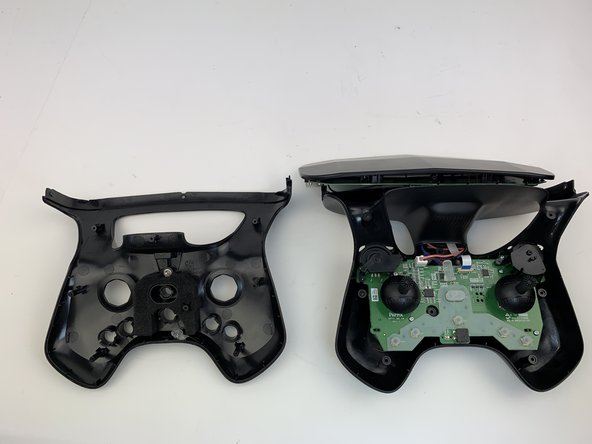
    2. Parrot Skycontroller 2 Buttons Replacement: étape 7, image 1 de 3 Parrot Skycontroller 2 Buttons Replacement: étape 7, image 2 de 3 Parrot Skycontroller 2 Buttons Replacement: étape 7, image 3 de 3
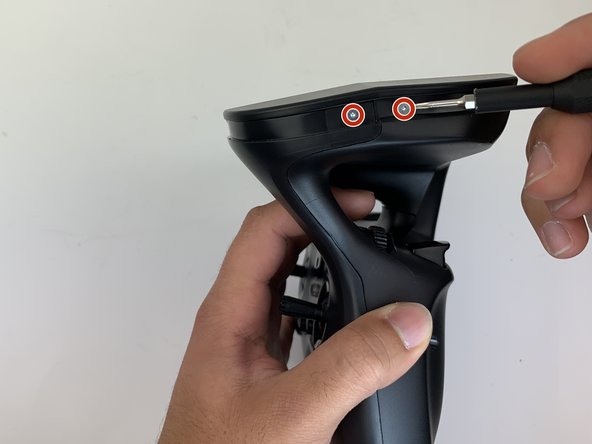
      • Remove the seven silver 4mm screws from around the edge of the top plate using the Torx TR6 Screwdriver.

      • The opposite side to the third picture has a screw located on each side of the USB port.

      Demander à FixBot
      Ajouter un commentaire

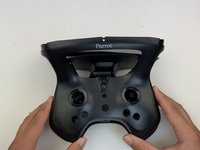
    3. Parrot Skycontroller 2 Buttons Replacement: étape 8, image 1 de 1
      • Remove the battery compartment plate by pulling up and out.

      Demander à FixBot
      Ajouter un commentaire

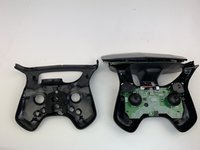
    4. Parrot Skycontroller 2 Buttons Replacement: étape 9, image 1 de 1
      • Remove the top plate by pushing on the corners with your hand.

      • Be careful to not pull too hard on the cable.

      Demander à FixBot
      Ajouter un commentaire

    5. Parrot Skycontroller 2 Buttons Replacement: étape 10, image 1 de 2 Parrot Skycontroller 2 Buttons Replacement: étape 10, image 2 de 2
      • Remove the face plate by pulling up and out.

      • Buttons will fall out when this plate is removed.

      Demander à FixBot

      Ajouter un commentaire

    6. Parrot Skycontroller 2 Buttons Replacement: étape 11, image 1 de 3 Parrot Skycontroller 2 Buttons Replacement: étape 11, image 2 de 3 Parrot Skycontroller 2 Buttons Replacement: étape 11, image 3 de 3
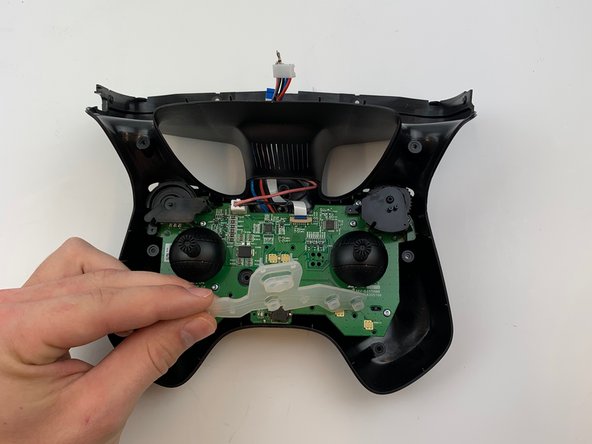
      • Use some force pull up and out on the rubber backing for the buttons.

      Demander à FixBot

      Ajouter un commentaire

Conclusion

To reassemble your device, follow these instructions in reverse order.

Annulation : je n'ai pas terminé ce tutoriel.

0 commentaires de tutoriel

Ajouter un commentaire

Nombre de vues :

Dernières 24 heures : 1

7 derniers jours : 8

30 derniers jours : 25

Total : 654