Introduction
If you've tried cleaning the lightning port to no avail, follow the steps in this guide to replace the Lightning connector flex cable in an iPhone. This flex cable includes the Lightning connector, headphone jack, dual microphones, and spring contacts for the Taptic Engine and loudspeaker.
Ce dont vous avez besoin
-
-
Insert a SIM card eject tool or a paperclip into the small hole in the SIM card tray.
-
Press to eject the tray.
-
-
-
Remove the two 3.4 mm P2 Pentalobe screws on the bottom edge of the iPhone, on either side of the Lightning connector.
-
-
Outil utilisé dans cette étape :Clampy - Anti-Clamp$24.95
-
Pull the blue handle backwards to unlock the Anti-Clamp's arms.
-
Slide the arms over either the left or right edge of your iPhone.
-
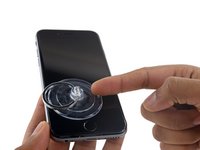
Position the suction cups near the bottom edge of the iPhone just above the home button—one on the front, and one on the back.
-
Squeeze the cups together to apply suction to the desired area.
-
-
Outil utilisé dans cette étape :Clampy - Anti-Clamp$24.95
-
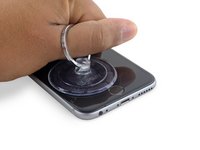
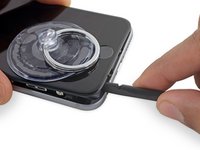
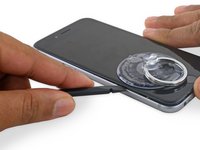
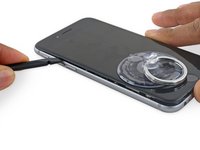
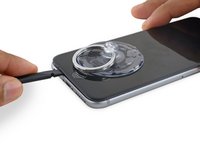
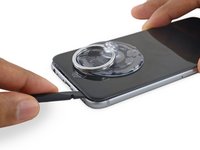
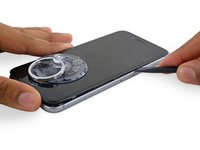
If you don't have an Anti-Clamp, follow the next three steps to use a suction handle.
-
Apply mild heat to the lower edge of the iPhone using an iOpener or hair dryer for about a minute.
-
-
-
-
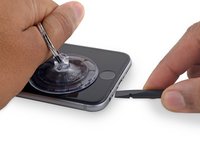
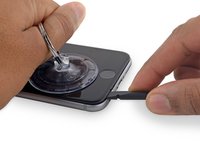
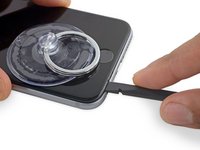
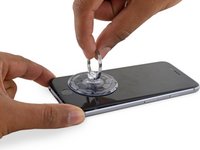
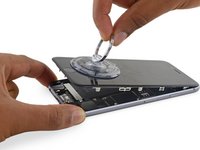
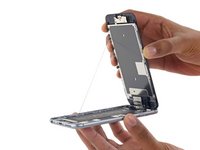
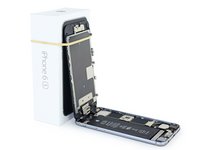
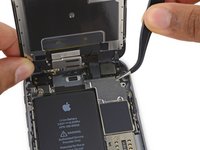
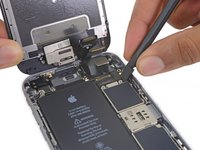
Gently grasp the display assembly and lift it up to open the phone, using the clips at the top of the front panel as a hinge.
-
Open the display to about a 90º angle, and lean it against something to keep it propped up while you're working on the phone.
-
Add a rubber band to keep the display securely in place while you work. This prevents undue strain on the display cables.
-
-
Outil utilisé dans cette étape :Magnetic Project Mat$19.95
-
Remove two Phillips screws securing the battery connector bracket, of the following lengths:
-
One 2.9 mm screw
-
One 2.2 mm screw
-
-
-
Remove the following four Phillips screws securing the display cable bracket:
-
Three 1.2 mm screws
-
One 2.8 mm screw
-
-
-
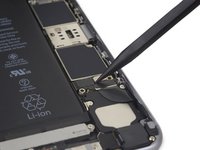
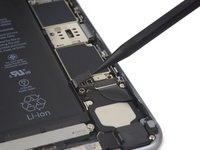
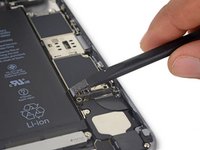
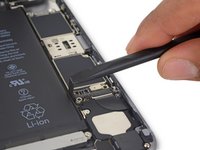
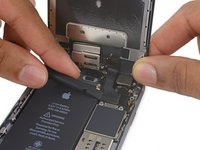
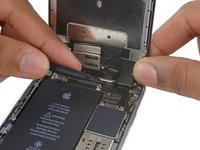
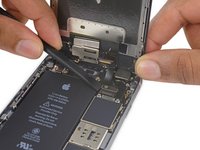
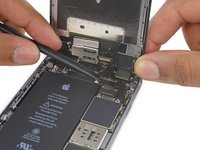
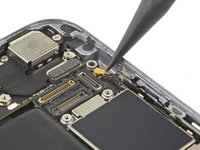
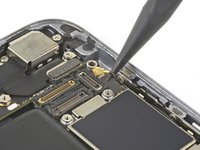
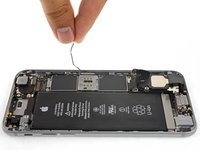
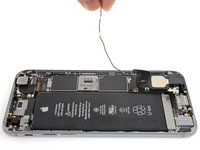
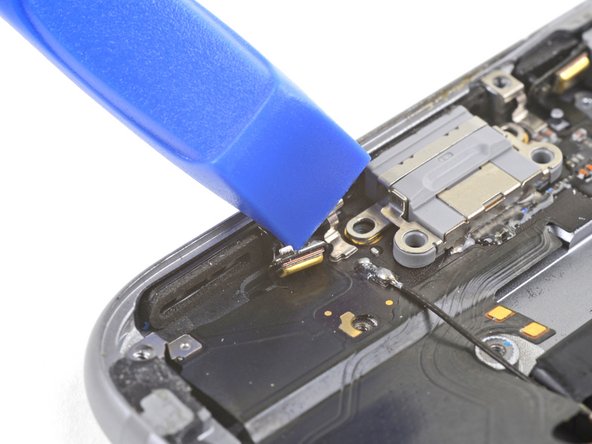
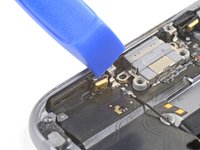
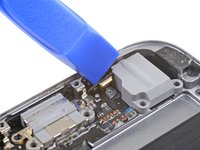
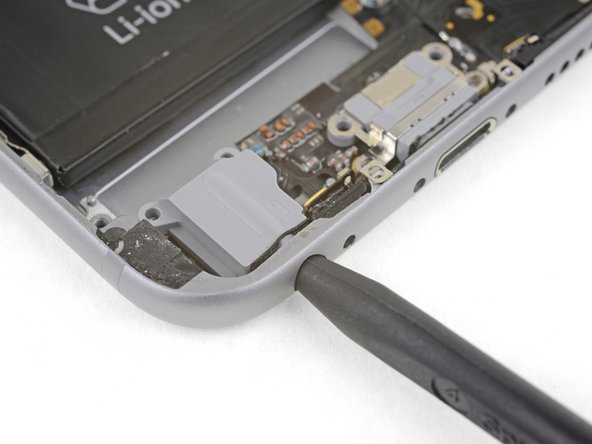
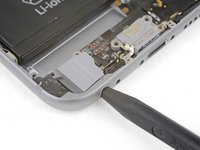
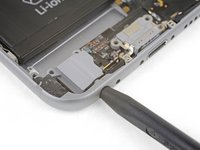
Use the point of a spudger to lift and disconnect the antenna cable from the bottom end of the logic board.
-
-
-
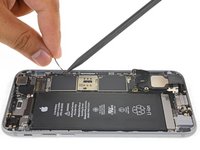
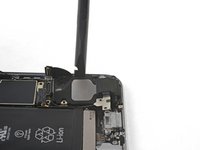
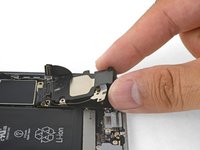
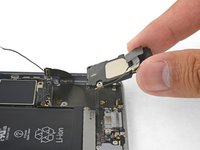
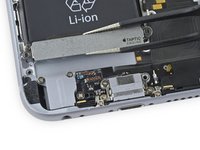
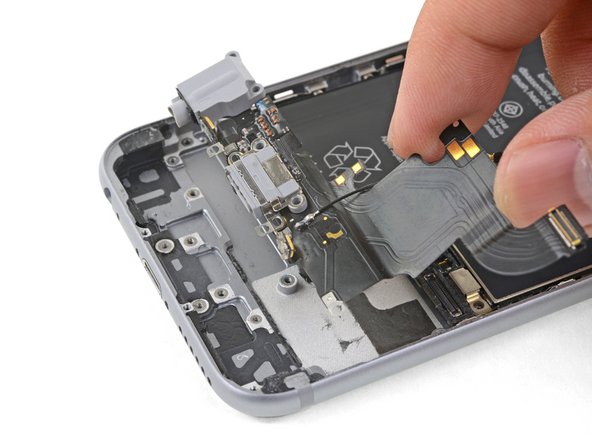
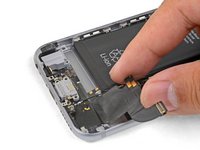
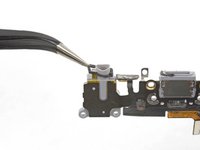
Remove the two 1.5 mm Phillips screws securing the Taptic Engine to the rear case.
-
Remove the Taptic Engine.
-
-
-
Remove the following eight Phillips screws:
-
Two 2.9 mm screws over the headphone jack
-
One 3.7 mm screw over the headphone jack bracket
-
Two 1.4 mm screws on the edge of the iPhone
-
Two 1.9 mm screws on either side of the Lighting connector
-
One 3.0 mm screw to the left of the connector
-
-
-
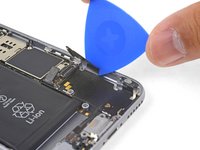
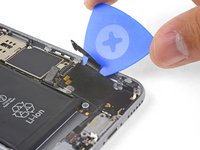
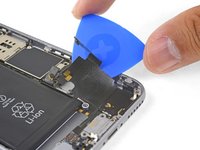
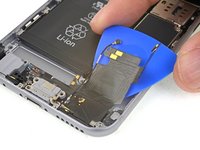
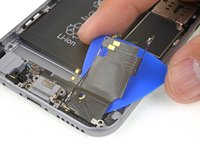
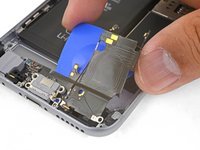
Heat an iOpener and apply it to the back of the phone near the bottom edge for one minute.
-


Compare your new replacement part to the original part. You may need to transfer remaining components or remove adhesive backings from the new part before installing.
To reassemble your device, follow these instructions in reverse order.
Take your e-waste to an R2 or e-Stewards certified recycler.
Repair didn’t go as planned? Check out our iPhone 6s Answers community for troubleshooting help.
Annulation : je n'ai pas terminé ce tutoriel.
328 autres ont terminé cette réparation.


47 commentaires
the reason is the antenna is connected to the loud speaker but you can lay it out of the way, remember do not rip the cable that is attached to the speaker
Can you just plug the new assembly in to check it, before going through the whole installation?
ya man, just be careful, make sure battery is disconnected before connecting or disconnecting anything
Andrew -
I did this repair and everything went fine. The user now has issues with callers hearing them. Is there a cover/sticker over the microphone on the ifixit replacement part? Speaker works and he can talk on speaker phone with no issues. Any ideas?
Did you pull the old adhesive off before reinstalling using the new adhesive? Did you align each mic correctly?