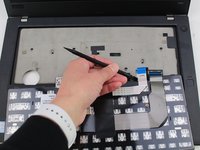
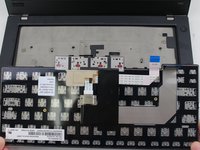
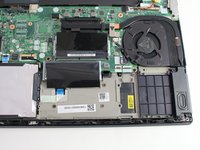
Introduction
A fingerprint reader on your laptop is an additional security feature that works by capturing the pattern of your finger, analyzing the information and comparing it to the prints on file and then unlocking your device if the prints match. If the reader is not working properly or needs to be replaced on your Lenovo ThinkPad T480, this guide will help you replace it.
The fingerprint reader is not something that needs to be replaced often but in the case that it has been damaged, due to a scratch on the surface for example, it may need to be replaced.
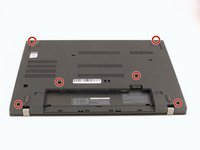
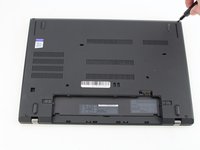
Prior to beginning the repair, disable the internal battery, shut down the device, and unplug it from the charger.
Ce dont vous avez besoin
-
-
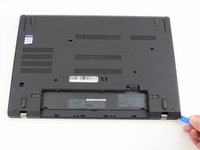
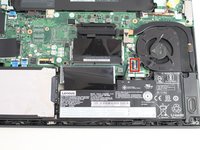
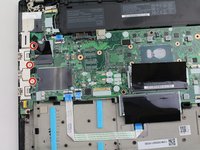
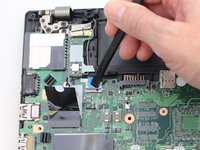
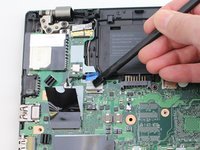
Use the Phillips #1 screwdriver to loosen the two screws parallel to the battery compartment.
-
-
-
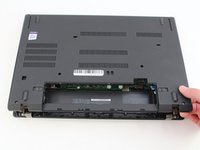
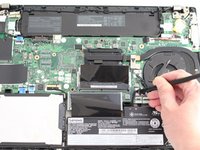
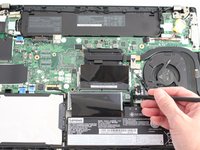
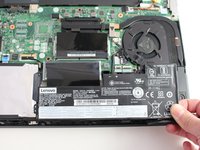
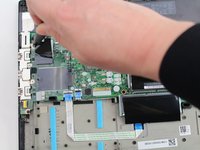
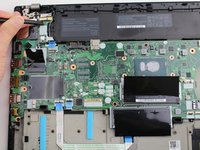
Use a Phillips #1 screwdriver to remove the two 4.6 mm screws that secure the internal battery to the frame.
-
-
-
-
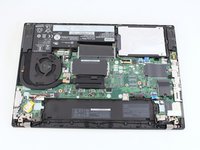
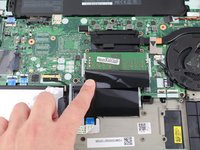
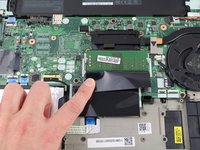
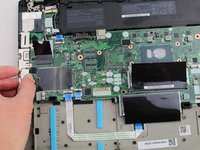
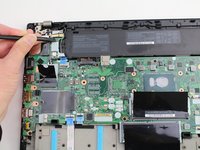
Pull the black plastic sheet back to reveal the RAM stick.
-
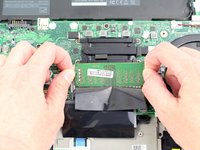
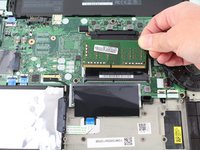
Using your fingers, pull the metal arms (located on both sides of the RAM stick) slightly away from it .
-
-
-
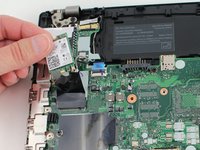
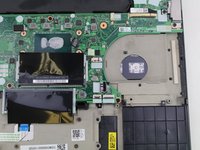
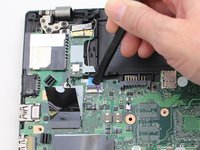
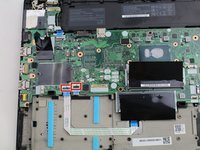
Using the Phillips #1 screwdriver, remove the single 3.6 mm screw at the top of the Wi-Fi card attaching it to the motherboard.
-
-
-
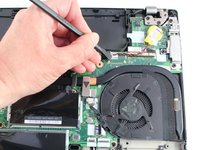
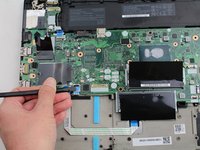
Using an IC extractor or black nylon spudger, unplug the connector from the socket on the motherboard.
-
-
-
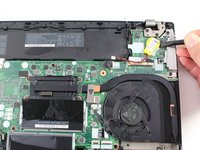
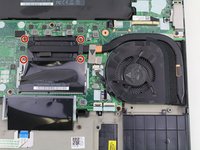
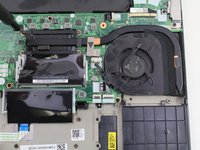
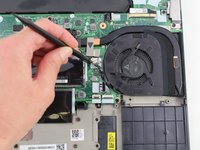
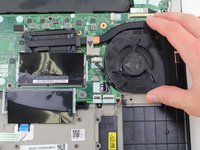
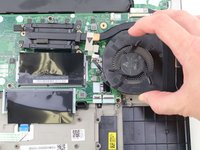
Using the Phillips #1 screwdriver, loosen the four captive screws in the arm of the heatsink.
-
-
-
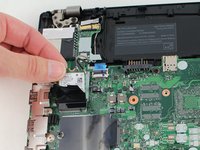
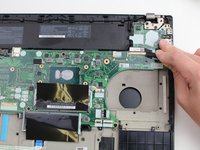
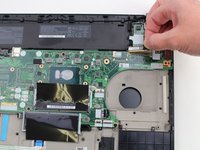
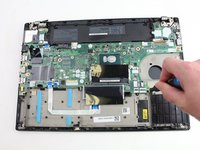
Using the black nylon spudger, lift the connector lock up.
-
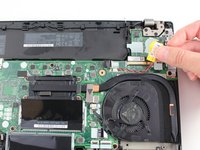
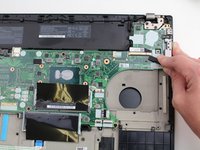
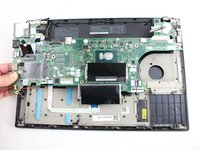
Disconnect the storage cable from the system board.
-
-
-
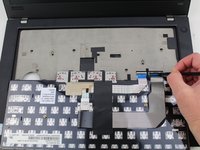
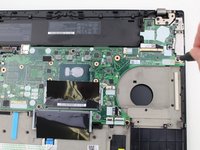
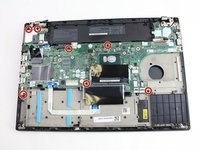
Using the Phillips #1 screwdriver, remove three 4.6 mm screws from the I/O bracket.
-
-
-
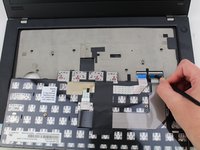
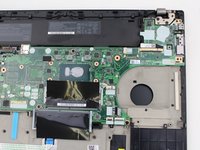
Use the black nylon spudger to lift up the small locking flap on the power button cable's ZIF connector.
-
Slide the power button cable out of the ZIF connector.
-
-
-
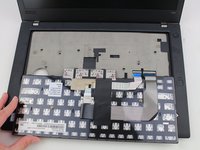
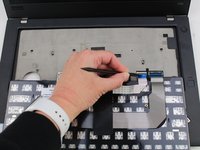
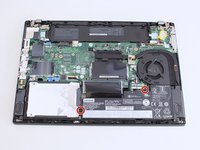
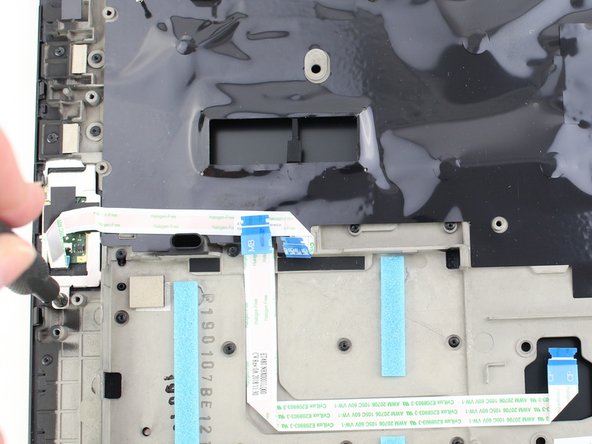
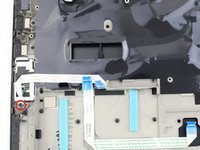
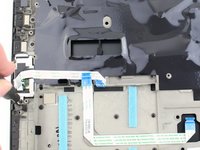
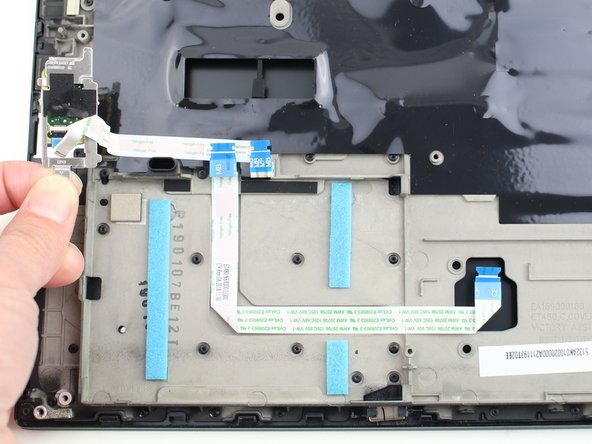
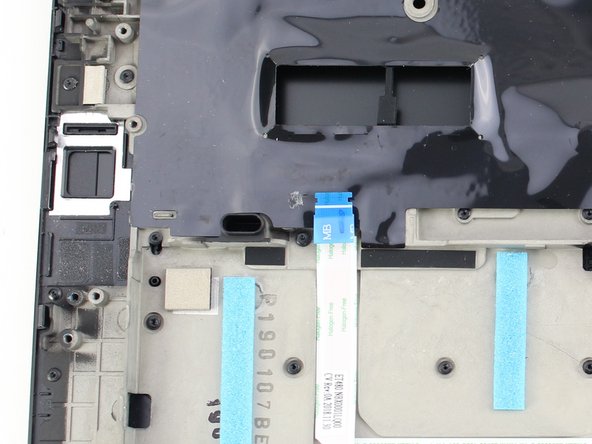
Using the Phillips #1 screwdriver, remove one screw at the bottom of the bracket covering the fingerprint reader.
-


To reassemble your device, follow the above steps in reverse order.
Take your e-waste to an R2 or e-Stewards certified recycler.
Repair didn’t go as planned? Try some basic troubleshooting, or ask our Answers community for help.
To reassemble your device, follow the above steps in reverse order.
Take your e-waste to an R2 or e-Stewards certified recycler.
Repair didn’t go as planned? Try some basic troubleshooting, or ask our Answers community for help.
Annulation : je n'ai pas terminé ce tutoriel.
2 autres ont terminé cette réparation.


3 commentaires
Thanks for this detailed guide. I have a question: will you make a guide for T480s? How similar is the process?
Hi @eriknordquist, You're welcome! I'm sorry I didn't create the fingerprint reader replacement guide for the T480s. Unfortunately, I don't have the laptop anymore but I looked at the T480s Hall Sensor guide and it looks like the fingerprint sensor replacement might be a little easier for the T480s than for the T480. The Fingerprint/Smart Card cable is the one next to the hall sensor cable (to the left). It's connected on both ends with ZIF connectors. I think once you disconnect the cable and lift the black plastic shield or tape, the fingerprint reader should be underneath. I'm not sure what the next step is, but I hope that helps you get started.
Thank you, @sarahw, that's encouraging.