Introduction
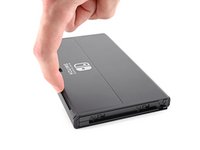
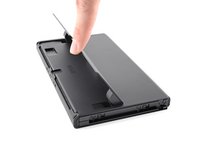
Use this guide to replace the screen OLED assembly in your Nintendo Switch OLED.
The assembly includes the frame with the OLED panel and speakers attached to it. If you're replacing the OLED panel by itself, follow this guide instead.
For your safety, discharge the battery below 25% before disassembling your Switch. This reduces the risk of fire if the battery is accidentally damaged during the repair. If your battery is swollen, take appropriate precautions.
The Switch OLED uses JIS screws, but you can use a Phillips screwdriver in a pinch. Be very careful not to strip the screws. iFixit's Phillips bits are designed to be cross-compatible with JIS-style screws.
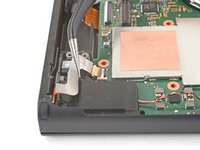
Note: When you remove the shield plate, you’ll need to replace the thermal compound between the plate and the heatsink. Normal thermal paste isn't designed to bridge large gaps, so you'll need thermal putty or viscous thermal paste. You will, however, need regular replacement thermal paste when replacing the heat sink.
Ce dont vous avez besoin
-
-
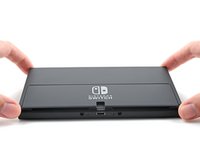
Press and hold down the small round button on the back of the Joy Con controller.
-
While you hold down the button, slide the controller upward.
-
-
-
Continue sliding the Joy Con upward until it's completely removed from the console.
-
-
-
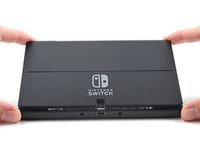
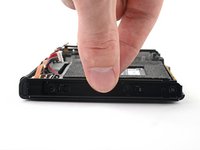
Use a Phillips driver, or a JIS driver, to remove the 2 mm-long screw securing the top of the rear case to the frame.
-
-
-
Use a Phillips driver to remove the two 2 mm-long screws securing the bottom of the rear case to the frame.
-
-
-
Use a Phillips driver to remove the 3.8 mm screw securing the right Joy-Con sensor rail to the rear case.
-
-
-
Use a Phillips driver to remove the 3.8 mm screw securing the left Joy-Con sensor rail to the rear case.
-
-
-
Use your finger to flip up the kickstand on the back of the device.
-
-
-
Use a Y00 screwdriver to remove the two 4.3 mm screws securing the rear case to the frame.
-
-
-
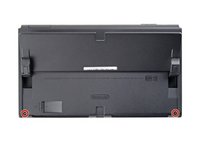
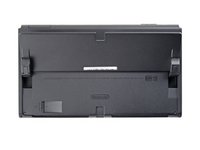
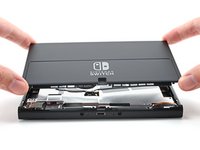
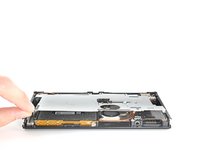
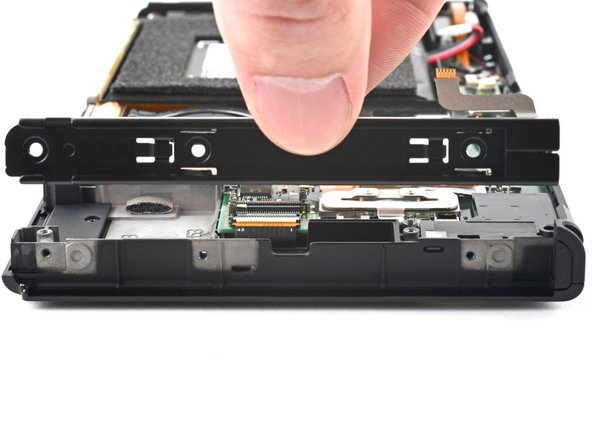
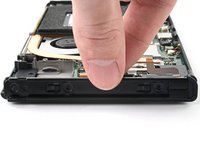
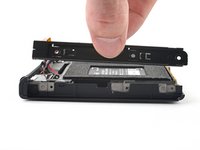
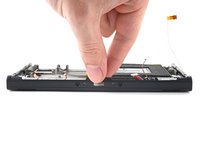
Lift the rear case up from the top of the device and remove it.
-
-
-
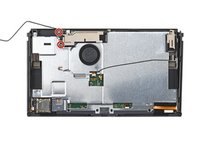
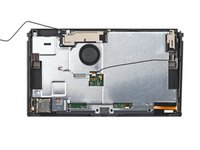
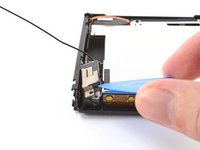
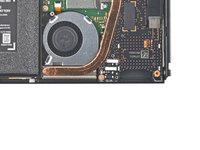
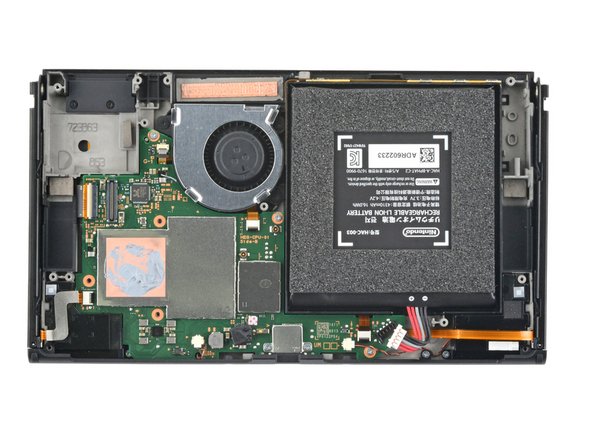
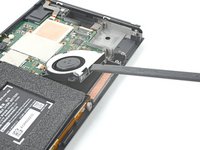
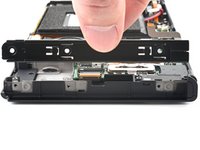
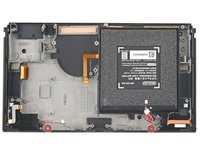
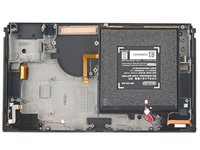
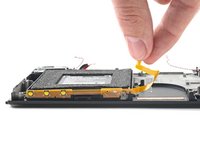
Use the flat end of a spudger to separate a corner of the tape from the shield plate.
-
-
-
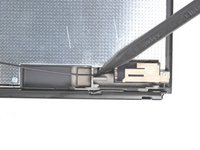
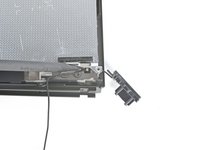
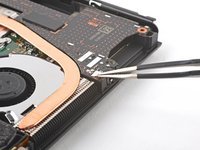
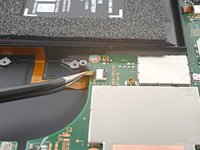
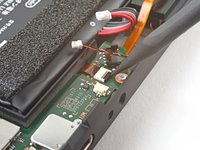
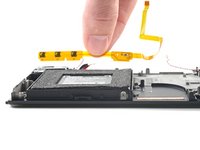
Use tweezers, or your fingers, to pull up and disconnect the primary Wi-Fi antenna's coaxial cable.
-
-
-
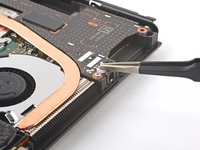
Use tweezers, or your fingers, to reroute the primary antenna's coaxial cable out of its slots in the shield plate.
-
-
-
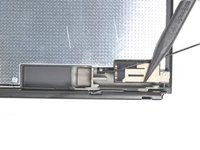
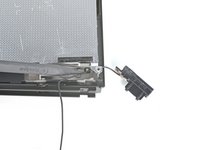
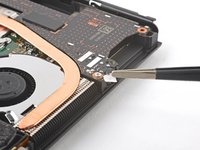
Use a Phillips driver to remove the two 4.4 mm screws securing the primary Wi-Fi antenna to the shield plate.
-
-
-
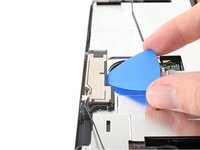
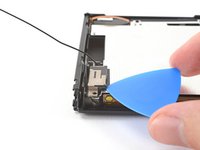
Insert an opening pick between the primary Wi-Fi antenna and the shield plate.
-
Pry up with the pick to separate the primary Wi-Fi antenna from the shield plate.
-
-
-
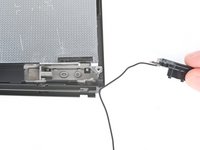
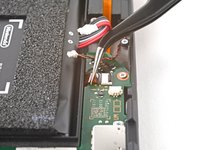
Use tweezers, or your fingers, to pull up and disconnect the secondary Wi-Fi antenna's coaxial cable.
-
-
-
Use the point of a spudger to reroute the secondary Wi-Fi antenna's coaxial cable from its slot in the frame.
-
-
-
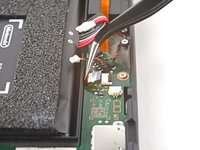
Use a Phillips driver to remove the 4.4 mm screw securing the secondary Wi-Fi antenna to the shield plate.
-
-
-
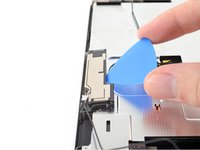
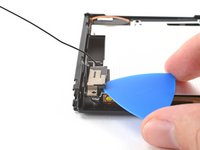
Insert an opening pick between the secondary Wi-Fi antenna and the shield plate.
-
Pry up with the pick to separate the secondary Wi-Fi antenna from the shield plate.
-
-
-
-
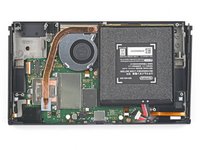
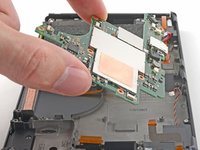
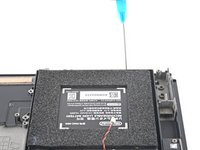
Use a Phillips driver to remove the six 4.4 mm screws securing the shield plate to the frame.
-
-
-
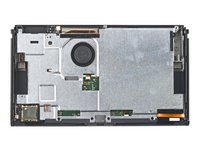
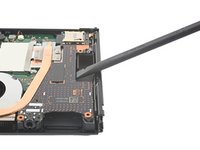
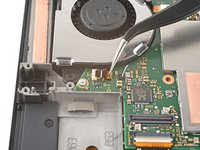
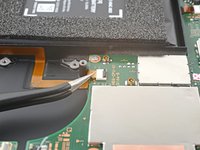
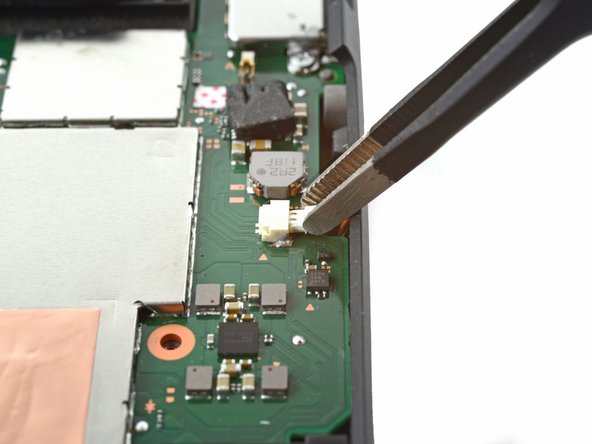
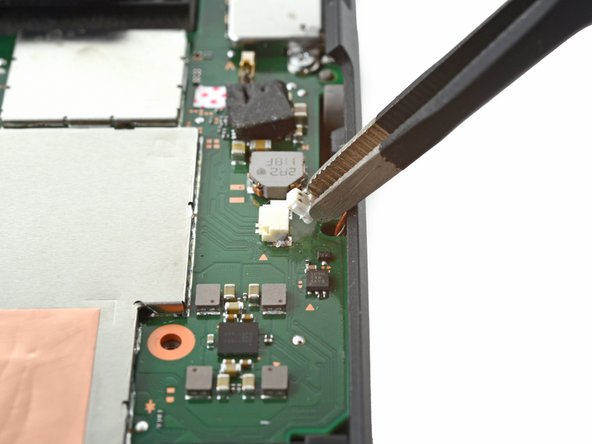
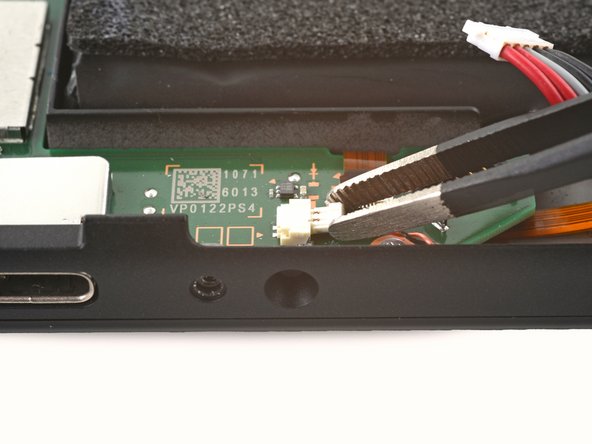
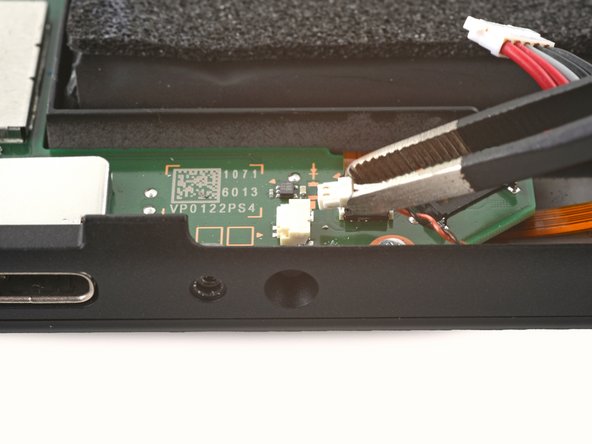
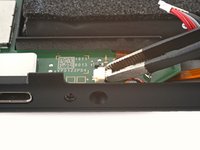
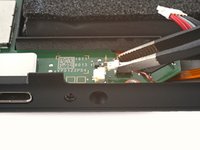
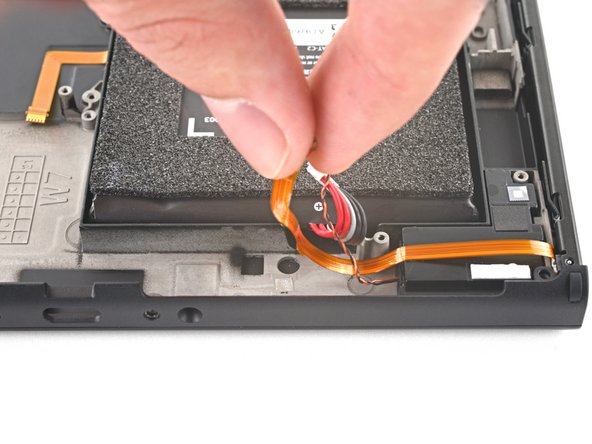
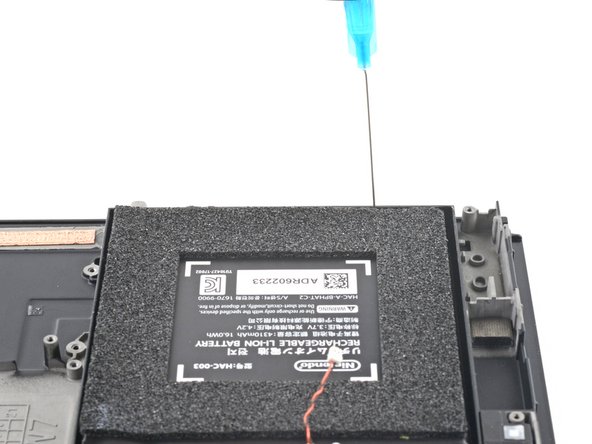
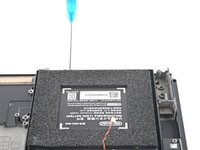
Use the point of a spudger to pry up and disconnect the battery.
-
-
Outil utilisé dans cette étape :Tweezers$4.99
-
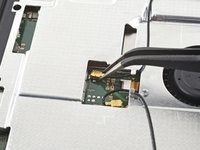
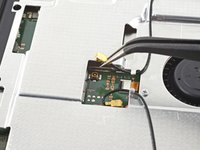
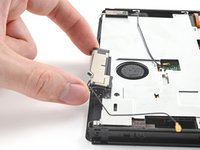
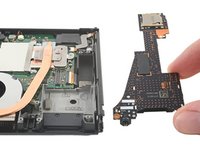
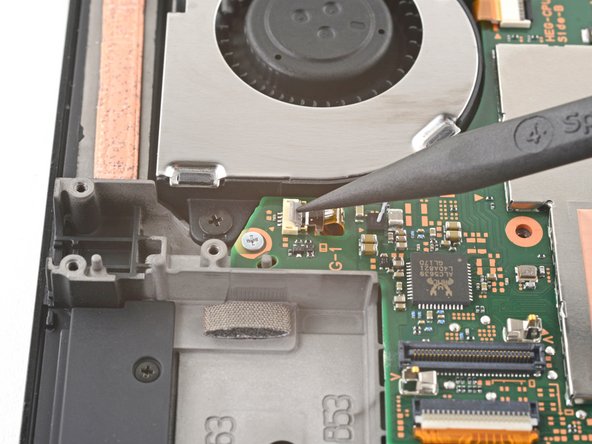
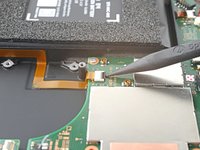
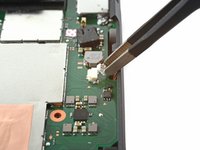
Use tweezers, or your fingers, to remove the piece of tape obscuring the daughterboard's screw.
-
-
-
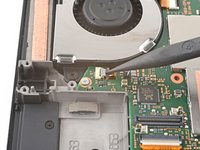
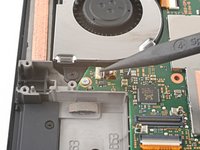
Use a Phillips driver to remove the 4 mm screw securing the daughterboard to the frame.
-
-
-
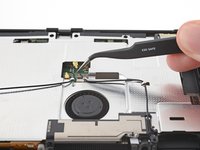
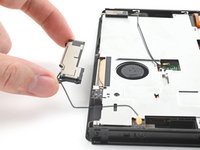
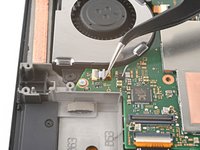
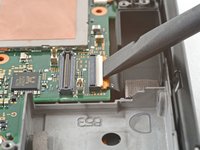
Insert a spudger between the edge of the daughterboard and the motherboard.
-
Pry up with the spudger to disconnect the press connector and separate the daughterboard from the frame.
-
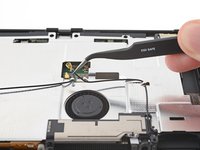
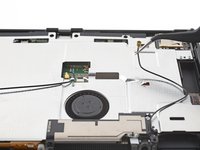
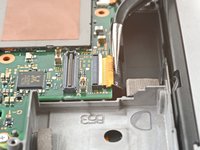
Remove the daughterboard.
-
-
-
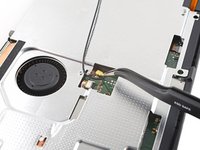
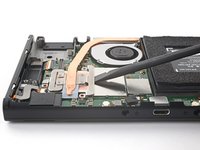
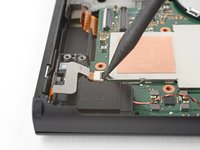
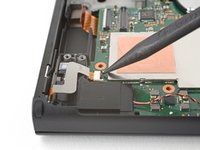
Use a Phillips driver to remove the three 3 mm screws securing the heat sink to the motherboard.
-
-
-
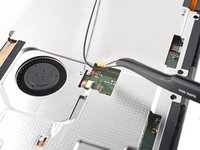
Insert a spudger between the heat sink's bracket and the motherboard.
-
Pry up with the spudger to separate the heat sink from the motherboard.
-
-
-
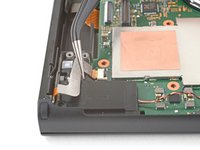
Use the tip of a spudger, an opening tool, or your fingernail to flip up the small, hinged locking flap on the fan cable's ZIF connector.
-
-
-
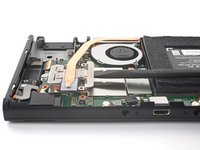
Use a Phillips driver to remove the three 3 mm screws securing the fan to the frame.
-
-
-
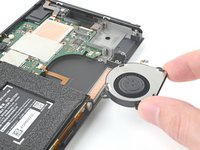
Use a spudger to lift the fan out straight out of the frame.
-
Remove the fan.
-
-
-
Use an opening tool, spudger, or your fingernail to flip up the small, hinged locking flap on the power button board's ZIF connector.
-
-
-
Use an opening tool, spudger, or your fingernail to flip up the small, hinged locking flap on the right Joy-Con sensor rail's ZIF connector.
-
-
-
Use a Phillips driver to remove the two 3.8 mm screws securing the left Joy-Con sensor rail to the frame.
-
-
-
Use an opening tool, spudger, or your fingernail to flip up the hinged locking flap on the display's ZIF connector.
-
-
-
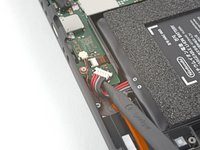
Use tweezers, or your fingers, to pull the left speaker's JST connector out of its socket.
-
-
-
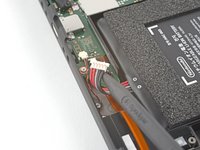
Use tweezers, or your fingers, to pull the right speaker's JST connector out of its socket.
-
-
-
Use an opening tool, spudger, or your fingernail to flip up the small, hinged locking flap on the right Joy-Con sensor rail's ZIF connector.
-
-
-
Use a Phillips driver to remove the five screws securing the midframe to the frame:
-
Three 3 mm screws
-
Two 4.4 mm screws
-
-
-
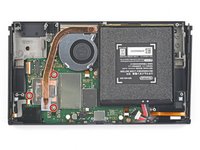
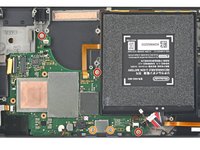
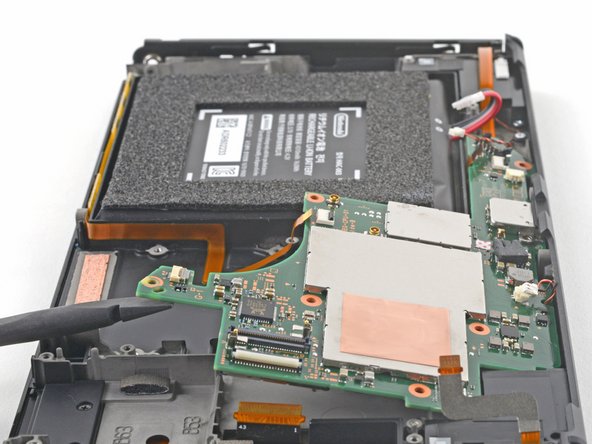
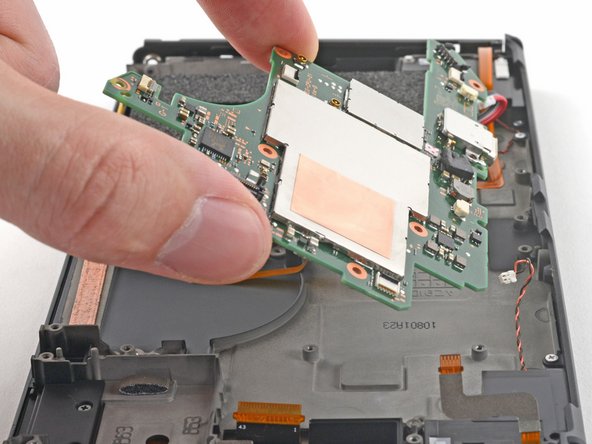
Insert a spudger between the motherboard and the frame.
-
Pry up with the spudger to separate the motherboard from the frame.
-
Remove the motherboard.
-
-
-
Use your fingers to gently peel back the left Joy-Con sensor rail's cable from the frame.
-
-
-
Use a Phillips driver to remove the 3.8 mm screw securing the left Joy-Con sensor rail to the frame.
-
-
-
Use a Phillips driver to remove the two 3 mm screws securing the bottom rail to the frame.
-
-
-
Use your fingers to gently peel back the power board button's cable from the frame.
-
-
-
Use your fingers to pull the power button board out from its plastic slots in the frame.
-
Remove the power button board.
-
-
Outil utilisé dans cette étape :iFixit Adhesive Remover$19.99
-
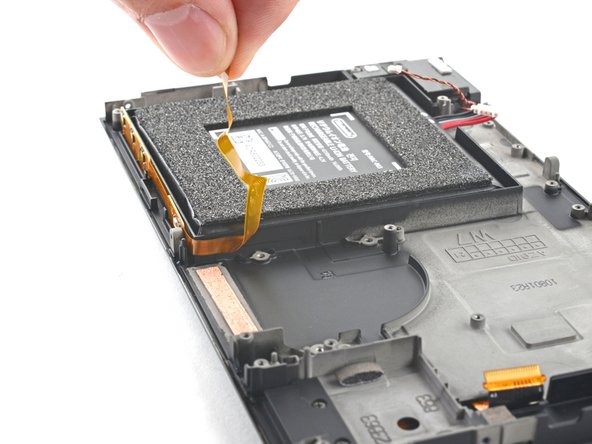
Apply a few drops of adhesive remover or high-concentration (90% or higher) isopropyl alcohol inside the battery well along the top edge to weaken the adhesive.
-
-
-
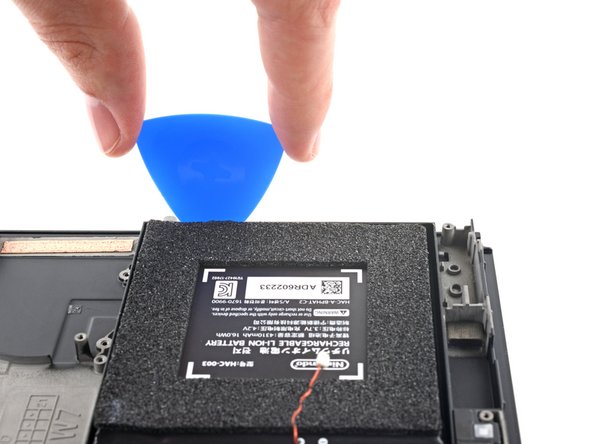
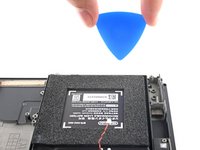
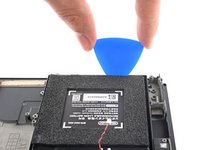
Insert an opening pick into the gap between the battery and the wall of the battery well.
-
Carefully dig the tip of the opening pick underneath the battery and slide it along the edge to begin slicing the adhesive.
-
-
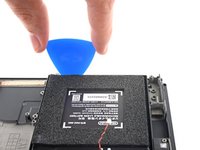
Outil utilisé dans cette étape :Plastic Cards$2.99
-
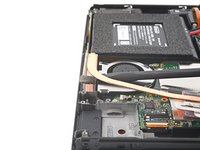
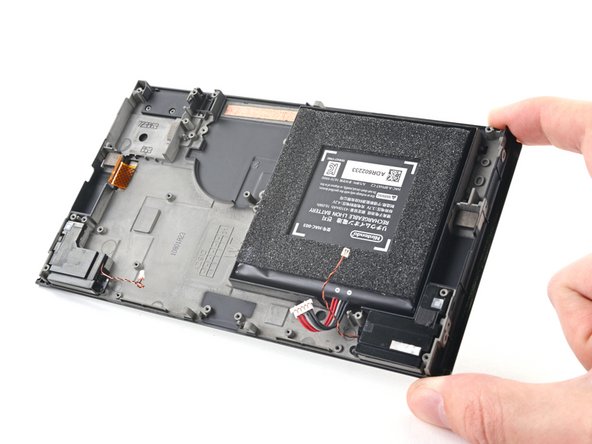
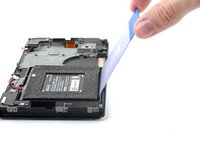
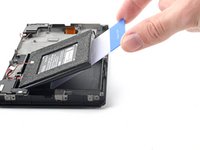
Once there's enough room, insert a plastic card underneath the battery and slowly pry the battery up.
-
-
-
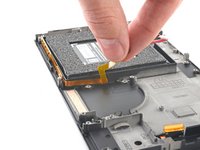
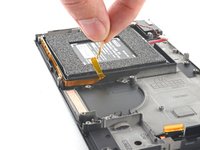
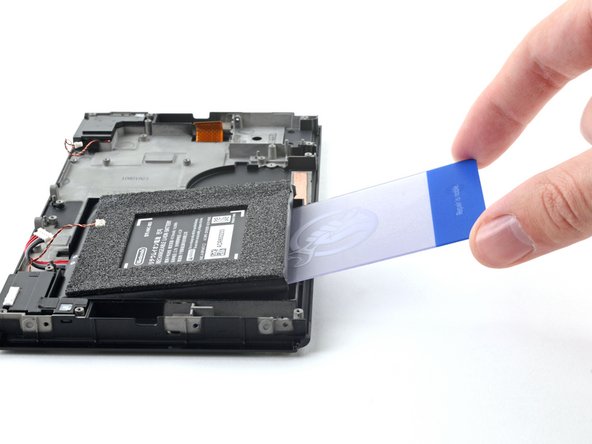
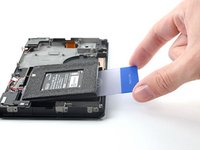
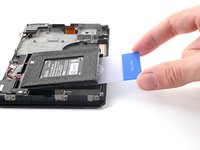
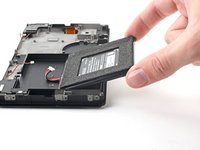
Pry up with the plastic card to completely separate the battery's adhesive.
-
Remove the battery.
-
-
-
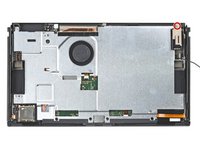
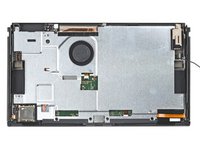
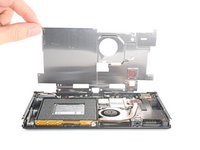
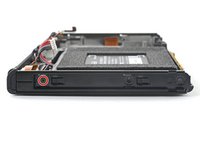
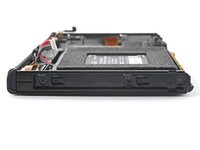
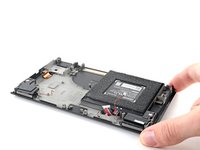
You're now left with the Screen OLED Assembly.
-


To reassemble your device, follow these instructions in reverse order.
For optimal performance, calibrate your newly installed battery after completing this guide.
Compare your new replacement part to the original part—you may need to transfer remaining components or remove adhesive backings from the new part before you install it.
Take your e-waste to an R2 or e-Stewards certified recycler.
Repair didn’t go as planned? Try some basic troubleshooting, or ask our Nintendo Switch OLED Answers community for help.


2 commentaires de tutoriel
Hi Alex (or anyone who knows and wants to answer), why do you indicate in point 61 to replace the battery and not reuse it after removal? Should it be replaced even if the console is practically new and has only been used for a few weeks?
you could've punctured it, severed the wires, or bent it during removal. even if none of that happened, it would certainly be soaked in isopropyl alcohol since dissolving the strong glue underneath requires it. If you reuse the old battery, then it might light your house up while you're docking or charging it. I'd certainly not want to use a console with a battery soaked with alcohol.