Introduction
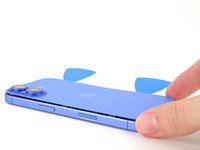
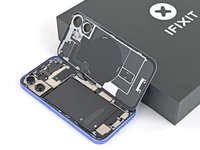
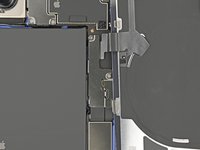
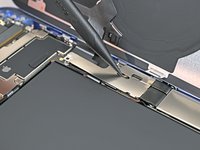
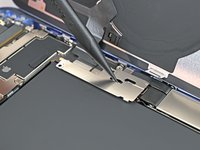
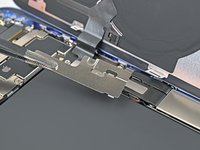
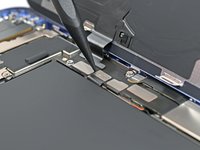
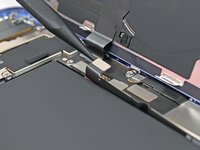
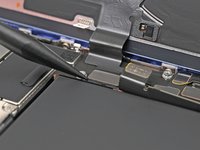
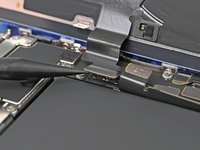
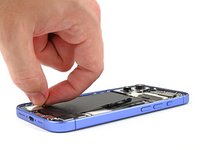
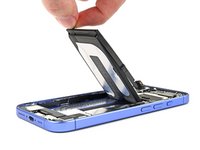
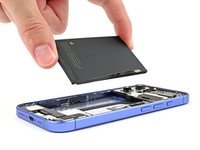
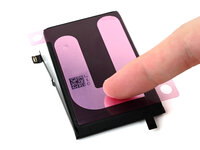
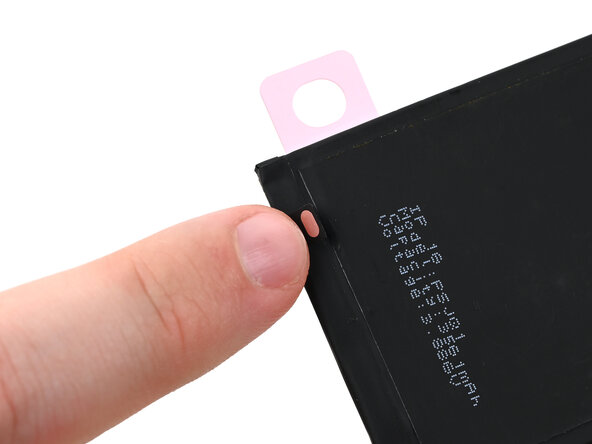
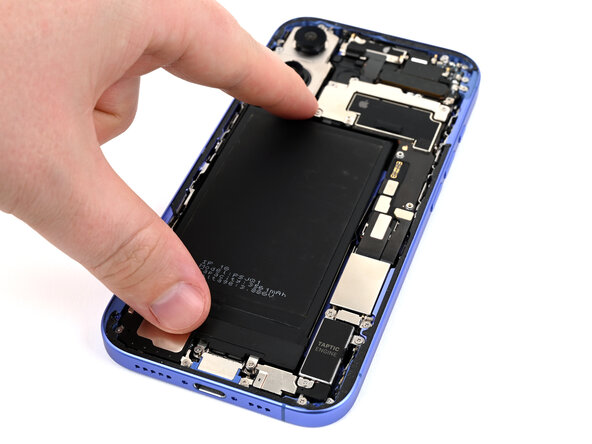
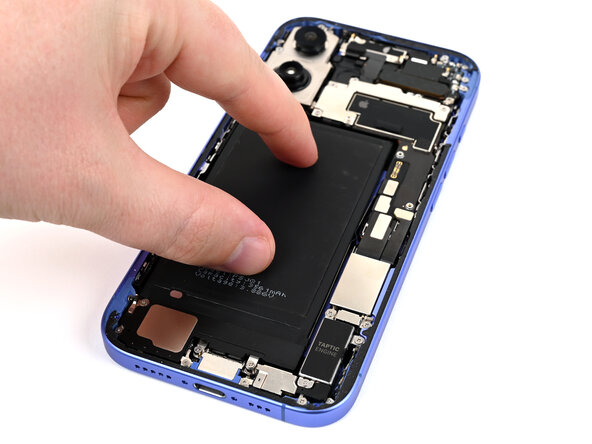
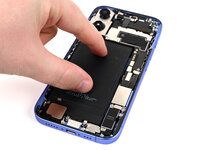
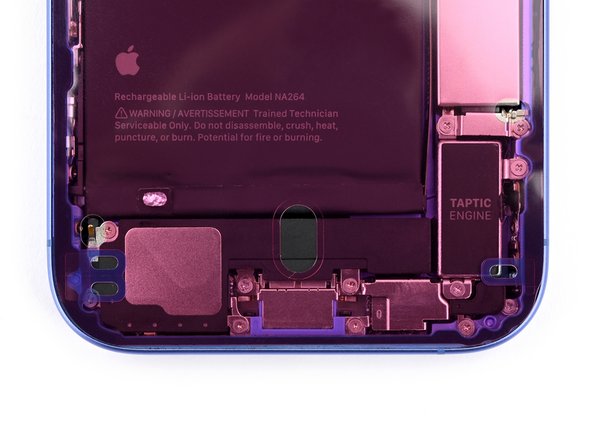
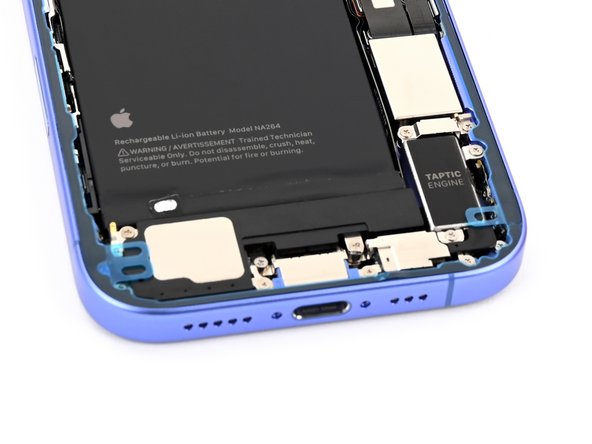
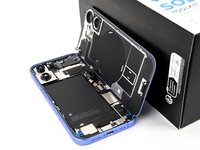
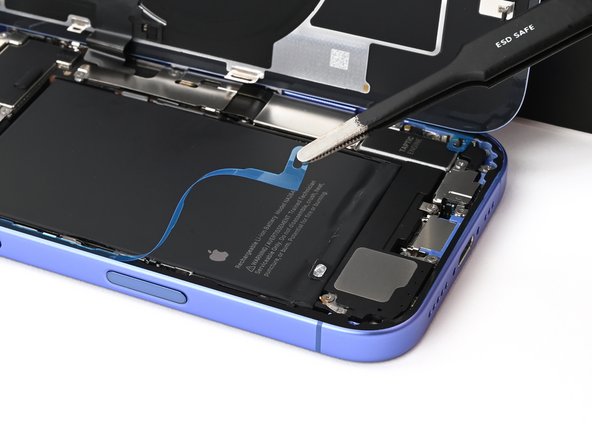
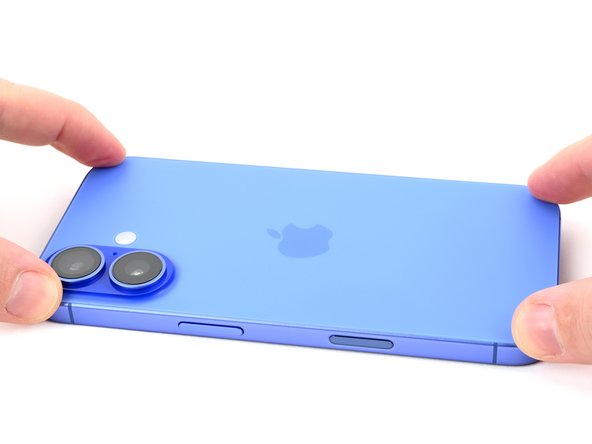
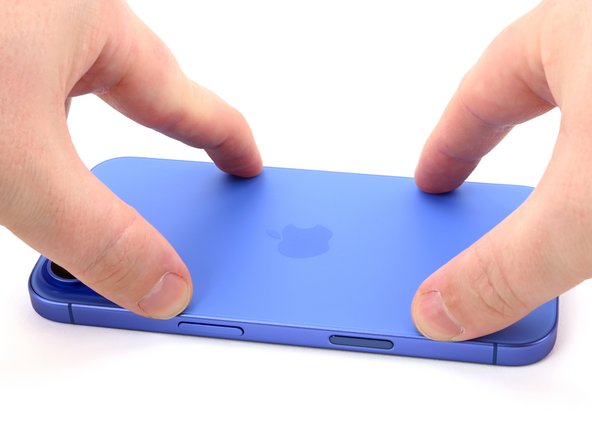
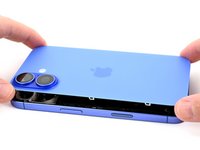
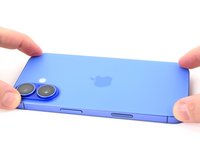
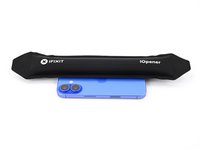
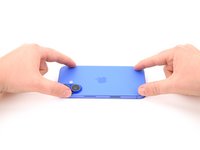
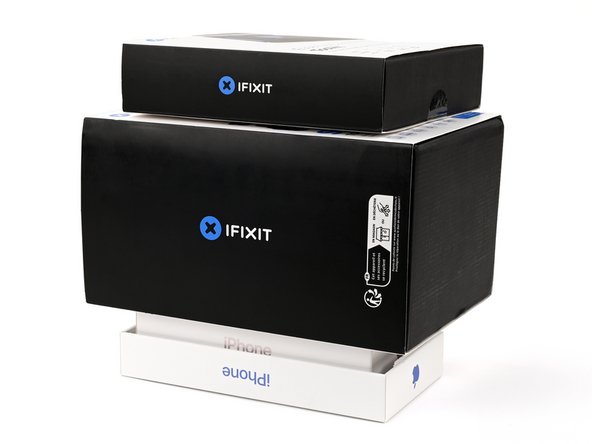
Use this guide to replace the battery in your iPhone 16.
iPhone batteries are rated to hold 80% of their capacity for up to 500 charge cycles, or roughly 18–24 months. If your iPhone needs to be charged more often or runs slower, it might be time to replace the battery.
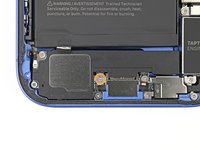
This iPhone and the iPhone 16 Plus use a battery adhesive that requires an electrical charge to loosen it. Apple's repair manual recommends connecting a 9V battery for 90 seconds, but you can use a power supply or a power bank at a 5–20V output instead—the time required to loosen the adhesive will vary.
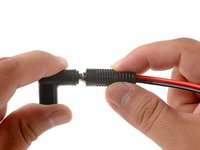
The guide uses the VoltClip along with the FixHub Portable Power Station to release the adhesive. If you're using a different method, follow the guide normally and supplement your power source's operating procedures during the necessary steps.
After completing this repair, you may receive warnings about your replacement part and lose access to battery health data, but your new battery will otherwise work normally. As of iOS 18.1, battery health works with both genuine and aftermarket replacement batteries. Run Repair Assistant to reset the battery metrics.
Ce dont vous avez besoin
-
-
Unplug any cables from your phone.
-
Hold the power and either volume buttons and slide to power off your phone.
-
-
-
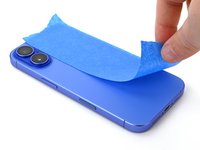
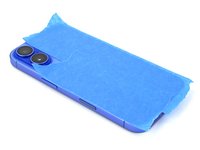
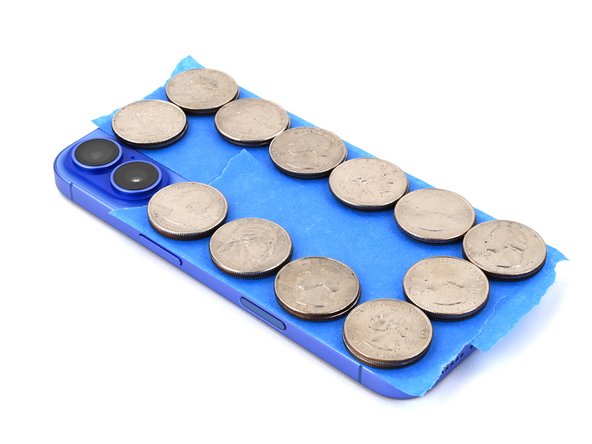
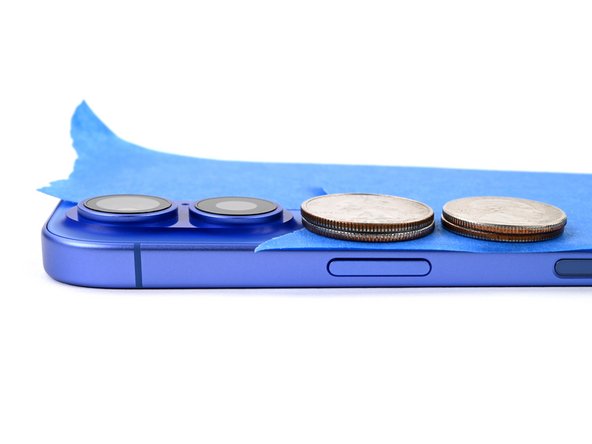
If your screen or back glass is badly cracked, lay overlapping strips of packing tape over the glass to protect yourself and make disassembly easier.
-
-
-
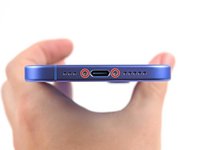
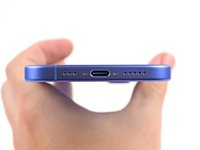
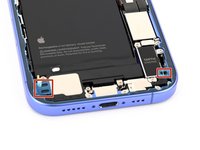
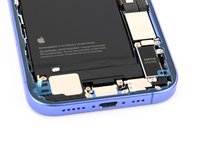
Use a P2 pentalobe driver to remove the two 7.7 mm-long screws on either side of the charging port.
-
-
-
Measure 3 mm from the tip and mark the opening pick with a permanent marker.
-
-
Outil utilisé dans cette étape :iOpener$14.99
-
Use a hair dryer or heat gun to heat the bottom edge of the back glass until it's hot to the touch.
-
-
-
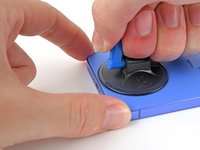
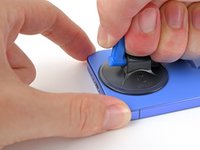
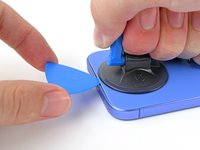
Apply a suction handle to the bottom edge of the back glass.
-
While supporting the frame with one hand, pull up on the handle with a strong, steady force to create a gap between the back glass and the frame.
-
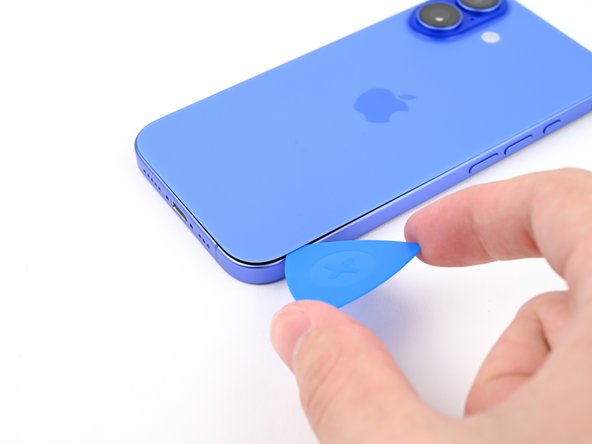
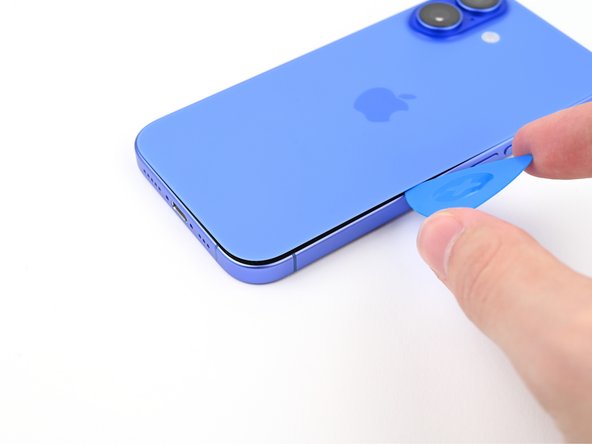
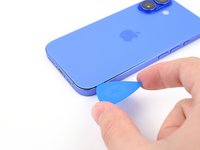
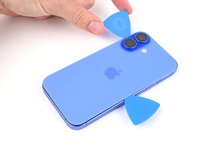
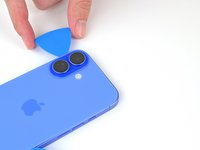
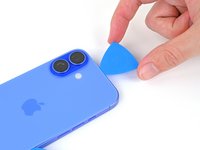
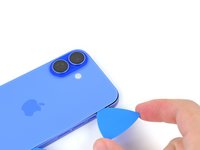
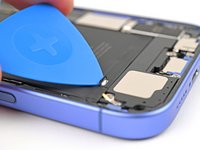
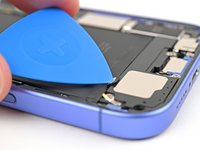
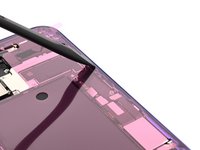
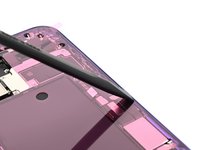
Insert the tip of an opening pick into the gap.
-
-
-
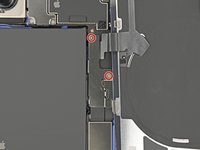
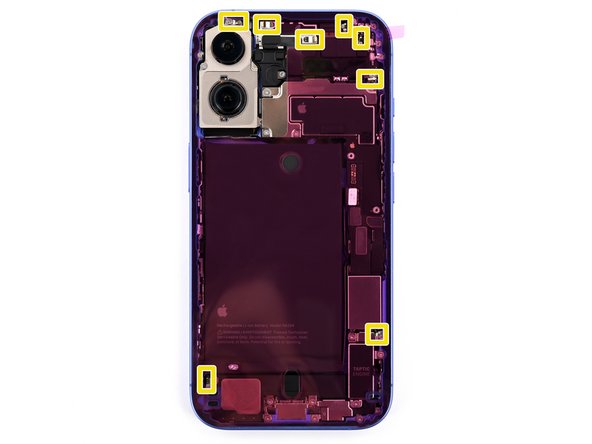
A delicate cable connecting the back glass to the phone, right next to the volume down button. Don't insert your pick here to avoid slicing the cable.
-
Multiple spring contacts around the perimeter of the phone.
-
-
-
Use a hair dryer or heat gun to heat the right edge of the back glass until it's hot to the touch.
-
-
-
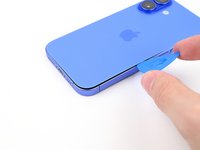
Slide your pick around the bottom right corner and to the volume down button to separate the adhesive and release the metal clip.
-
Leave this pick inserted to prevent the adhesive from resealing.
-
-
-
Use a hair dryer or heat gun to heat the left edge of the back glass until it's hot to the touch.
-
-
-
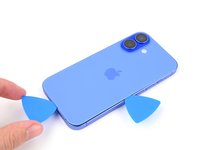
Insert a second opening pick at the bottom edge.
-
Slide the second pick around the bottom left corner and along the left edge of the screen to separate the adhesive and release the metal clips.
-
Leave this pick inserted at the top left corner to prevent the adhesive from resealing.
-
-
-
Use a hair dryer or heat gun to heat the top edge of the back glass until it's hot to the touch.
-
-
-
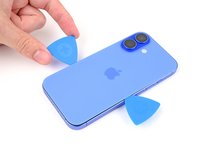
Slide your second opening pick around the top left corner and along the top edge to separate the adhesive and release the metal clips.
-
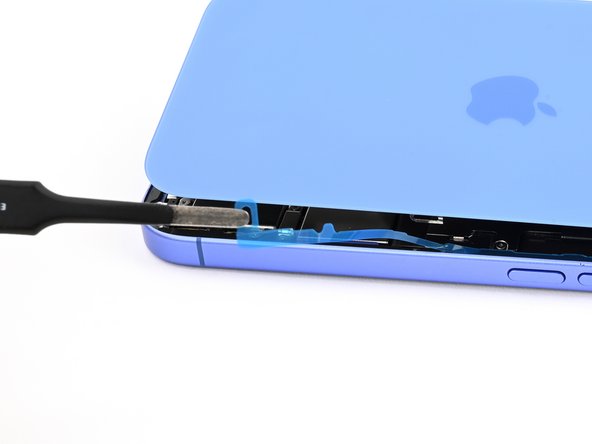
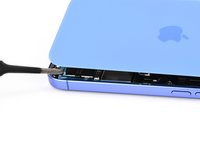
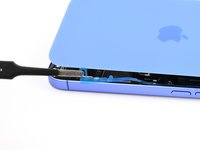
Continue sliding your pick around the top right corner until you reach the Action button.
-
Leave this pick inserted to prevent the adhesive from resealing.
-
-
-
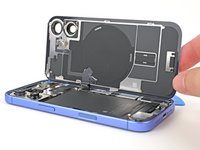
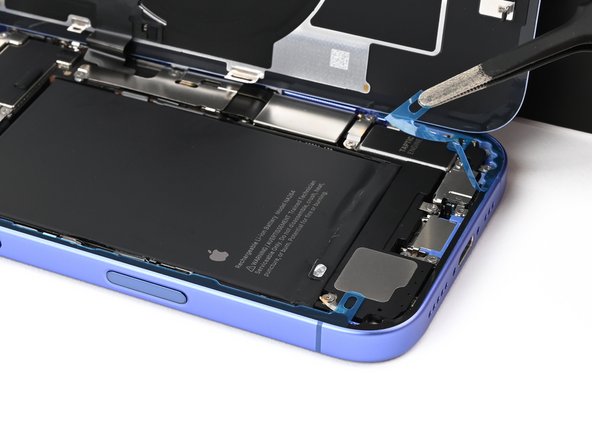
Swing open the back glass to the right of the phone to separate the remaining adhesive.
-
Support the back glass with a clean, sturdy object.
-
Remove the opening picks before continuing.
-
-
-
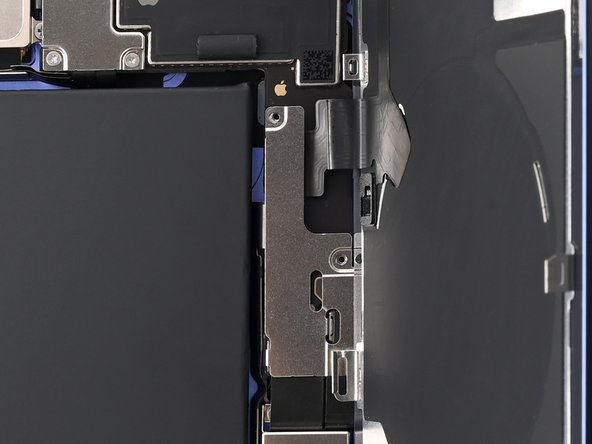
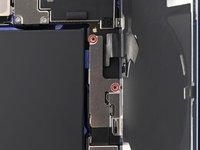
Use a tri-point Y000 driver to remove the two 1 mm‑long screws securing the middle connector cover.
-
-
-
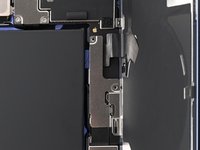
Insert the point of a spudger in either cutout on the middle connector cover.
-
Slide the cover towards the left edge of the phone and release its hook from its slot on the logic board.
-
Remove the cover.
-
-
-
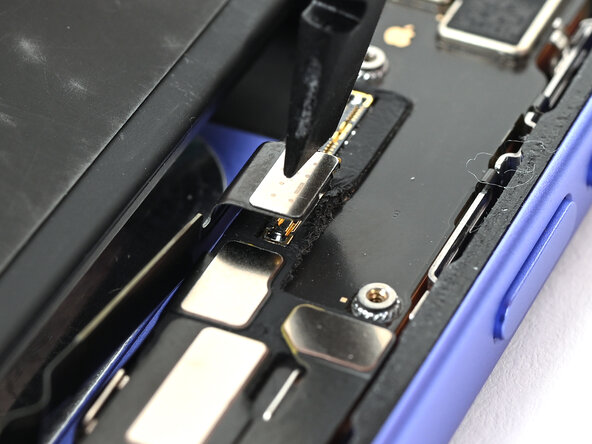
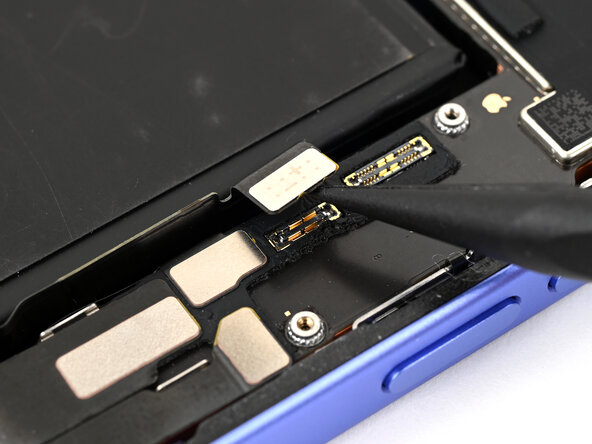
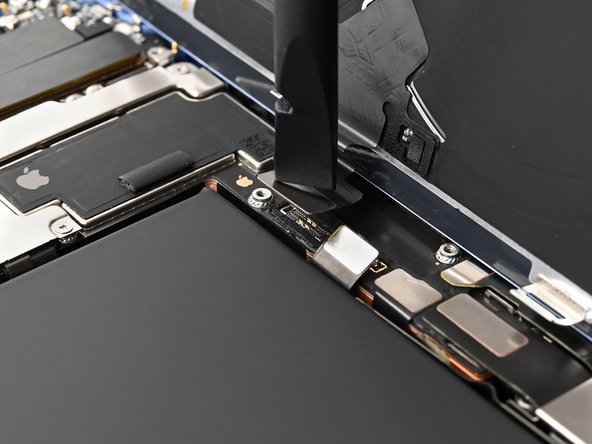
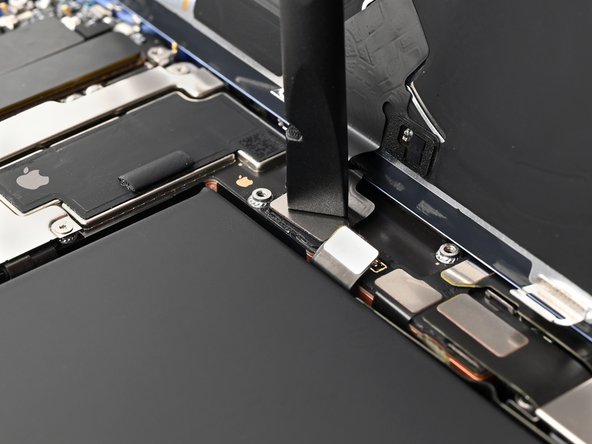
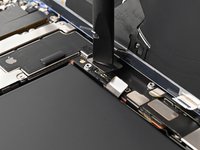
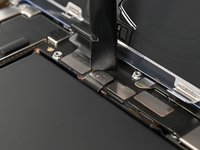
Use the point of a spudger to pry up and disconnect the battery press connector.
-
-
-
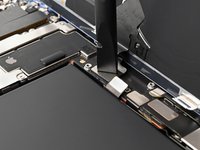
Use the point of a spudger to pry up and disconnect the wireless charging coil press connector.
-
-
-
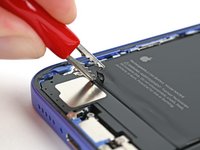
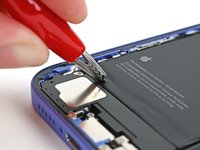
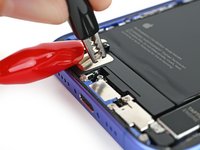
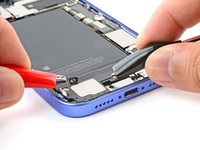
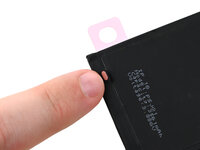
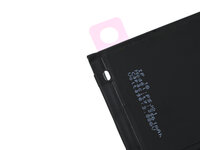
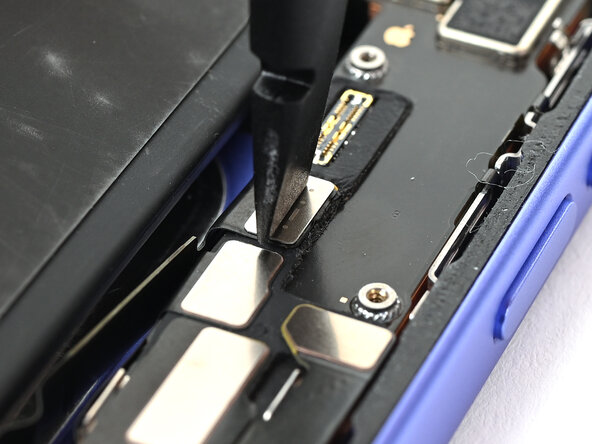
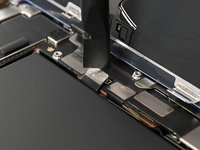
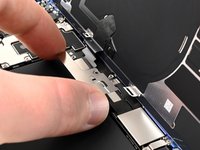
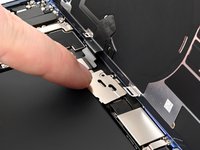
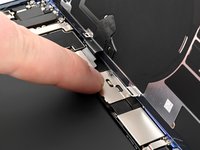
Use an opening pick, or a clean fingernail, to peel up the silver tab at the bottom edge of the battery.
-
-
-
-
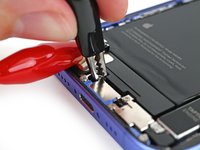
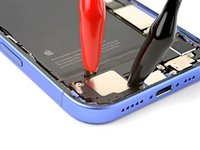
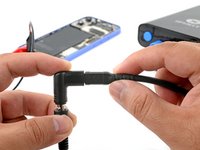
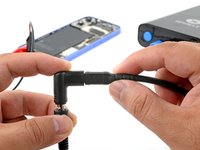
Make sure the red alligator clip isn't touching any stray metallic surfaces.
-
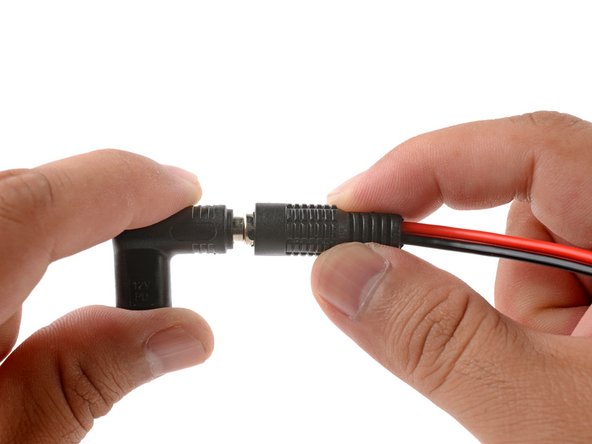
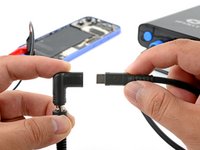
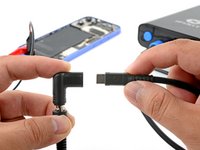
Connect a powered USB-C cable to the USB-C elbow and wait 90 seconds for the adhesive to loosen.
-
-
-
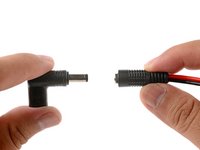
Disconnect the USB-C cable from the elbow, then disconnect the alligator clips.
-
-
-
Congratulations on completing disassembly! The remaining steps will show you how to reassemble your device.
-
-
-
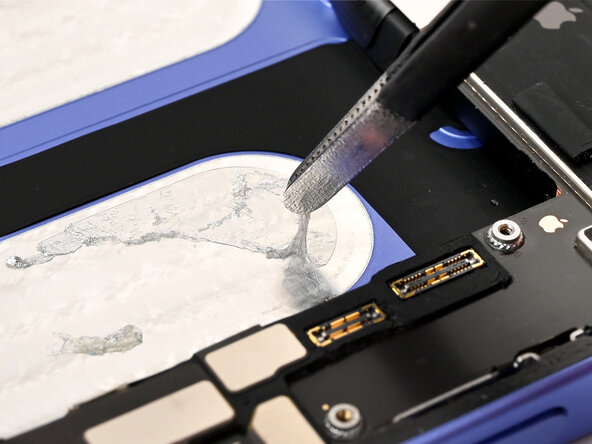
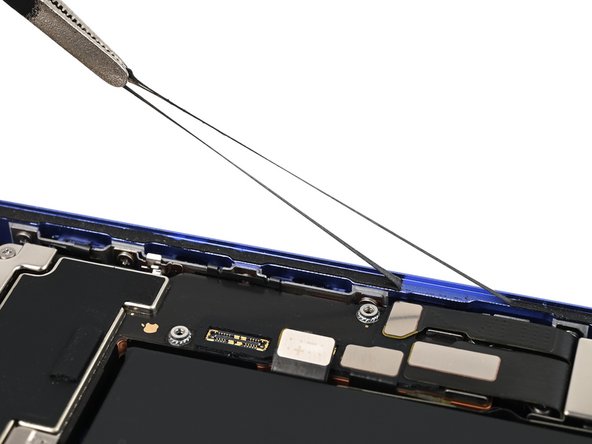
Use a pair of tweezers to peel up any large pieces of residual battery adhesive from the iPhone frame.
-
-
-
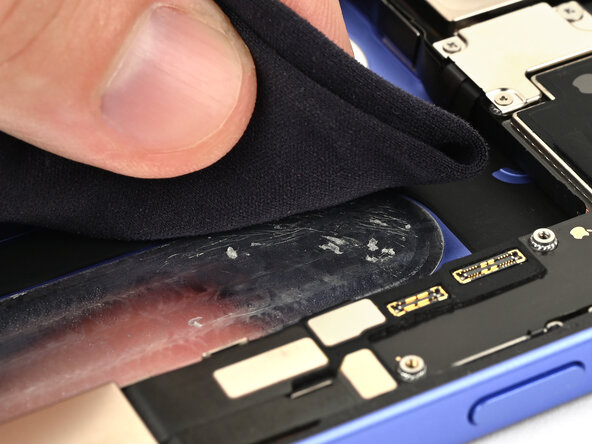
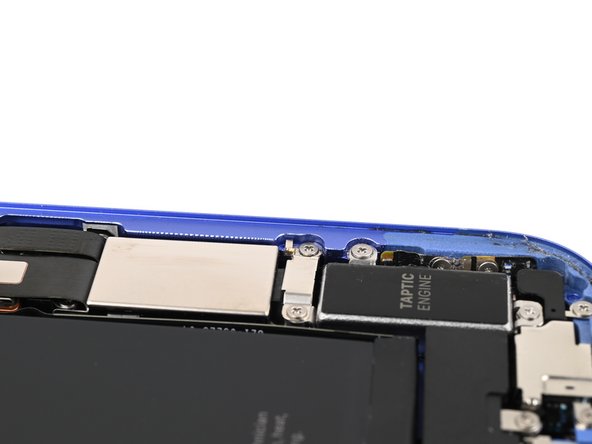
Use coffee filters or a lint‑free cloth and high‑concentration (>90%) isopropyl alcohol to wipe off any remaining battery adhesive residue from the iPhone frame.
-
-
-
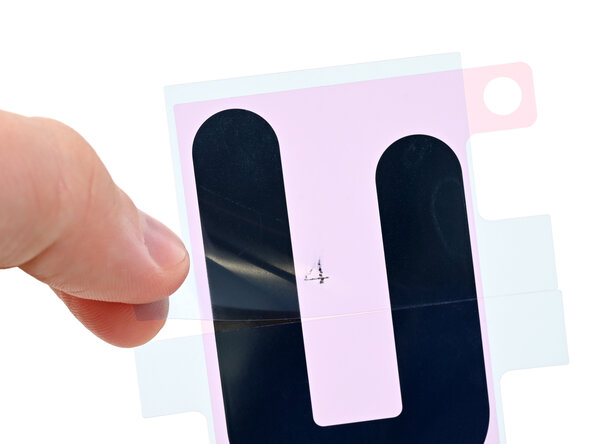
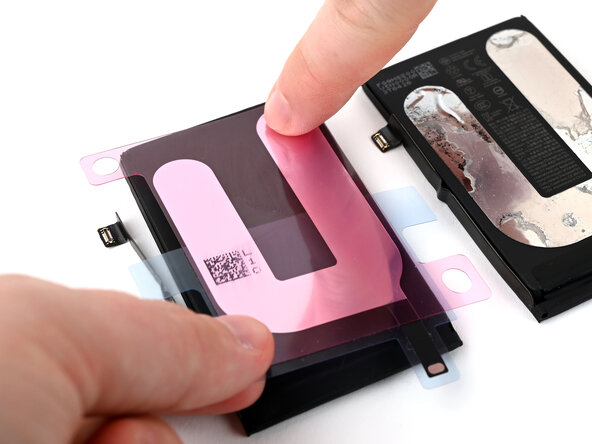
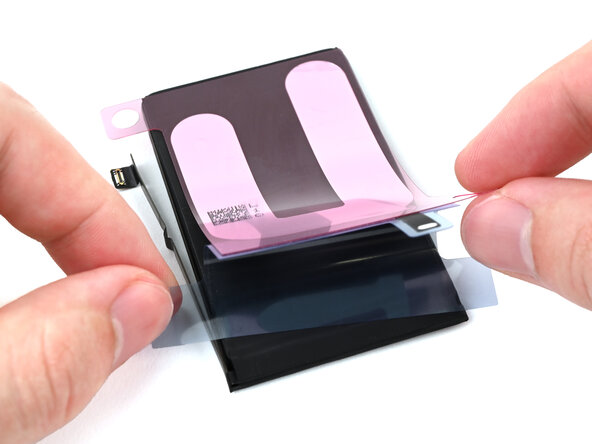
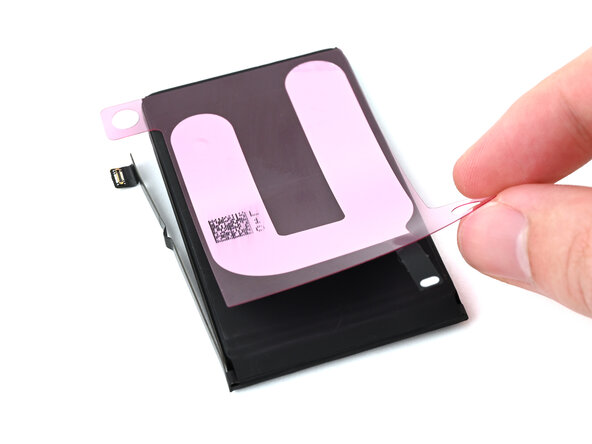
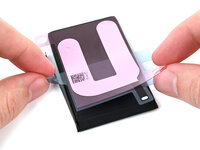
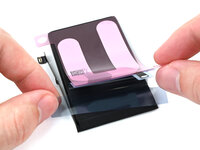
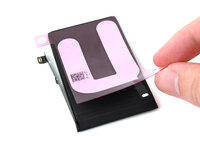
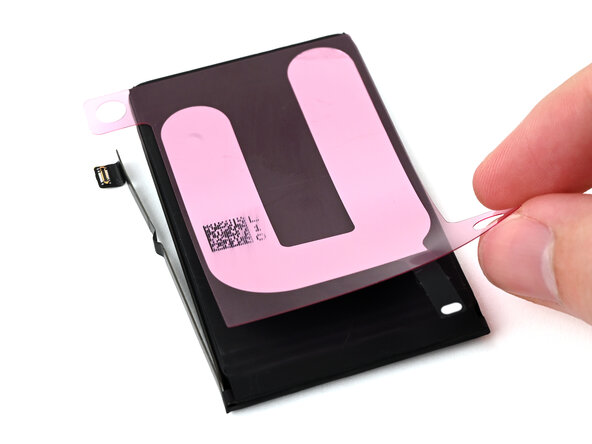
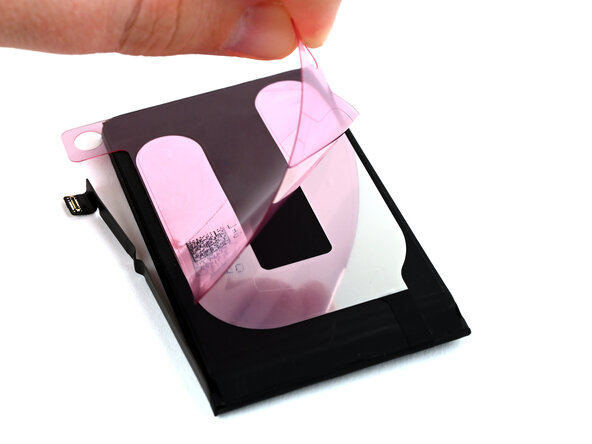
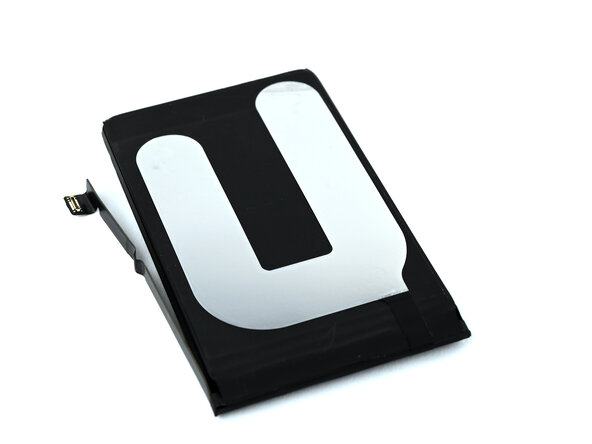
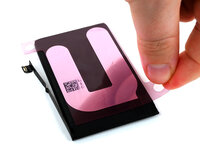
Lay the old battery with the adhesive facing up next to the new battery. Lay the new adhesive on the new battery to see how it needs to be applied.
-
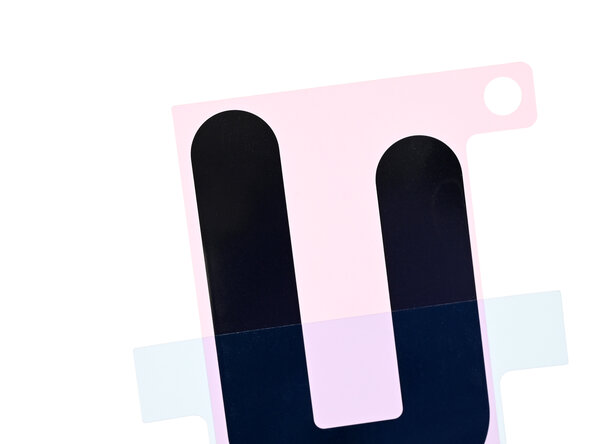
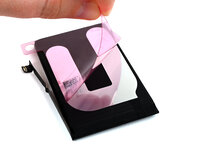
If the battery‑side of your adhesive has two liners, remove the top liner.
-
If the battery‑side of your adhesive has one liner, remove it.
-
-
-
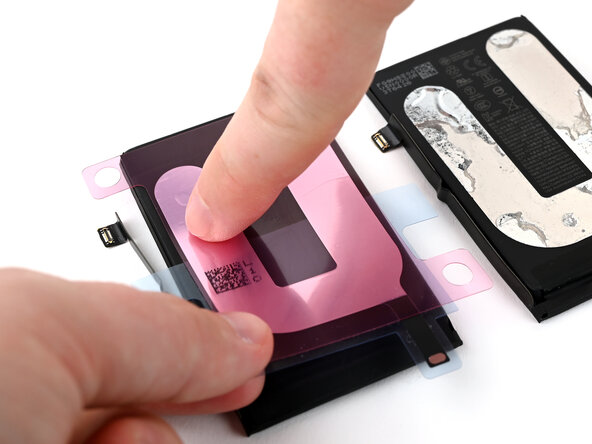
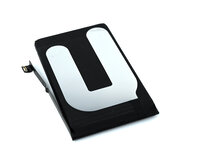
With the old battery nearby so you can align the new adhesive correctly, use your finger to lightly press the new adhesive to the new battery.
-
Compare the placement of the new adhesive with the old adhesive.
-
Once the new adhesive is aligned correctly and matches the old adhesive, press it firmly to the battery.
-
-
-
If the battery‑side of your adhesive still has a bottom liner on it, remove it now.
-
-
-
Use your finger to fold the conductive tab around to the front of the battery and press it into place.
-
-
-
Peel the iPhone‑side liner off of the battery adhesive.
-
-
-
Hold the battery over its place in the iPhone, but don't lower it into place yet.
-
To ensure the battery is properly placed, use a spudger or your finger to connect the battery press connector.
-
-
-
With the battery connected, lower it into its place in the iPhone.
-
Use your fingers to press the battery into place.
-
-
-
Use a spudger or your finger to disconnect the battery to protect your iPhone during the rest of the reassembly process.
-
-
-
Use the pointed end of a spudger to press and roll the adhesive until you can grip it with a pair of tweezers.
-
-
Outil utilisé dans cette étape :Microfiber Cleaning Cloths$3.99
-
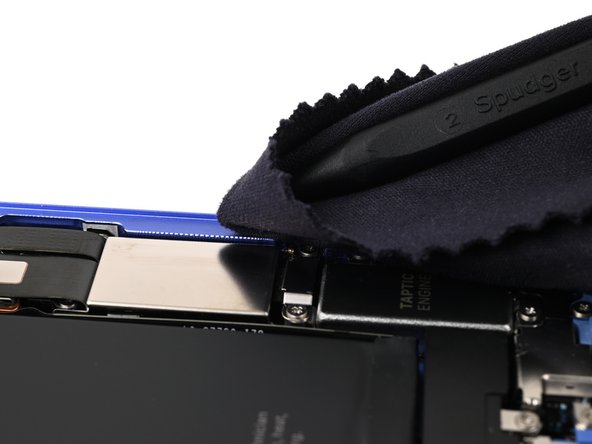
Wrap a microfiber or lint-free cloth over the point of a spudger and apply a few drops of high-concentration isopropyl alcohol (over 90%) to the cloth.
-
Wipe in one direction along the perimeter of the frame to clean the adhesive residue.
-
Wait a few minutes before proceeding to make sure any excess alcohol has evaporated.
-
-
-
Apply a few drops of high-concentration isopropyl alcohol (over 90%) to a microfiber or lint-free cloth and wipe around the perimeter of the back glass to prepare the surface for new adhesive.
-
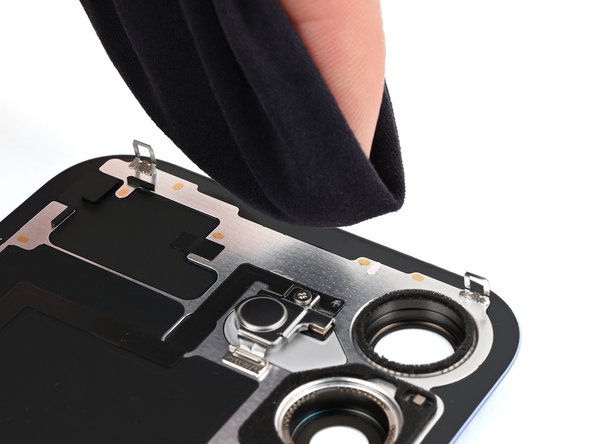
If any clips on the back glass are bent, gently straighten them with your fingers.
-
-
-
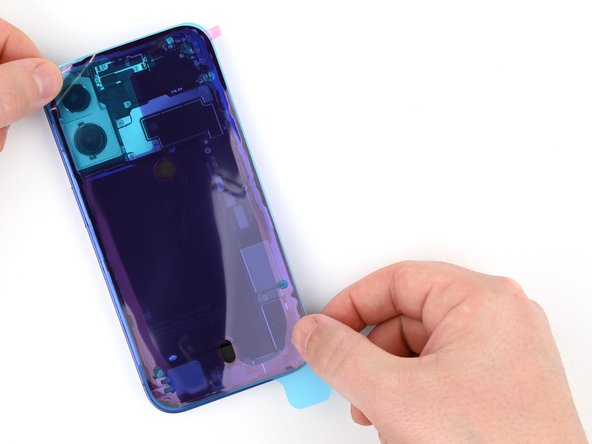
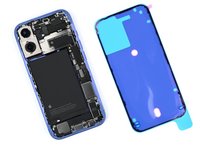
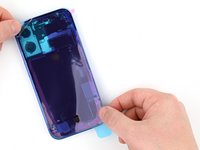
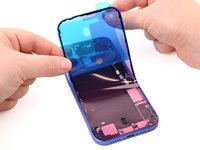
Orient your replacement adhesive over the frame with the larger blue liner on the underside and its pull tab in the bottom-right corner.
-
Use features such as the camera cutout and notches along the edges to ensure the adhesive is oriented correctly.
-
-
-
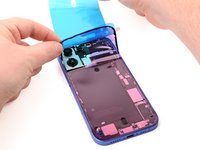
Use the pull tab to begin peeling the back liner off of the adhesive starting from the bottom, but do not remove the liner all the way.
-
-
-
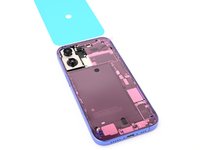
Hold the blue liner out of the way and align the adhesive with the bottom edge of the iPhone.
-
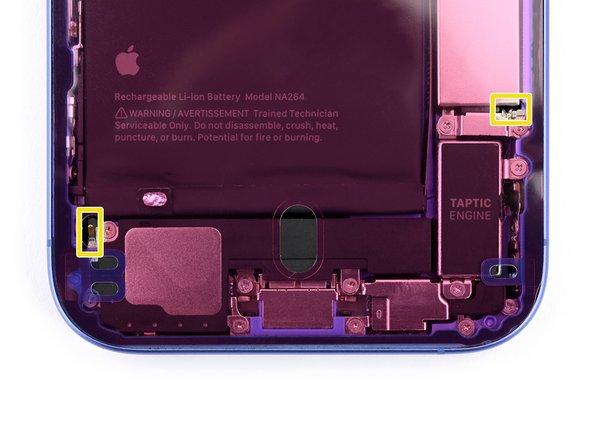
Lay the bottom edge of the adhesive into its recess in the frame, making sure the iPhone's spring contacts are aligned with their cutouts in the liner.
-
-
-
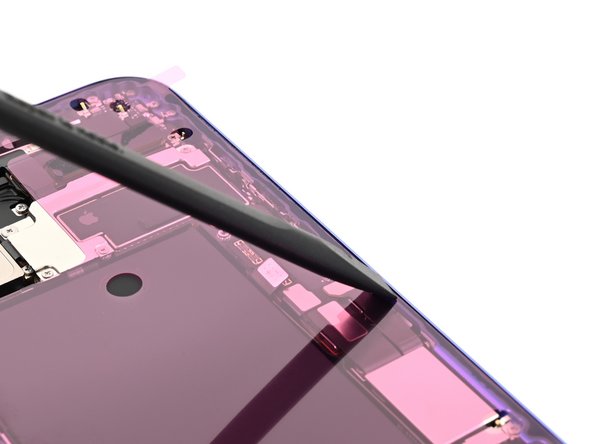
Use the flat end of a spudger to press the adhesive into place around the perimeter of the frame.
-
Be careful not to touch the spring contacts sticking through the pink liner.
-
-
-
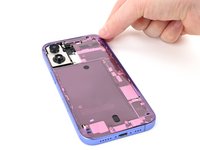
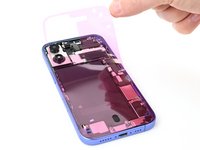
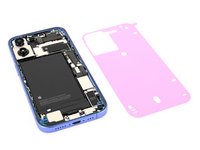
Use the small pull tab in the top-right corner to remove the pink adhesive liner.
-
-
-
Once the top liner is removed, there should be three narrow liners on top of the adhesive with pull tabs near the bottom edge.
-
If you don't see these pull tabs, you may have accidentally removed the thin liners in the previous step. If the adhesive is clean and properly aligned, you may proceed, just be careful not to touch anything to the exposed adhesive until you are ready to install the back glass.
-
-
-
Prop up the back glass along the right edge of your iPhone, using a box or similar sturdy object to support the screen.
-
Use the flat end of a spudger or your finger to connect the charging coil press connector.
-
-
-
Use the flat end of a spudger or your finger to connect the battery.
-
-
-
Lay the connector cover on the phone so the hooks are slightly to the left of their slots in the logic board.
-
Use your finger to press the connector cover down and to the right until both hooks slide into their slots.
-
-
-
Use a tri-point Y000 driver to install the two 1 mm‑long screws securing the middle connector cover.
-
-
-
Use the blue tabs to remove the liners from the bottom, left, and top edges of your iPhone. Wait to remove the liner along the right edge.
-
-
-
Hold the back glass above the phone and align it with the frame.
-
Lay the glass straight down onto the frame and press until the clips engage.
-
Press around the perimeter of the back glass to engage all clips.
-
-
-
To help the adhesive bond, apply heat to the edges of the back glass using an iOpener, hair dryer, or heat gun until it's hot to the touch.
-
Firmly press around the perimeter of the back glass.
-
If you have screen vise clamps, use them to strengthen the bond of your new adhesive. If not, keep reading for more ways to secure the back glass.
-
-
-
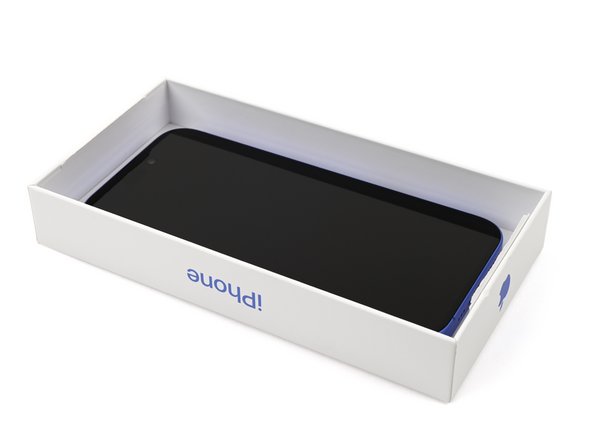
If you have the box your iPhone came in, take the lid and place it on a flat surface.
-
Place your iPhone screen-side-up in the lid of your box with the camera bump in its recess.
-
Find something close to the size of your iPhone, but taller than the sides of the box. Stack it on top of the iPhone, followed by a few heavy objects.
-
Leave the objects in place for at least thirty minutes. The lighter the objects, the longer they should be left. Ideally, leave them stacked overnight.
-
-
-
Use a P2 pentalobe driver to install the two 7.7 mm-long screws on either side of the charging port.
-
After your repair, run Apple's Repair Assistant. Navigate to Settings → General → About → Parts & Service History, tap Restart & Finish Repair, and follow the onscreen prompts.
Calibrate your newly installed battery after completing this guide.
Take your e-waste to an R2 or e-Stewards certified recycler.
Repair didn’t go as planned? Try some basic troubleshooting, or ask our iPhone 16 Answers Community for help.
Annulation : je n'ai pas terminé ce tutoriel.
6 autres ont terminé cette réparation.
5 commentaires de tutoriel
Thats some crazy stuff going on with the battery. Gonna need the same method to loosesn the back glass somehow. Maybe a hidden Positive and negaitve terminal in the sim slot where a special insert would loosen the glue with power being sent through it
Does iPhone 16e require the same steps?
Similar, but not the same! We’ll be releasing guides for the 16e in a few weeks.
My kit did not come with the alligator clips
This may be because in some regions such as Australia ifixit does not sell the clips and you must use a 9v battery


