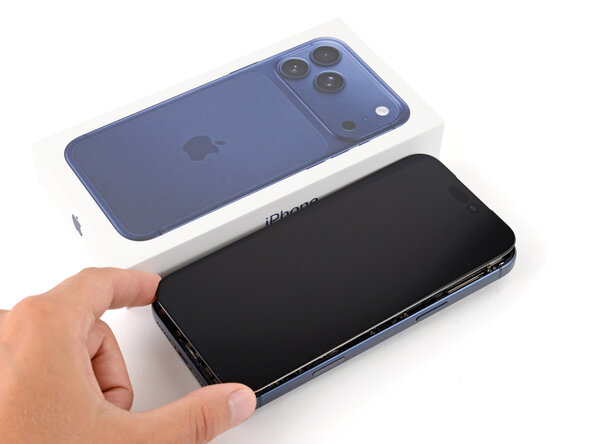
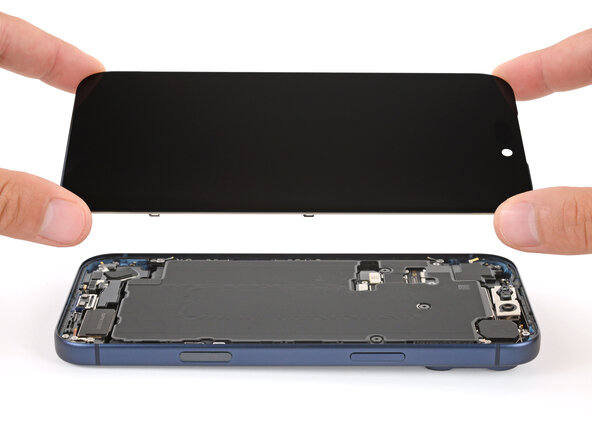
Introduction
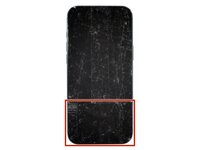
Follow this guide to replace a broken, cracked, or non‑responsive screen on an iPhone 17 Pro Max.
After replacement, True Tone and auto-brightness may be disabled until you calibrate the screen with Apple’s Repair Assistant. Non-genuine screens may not get True Tone and auto‑brightness functionality back.
Note: You'll need replacement screen adhesive to complete this repair.
Ce dont vous avez besoin
-
-
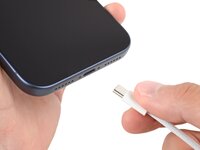
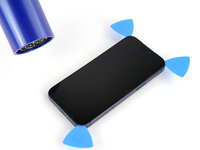
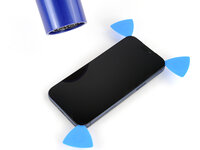
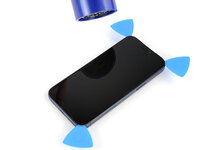
Unplug all cables from your phone.
-
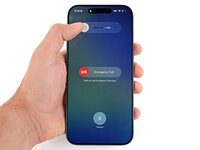
Hold the power and either volume button and slide to power off your phone.
 Demander à FixBot
-
-
Outil utilisé dans cette étape :iFixit Safety Glasses$7.95
-
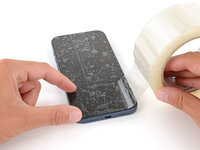
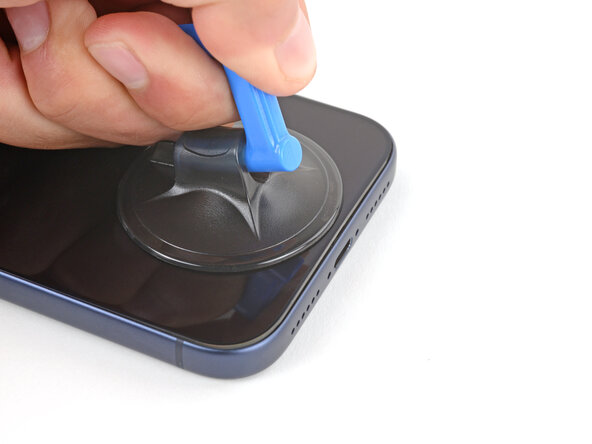
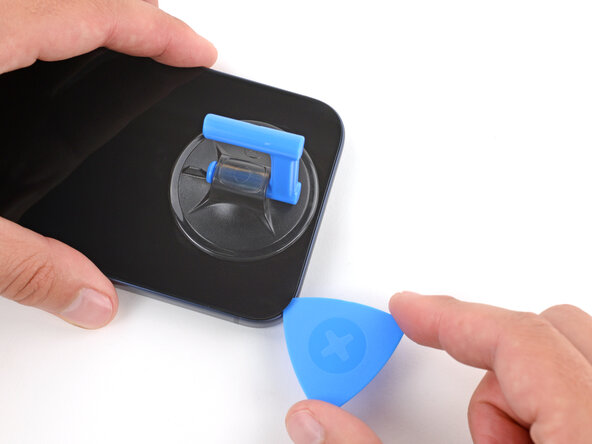
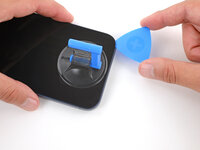
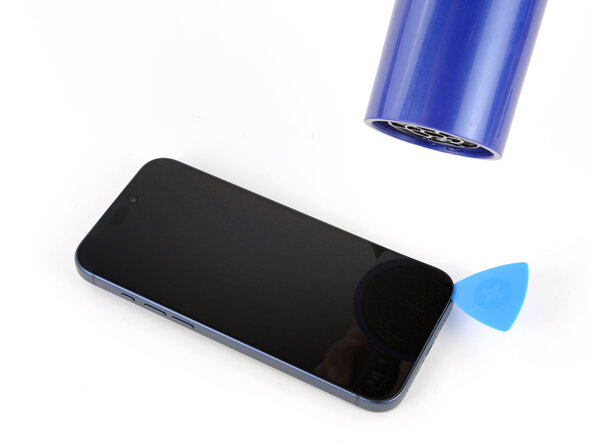
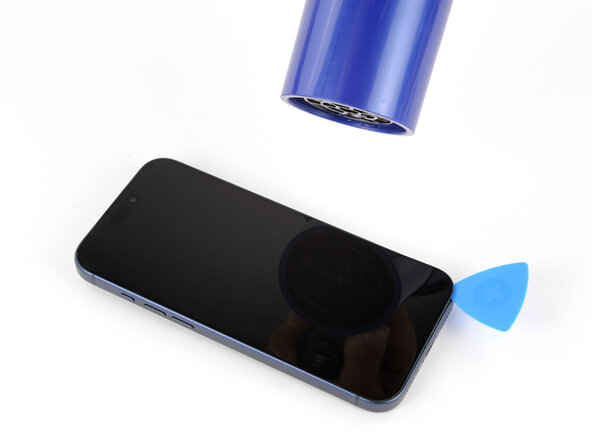
Apply strips of packing tape to the cracked glass until it's completely covered—this will help keep the glass contained and allow the suction cup to stick.
-
Make sure there's a single strip of tape (not overlapping) across the bottom edge, big enough for a suction cup to fit on.
-
-
-
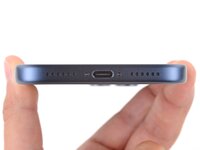
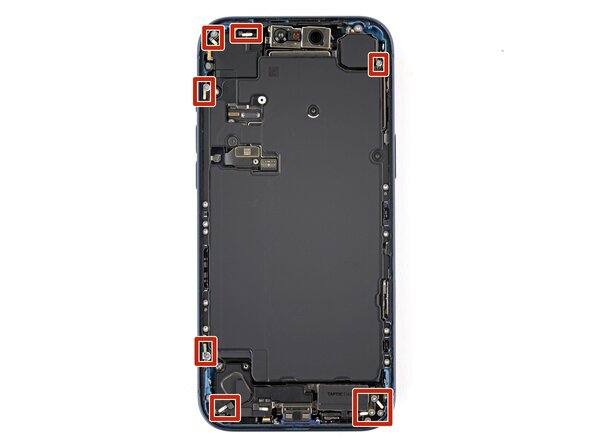
Use a P2 pentalobe screwdriver to remove the two 7.5 mm‑long screws on either side of the charging port.
-
-
-
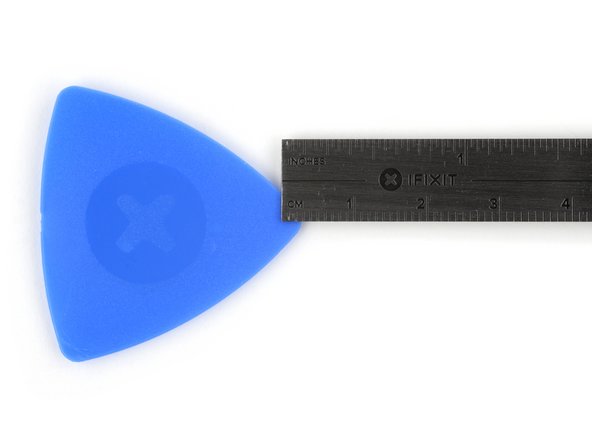
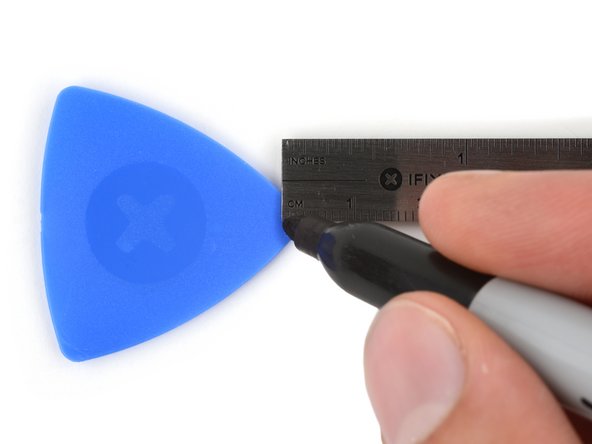
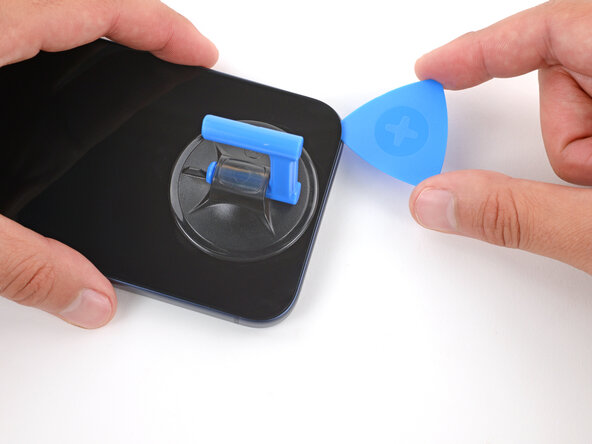
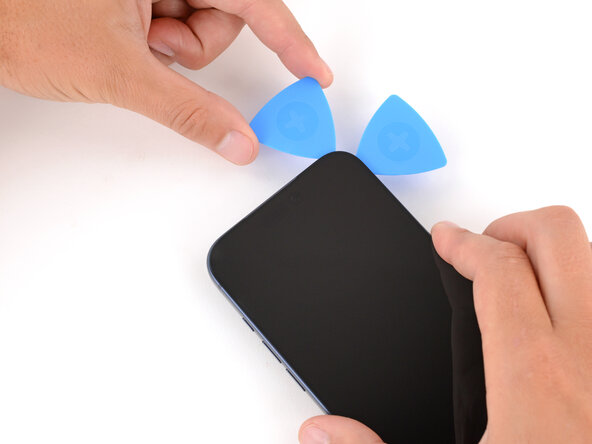
Measure 3 mm from the tip and mark the opening pick with a permanent marker.
-
-
-
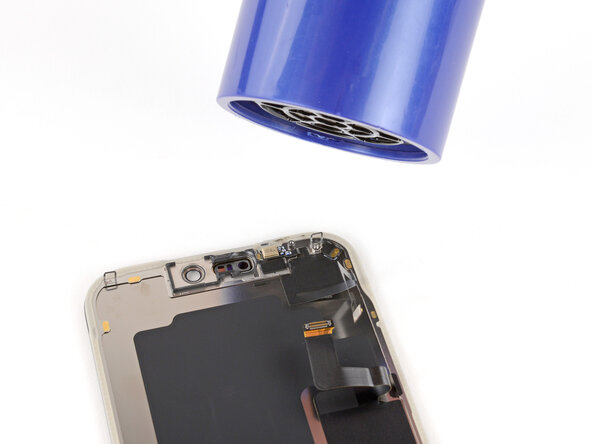
Use a hair dryer or heat gun to heat the bottom edge of the screen until it's slightly too hot to touch.
-
-
-
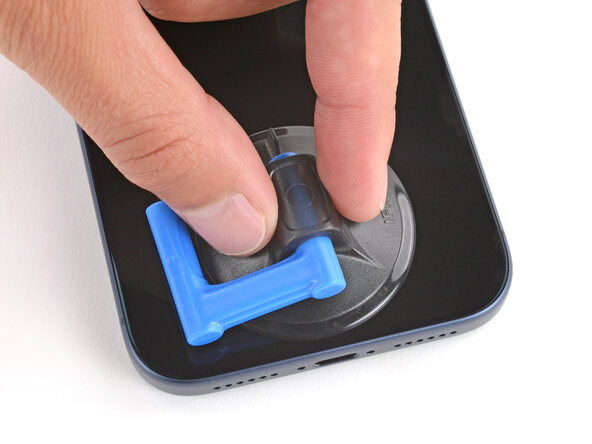
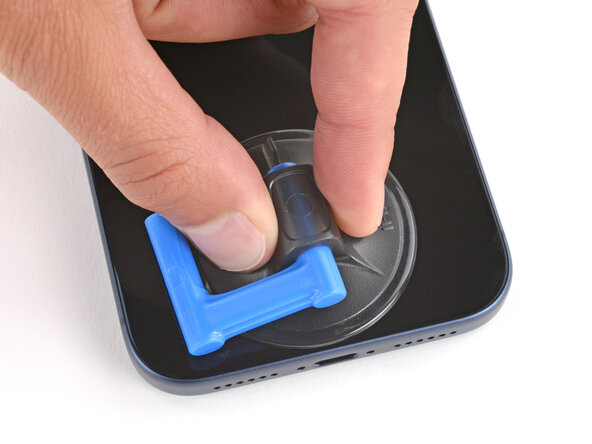
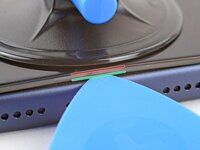
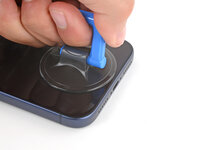
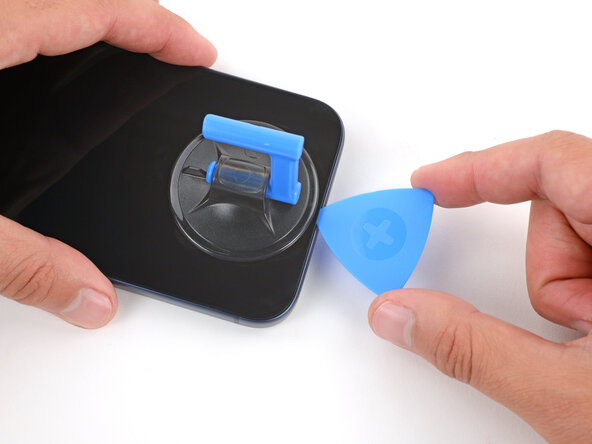
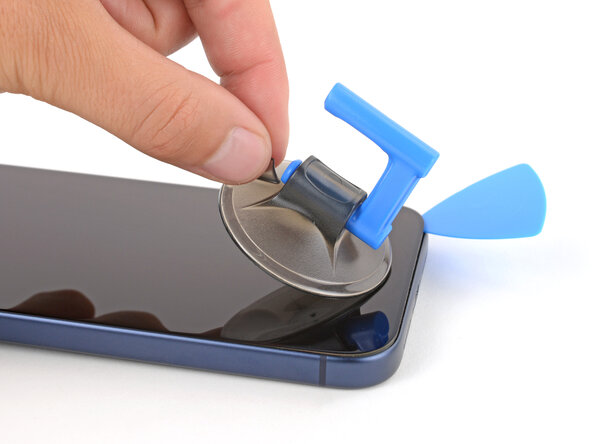
Apply a suction handle to the bottom edge of the screen, as close to the edge as possible.
-
-
-
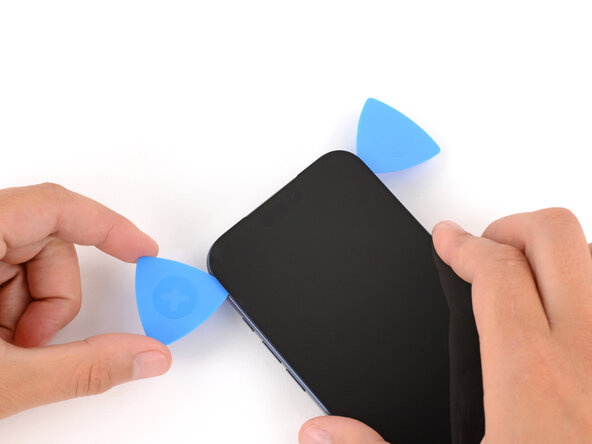
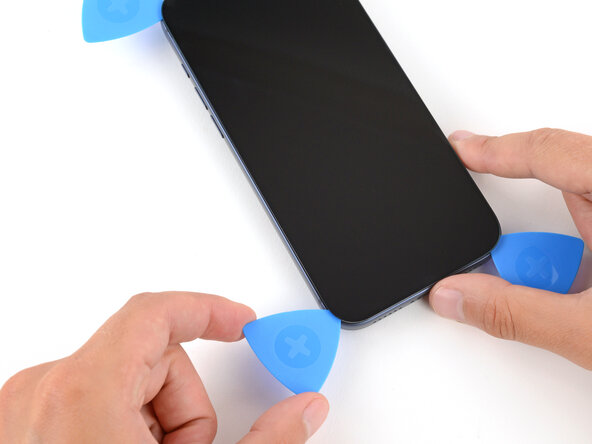
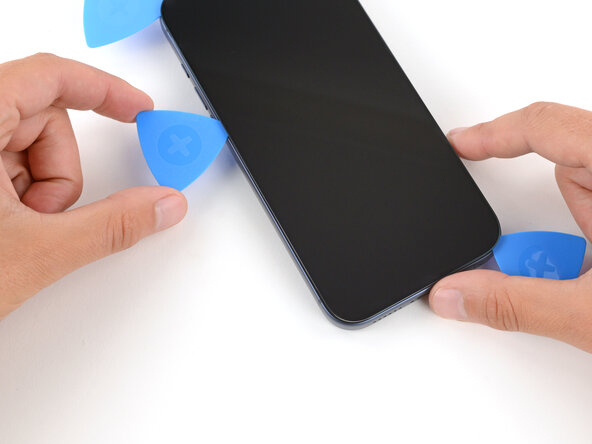
There's a plastic bezel on the underside of the screen that sits on the frame. Insert your pick here, making sure it's completely under the bezel.
-
There's a seam between the plastic bezel and the display panel. Don't insert your pick here or you'll separate the two, complicating the repair.
-
-
-
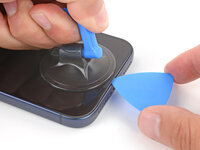
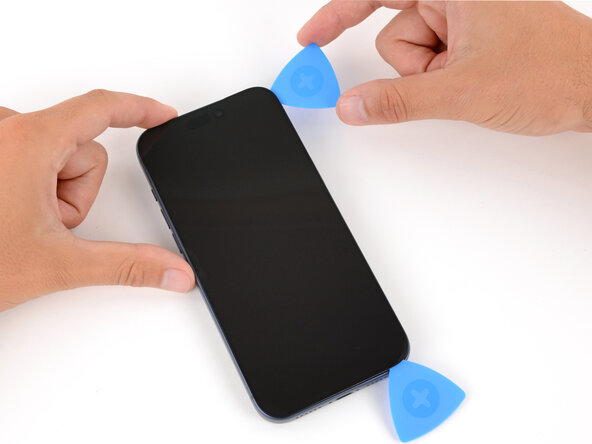
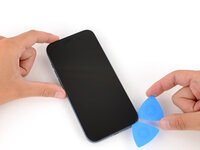
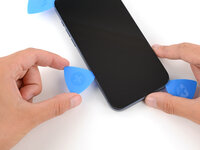
Pull up on the suction handle with strong, steady force until a gap forms between the screen and frame.
-
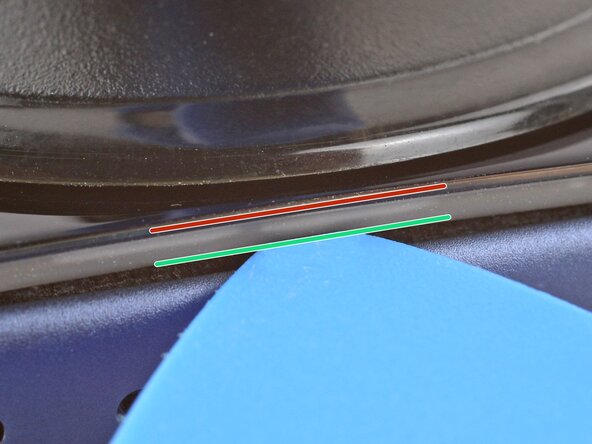
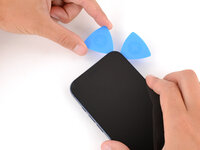
Insert the tip of an opening pick in the gap you just created.
-
-
-
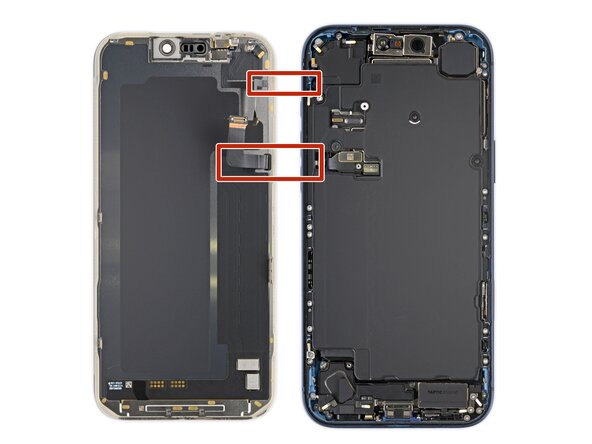
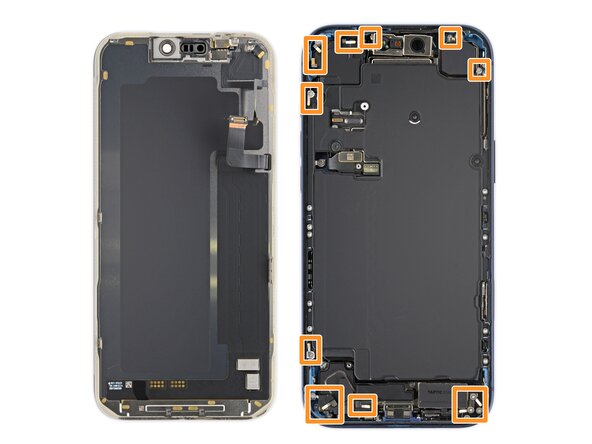
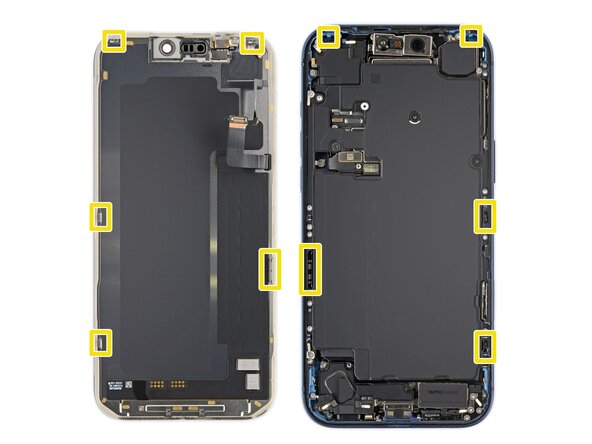
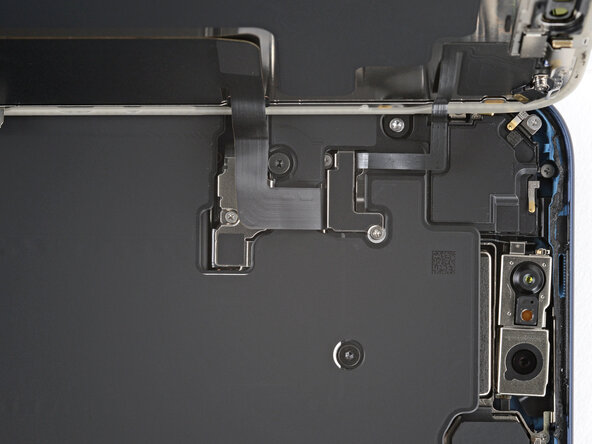
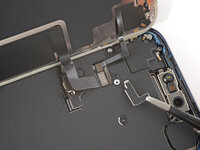
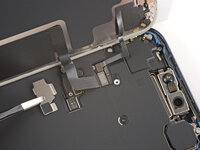
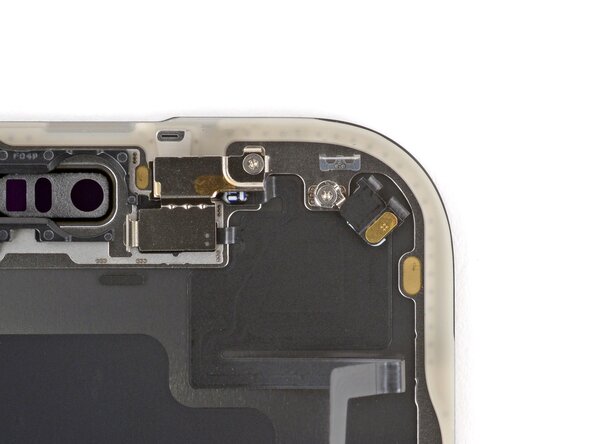
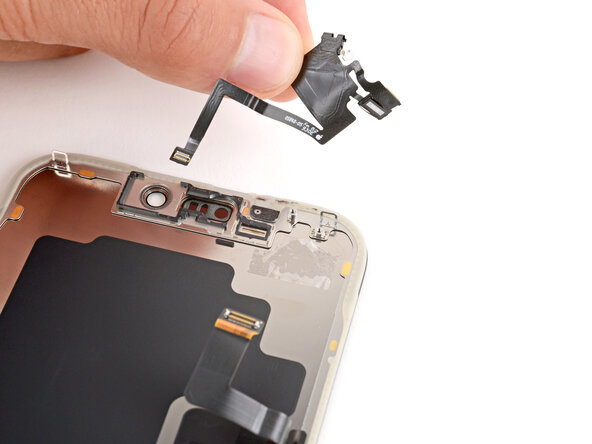
The screen and ambient light sensor cables are located near the volume and Action buttons.
-
There are delicate spring contacts around the perimeter of the phone.
-
The underside of the screen has thin, metal clips that go into corresponding slots on the frame.
-
-
-
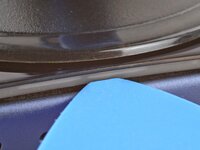
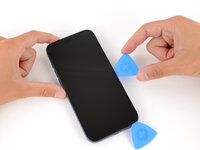
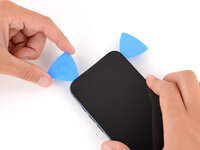
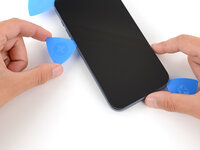
Slide the opening pick along the bottom edge to separate the adhesive.
-
Leave the pick inserted under the bottom right corner to prevent the adhesive from re‑sealing.
-
-
-
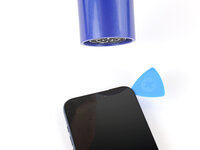
Pull the small nub on the suction cup to remove it from the screen.
-
-
-
Use a hair dryer or heat gun to heat the right edge of the screen until it's slightly too hot to touch.
-
-
-
Insert a second opening pick under the bottom right corner of the screen.
-
Slide the pick up the right edge to separate the adhesive and release the two clips.
-
Leave the pick inserted under the top right corner to prevent the adhesive from re‑sealing.
-
-
-
Use a hair dryer or heat gun to heat the top edge of the screen until it's slightly too hot to touch.
-
-
-
Insert a third opening pick under the top right corner of the screen.
-
Slide the pick along the top edge and barely around the top left corner to separate the adhesive and release the two clips.
-
Leave the pick inserted under the top left corner to prevent the adhesive from re‑sealing.
-
-
-
Use a hair dryer or heat gun to heat the left edge of the screen until it's slightly too hot to touch.
-
-
-
Insert a fourth opening pick under the bottom left corner of the screen.
-
Slide the pick up the left edge to separate the adhesive and release the clip, stopping just before the volume up button.
-
-
-
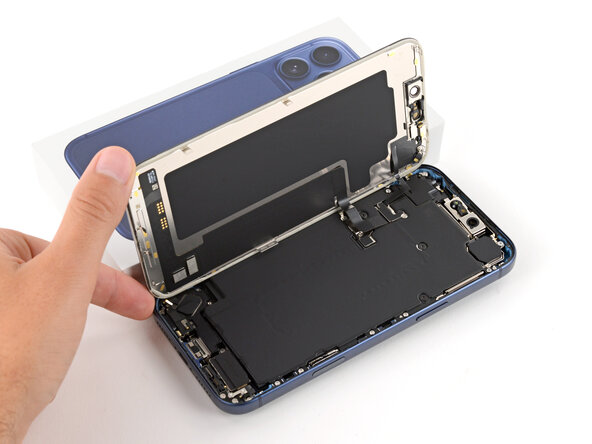
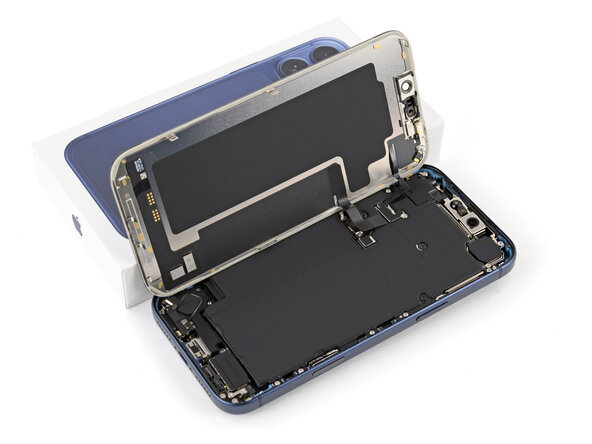
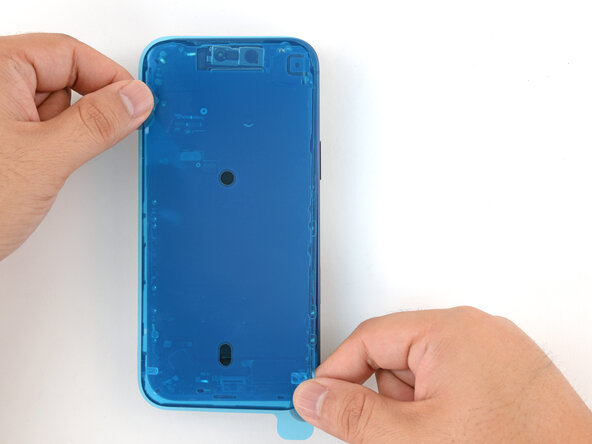
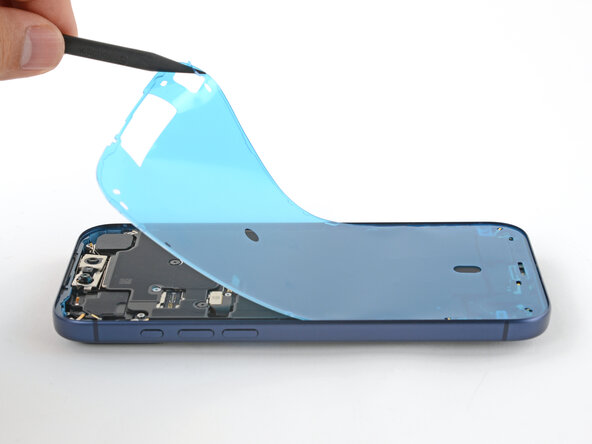
Lift the screen straight up and swing it over the left edge, propping it up against a sturdy box or stack of books so the cables aren't strained.
-
-
Outil utilisé dans cette étape :FixMat$36.95
-
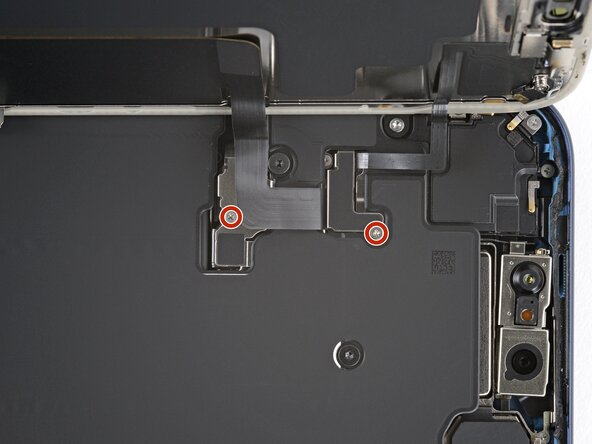
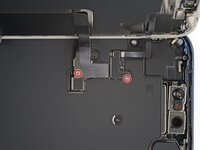
Use a JIS 00 screwdriver to remove the two 1.2 mm‑long screws securing the battery and screen cable covers (one for each cover).
-
-
-
-
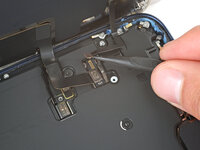
Use the point of a spudger to pry up and disconnect the battery press connector.
-
-
-
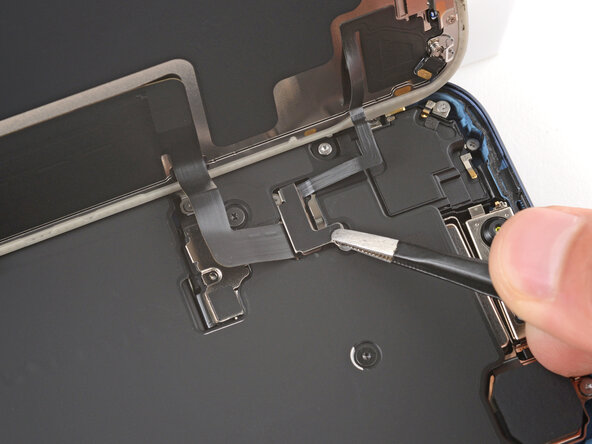
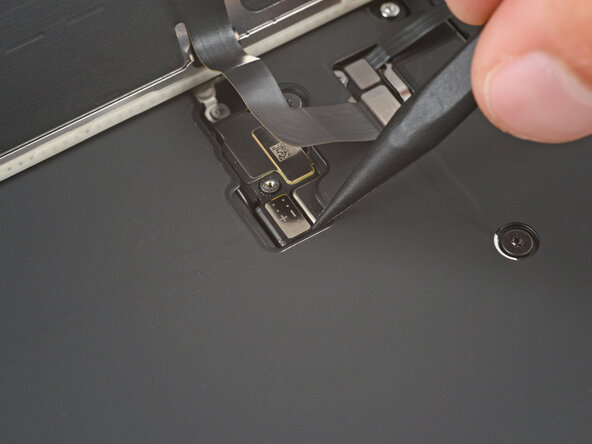
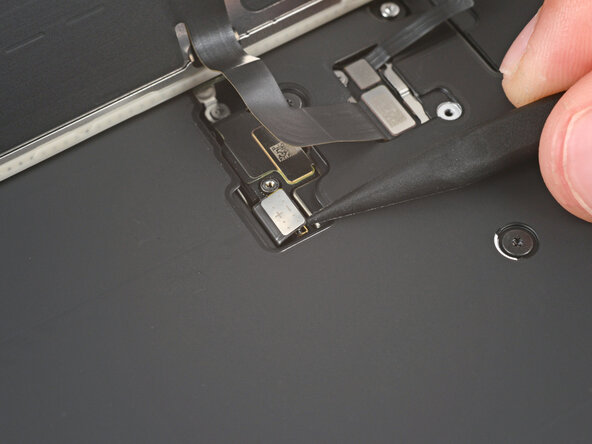
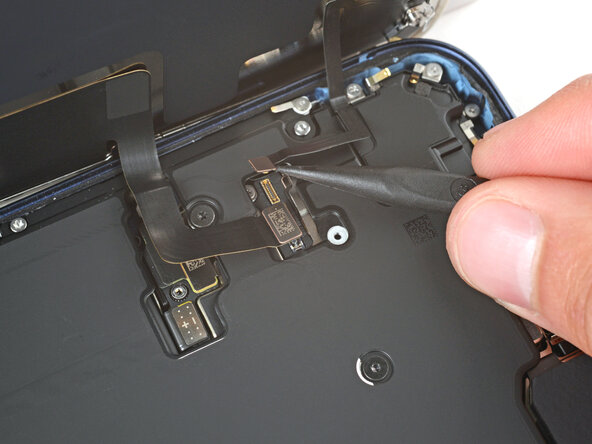
Use the tip of an opening pick or the point of a spudger to pry up and disconnect the screen and front sensors press connectors.
-
-
-
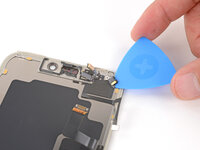
Use a tri‑point Y000 screwdriver to remove the two 1.0 mm‑long front sensors screws.
-
-
-
Use a hair dryer or heat gun to heat the front sensors.
-
-
-
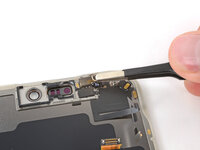
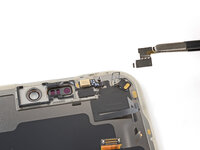
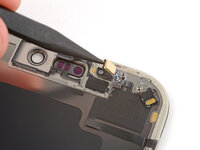
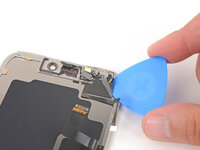
Use the point of a spudger to pry up both front sensors.
-
-
-
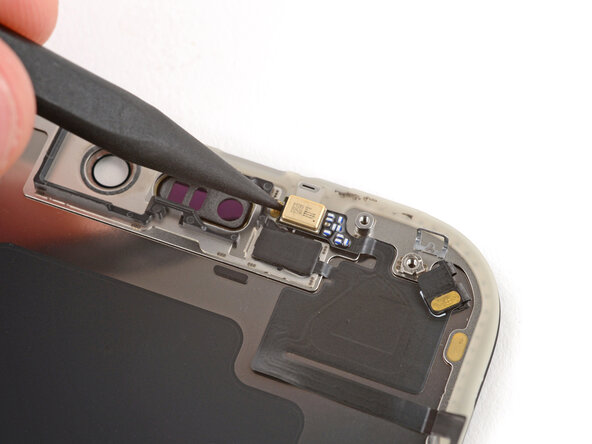
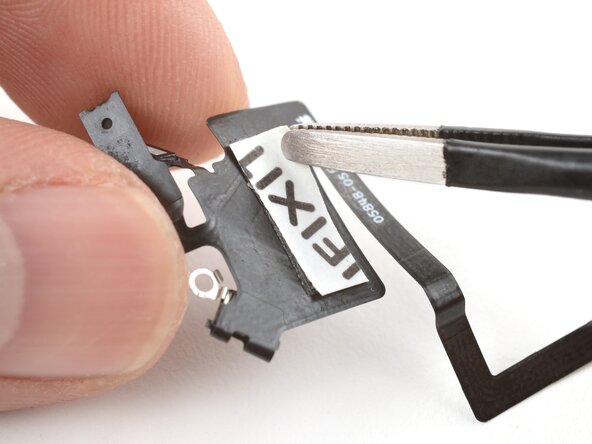
Insert the tip of an opening pick under the top right corner of the front sensors large, glued-down cable.
-
Slowly slide the pick under the cable and lift until you can grip it with your fingers.
-
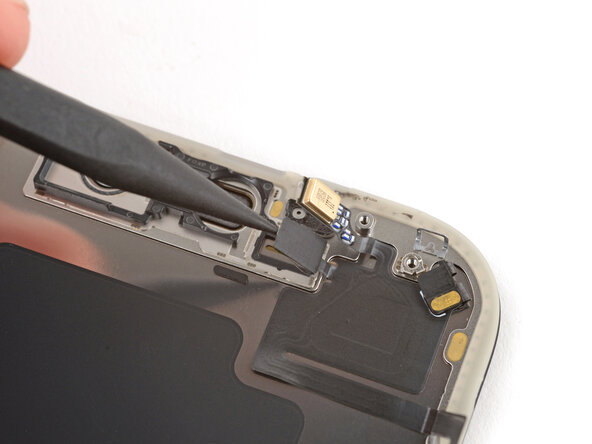
Use your fingers to peel up the cable and remove the sensors.
-
-
Outil utilisé dans cette étape :Tesa 61395 Tape$2.95
-
Use your finger to press the rectangular section of the front sensors cable onto the screen.
-
Use a hair dryer or iOpener to soften the adhesive under the cable to help it stick. It only needs to be warm—not hot.
-
-
-
Use your finger or a spudger to press the ambient light sensor and microphone into their recesses.
-
-
-
Hook the left tab of the front sensors bracket onto the screen and set it into place.
-
-
-
Use a tri‑point Y000 screwdriver to install the two 1.0 mm‑long front sensors screws.
-
-
Outil utilisé dans cette étape :Tweezers$4.99
-
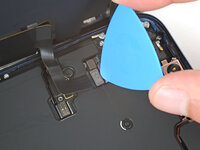
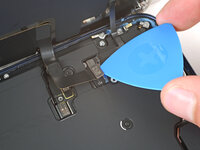
Use tweezers or your fingers to remove large pieces of adhesive from the frame perimeter.
-
Use a spudger to scrape the adhesive residue off the frame.
-
-
-
Apply a few drops of high concentration (>90%) isopropyl alcohol to the adhesive residue.
-
Use a microfiber or lint-free cloth to wipe in one direction along the perimeter of the frame to clean the residue.
-
-
Outil utilisé dans cette étape :Microfiber Cleaning Cloths$3.99
-
If you're reusing your screen, apply a few drops of highly-concentrated isopropyl alcohol (over 90%) to a microfiber or lint-free cloth and wipe around the perimeter to prepare the surface for new adhesive.
-
-
-
Without peeling any liners, lay the adhesive sheet over the frame to determine its proper orientation.
-
-
-
Grab the tab in the corner of the adhesive sheet and peel the liner to expose a third of the adhesive.
-
-
-
Carefully align the exposed edge of the adhesive strip with the corresponding edge of the iPhone's frame.
-
When it's correctly aligned, gently press the exposed adhesive strip onto the frame.
-
-
-
Continue peeling away the liner from the adhesive as you gently press the adhesive into place.
-
-
-
Use a spudger to press the adhesive around the entire perimeter of your iPhone.
-
-
-
Use the pull tab to peel off the large front liner from the adhesive. The pull tab is often in a corner of the liner.
-
-
-
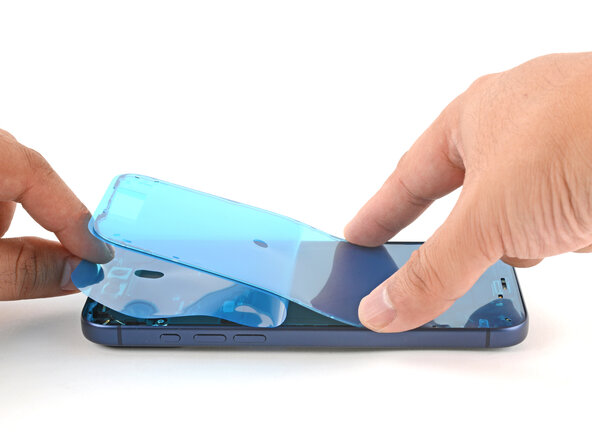
Set the iPhone screen next to the frame such that the screen cables can comfortably reach the logic board.
-
-
-
Use your finger or the flat end of a spudger to press and connect the two screen connectors onto the logic board.
-
-
-
Use your finger or the flat end of a spudger to press and connect the battery connector onto the logic board.
-
-
-
Power on your iPhone and make sure it works as expected. Power it back down and continue reassembly.
-
If your iPhone doesn't turn on, connect it to a power source and try again.
-
-
-
Tuck the top edge of the battery connector cover under the cutout lip.
-
Align the cover by its screw hole and lay it in place.
-
-
-
Use a JIS 00 screwdriver to install the 1.2 mm‑long screw to secure the battery connector cover.
-
-
-
Tuck the left edge of the screen connector cover under the cutout lip.
-
Align the cover by its screw hole and lay it in place.
-
-
-
Use a JIS 00 screwdriver to install the 1.2 mm‑long screw to secure the screen connector cover.
-
-
-
With one hand hold the screen steady.
-
Use your fingers or a spudger to peel away all perimeter liners, exposing the adhesive.
-
Check the internals for any stray liners and remove them. There should be no liners remaining.
-
-
-
Lower the screen onto the frame, beginning with the top edge.
-
Press along the edges of the iPhone until the screen sits flush against the frame.
-
-
-
Use a hair dryer, heat gun, or an iOpener to heat the screen perimeter until it's slightly too hot to touch.
-
-
-
Use a P2 pentalobe screwdriver to install the two 7.5 mm‑long screws on either side of the charging port.
-


After your repair, calibrate a genuine replacement screen using Apple's Repair Assistant. Navigate to Settings → General → About → Parts & Service History, tap Restart & Finish Repair, and follow the onscreen prompts.
Take your e-waste to an R2 or e-Stewards certified recycler.
Repair didn’t go as planned? Try some basic troubleshooting, or ask our Answers Community for help.
Annulation : je n'ai pas terminé ce tutoriel.
13 autres ont terminé cette réparation.
