Aller au contenu principal
ASUS MeMo Pad FHD10 Camera Replacement

ASUS MeMo Pad FHD10 Camera Replacement

Dmitry

Dmitry et 6 autres contributeurs

Dernière mise à jour le January 16, 2025

40 - 50 minutes
Très facile
Nécessite plus d'images
Découpez pour améliorer

Use this guide to replace the front and rear cameras of your ASUS MeMo Pad FHD10 if they are not working or malfunctioning. This guide could also be used to adjust or clean the cameras in case of blurry camera's display or dislocation.

Ce dont vous avez besoin

Outils

Afficher plus…

  1. ASUS MeMo Pad FHD10 Camera Replacement, Battery: étape 1, image 1 de 2 ASUS MeMo Pad FHD10 Camera Replacement, Battery: étape 1, image 2 de 2
    • Make sure that the device is turned off as a precaution.

    • Unplug the charger and remove any memory card you may have in the device.

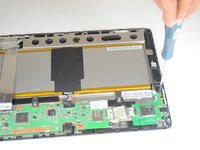
    • Wedge the plastic opening tool between the front and back cover on every side.

    • Slide the plastic opening tool back and forth to make sure that the back cover is disconnected.

    • Once disconnected, remove the back cover from the device screen.

  2. ASUS MeMo Pad FHD10 Camera Replacement: étape 2, image 1 de 2 ASUS MeMo Pad FHD10 Camera Replacement: étape 2, image 2 de 2
    Outil utilisé dans cette étape :
    Tweezers
    $4.99
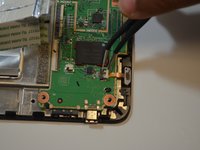
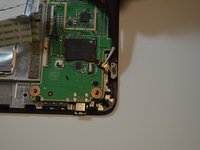
    • Remove the protective copper sticker and all tape fixed on the device.

    • Using tweezers, remove the ribbon cable from their connections attached to the motherboard.

    • While using the tweezers, make sure to use minimum force and precision to avoid damaging any components.

  3. ASUS MeMo Pad FHD10 Camera Replacement: étape 3, image 1 de 2 ASUS MeMo Pad FHD10 Camera Replacement: étape 3, image 2 de 2
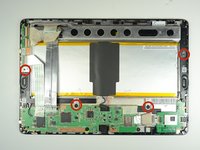
    • Remove the four 2 mm Phillips #00 screws holding the battery tray in place.

  4. ASUS MeMo Pad FHD10 Camera Replacement: étape 4, image 1 de 3 ASUS MeMo Pad FHD10 Camera Replacement: étape 4, image 2 de 3 ASUS MeMo Pad FHD10 Camera Replacement: étape 4, image 3 de 3
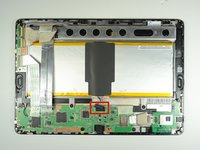
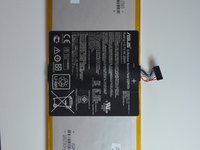
    • Locate the battery cable attached to the motherboard. Using the same technique used on the ribbons, do the same with the battery.

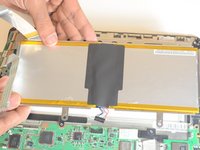
    • Remove the battery from the device. Once removed, use the plastic tool to separate the metal frame from the battery.

    • When separating the metal frame, be sure to hold on in the center as the battery is two separate cells.

  5. ASUS MeMo Pad FHD10 Camera Replacement, Speakers: étape 5, image 1 de 1
    • Remove three screws using a Phillips #00 screwdriver.

  6. ASUS MeMo Pad FHD10 Camera Replacement: étape 6, image 1 de 1
    Outil utilisé dans cette étape :
    Tweezers
    $4.99
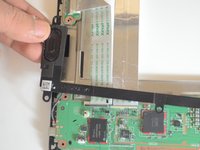
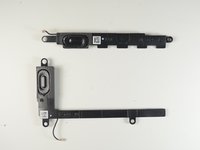
    • The two speakers are located on opposite sides of the device. Both are long black pieces with connections to the motherboard.

    • Unplug the speaker cables from their connections on the motherboard gently by using tweezers.

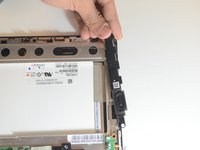
  7. ASUS MeMo Pad FHD10 Camera Replacement: étape 7, image 1 de 3 ASUS MeMo Pad FHD10 Camera Replacement: étape 7, image 2 de 3 ASUS MeMo Pad FHD10 Camera Replacement: étape 7, image 3 de 3
    • Gently use your hands to remove the speakers.

  8. ASUS MeMo Pad FHD10 Camera Replacement, Motherboard: étape 8, image 1 de 1
    • Remove the five screws using a Phillips #00 screwdriver.

  9. ASUS MeMo Pad FHD10 Camera Replacement: étape 9, image 1 de 3 ASUS MeMo Pad FHD10 Camera Replacement: étape 9, image 2 de 3 ASUS MeMo Pad FHD10 Camera Replacement: étape 9, image 3 de 3
    • Carefully disconnect the cord that connects the on/off button to the motherboard

    • Peel back the electrical tape holding the connections of the motherboard down to the frame of the device.

  10. ASUS MeMo Pad FHD10 Camera Replacement: étape 10, image 1 de 1
    • Use your hands to remove the motherboard from the device.

  11. ASUS MeMo Pad FHD10 Camera Replacement, Front and Rear cameras: étape 11, image 1 de 3 ASUS MeMo Pad FHD10 Camera Replacement, Front and Rear cameras: étape 11, image 2 de 3 ASUS MeMo Pad FHD10 Camera Replacement, Front and Rear cameras: étape 11, image 3 de 3
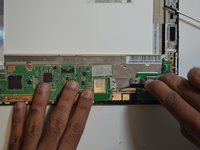
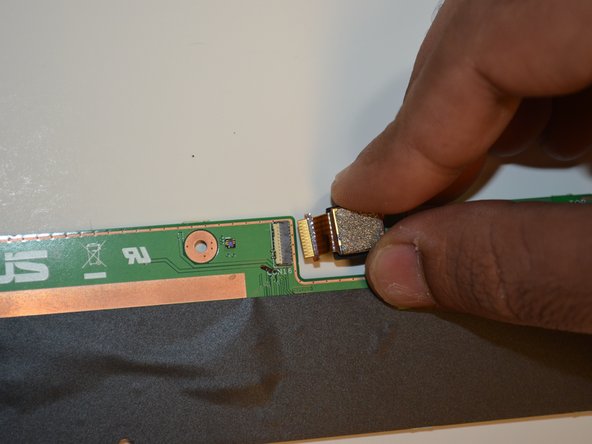
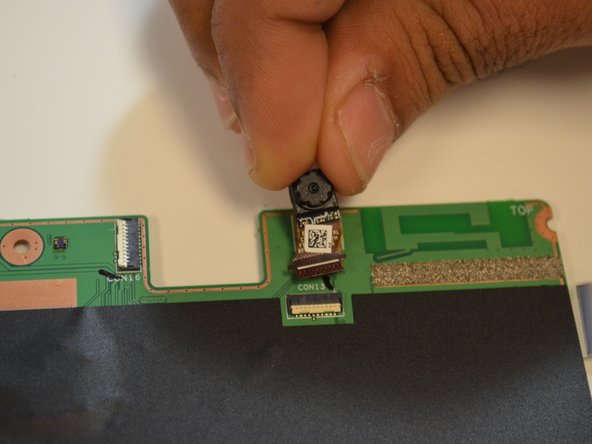
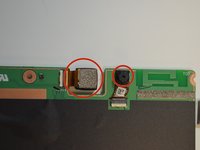
    • Identify the location of front and rear cameras on the motherboard.

    • The front and rear cameras can be removed by pulling them out gently using hands.

Conclusion

To reassemble your device, follow these instructions in reverse order.

Dmitry

Membre depuis le 01/21/15

391 Réputation

3 tutoriels rédigés

Équipe

USF Tampa, Team 9-5, Blackwell Winter 2015 Membre de l'équipe USF Tampa, Team 9-5, Blackwell Winter 2015

USFT-BLACKWELL-W15S9G5

4 membres

10 tutoriels rédigés

0 commentaires

Ajouter un commentaire

Nombre de vues :

Dernières 24 heures : 0

7 derniers jours : 0

30 derniers jours : 2

Total : 597