Aller au contenu principal
Acer Chromebook cb3-532-c47c LED Board Replacement

Acer Chromebook cb3-532-c47c LED Board Replacement

Jerry Wheeler

Jerry Wheeler et un autre contributeur

Dernière mise à jour le July 1, 2022

Aucune estimation
Facile
Tutoriel réalisé par la communauté

The LED board has one purpose, to hold the two LEDs visible from the front of the computer. Issues with the LED board itself are extremely rare.

Ce dont vous avez besoin

Outils

  1. Acer Chromebook cb3-532-c47c LED Board Replacement, Back Panel: étape 1, image 1 de 2 Acer Chromebook cb3-532-c47c LED Board Replacement, Back Panel: étape 1, image 2 de 2
    • Power off the laptop before beginning the replacement.

    • Using the Phillips #1 screwdriver, remove eighteen 7 mm screws from the back panel of the device.

  2. Acer Chromebook cb3-532-c47c LED Board Replacement: étape 2, image 1 de 2 Acer Chromebook cb3-532-c47c LED Board Replacement: étape 2, image 2 de 2
    • Use a plastic opening tool around the edges of the laptop and remove the back panel from the device.

  3. Acer Chromebook cb3-532-c47c LED Board Replacement, Remove the battery cable: étape 3, image 1 de 1
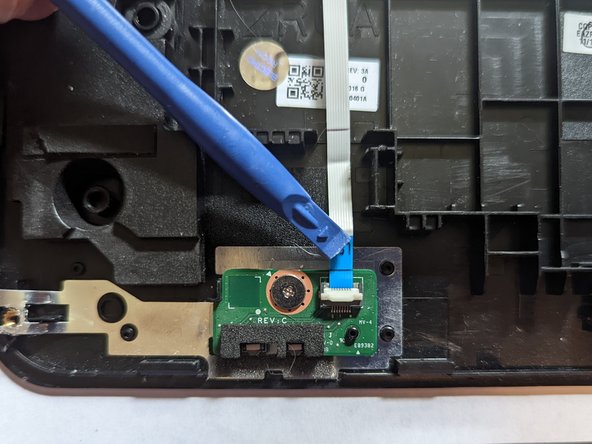
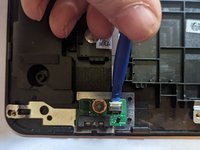
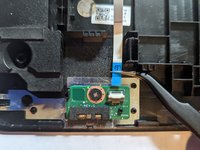
    • Push on the sides of the connector with a plastic spudger to separate the cable from the motherboard.

  4. Acer Chromebook cb3-532-c47c LED Board Replacement, Disconnect the LED board: étape 4, image 1 de 2 Acer Chromebook cb3-532-c47c LED Board Replacement, Disconnect the LED board: étape 4, image 2 de 2
    • Flip the retaining latch up with a spudger.

  5. Acer Chromebook cb3-532-c47c LED Board Replacement: étape 5, image 1 de 2 Acer Chromebook cb3-532-c47c LED Board Replacement: étape 5, image 2 de 2
    • Pull the cable straight out away from the front of the computer.

  6. Acer Chromebook cb3-532-c47c LED Board Replacement, Remove the LED board: étape 6, image 1 de 3 Acer Chromebook cb3-532-c47c LED Board Replacement, Remove the LED board: étape 6, image 2 de 3 Acer Chromebook cb3-532-c47c LED Board Replacement, Remove the LED board: étape 6, image 3 de 3
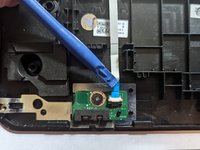
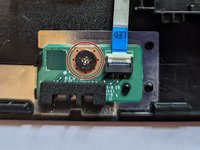
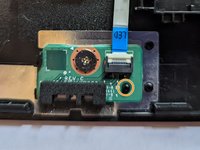
    • Remove the single retaining screw securing the LED board.
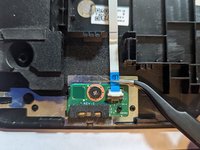
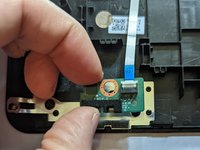
    • Remove the board.

    • When reassembling, ensure the board is seated on the guide pin before reinstalling the retaining screw.

Conclusion

To reassemble your device, follow these instructions in reverse order.

Une autre personne a terminé cette réparation.

Jerry Wheeler

Membre depuis le 03/21/22

72 055 Réputation

71 tutoriels rédigés

Équipe

Oregonians Membre de l'équipe Oregonians

Community

8 membres

189 tutoriels rédigés

0 commentaires

Ajouter un commentaire

Nombre de vues :

Dernières 24 heures : 0

7 derniers jours : 1

30 derniers jours : 1

Total : 87