
Acer Spin 5 N17W2 Motherboard Replacement
Introduction
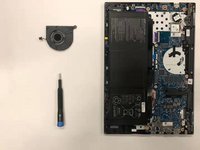
Passez à l'étape 1Motherboard is the main printed circuit board, it holds, and allows, communication between many of the crucial electronic components of a system, such as the central processing unit and memory, and provides connectors for other peripherals, interface cards, and daughtercards: sound cards, video cards, network cards, hard drives, or other forms of persistent storage; TV tuner cards, cards providing extra USB or FireWire slots and a variety of other custom components. If in any case you want to replace your Acer Spin5 laptop’s motherboard, follow the instructions of this guide.
Ce dont vous avez besoin


-
-
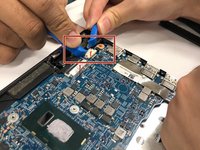
Use the Phillips #1 screwdriver to remove six 6 mm screws.
-
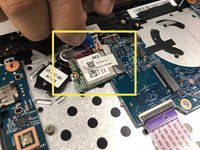
Use the same screwdriver to remove six 5mm screws.
-
-


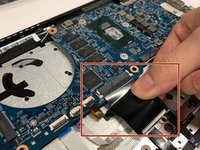


To reassemble your device, follow these instructions in reverse order.
To reassemble your device, follow these instructions in reverse order.
Équipe

Duke University Pratt School of Engineering, Team S6-G1, Matos-Garner Fall 2019 Membre de l'équipe Duke University Pratt School of Engineering, Team S6-G1, Matos-Garner Fall 2019
DUKEPSE-MATOS-GARNER-F19S6G1
4 membres
7 tutoriels rédigés
2 commentaires de tutoriel
I need the motherboard where I can buy it..
I need the motherboard where I can buy it please...