
Acer Travelmate 220 Disc Drive Replacement
Introduction
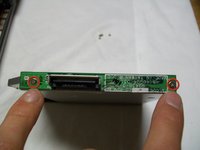
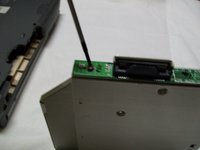
Passez à l'étape 1These are instructions on how to fix the Acer Travelmate 220 disk drive. If you have had issues with the computer not being able to read or play the disks you insert, these are the instructions for you! In these instructions, we will be going over how to replace the optical drive for Acer Travelmate 220 due to the disk drive not being able to read disks. Before going on with these instructions, make sure you have tried other disks to make sure it is not because the disk you are using is broken or scratched. The only equipment needed to complete this task is a Phillips screwdriver. Down below will be step-by-step instructions on how to fix this issue with detailed images of how the problem can be solved.
Ce dont vous avez besoin
Outils


To reassemble your device, follow these instructions in reverse order.
To reassemble your device, follow these instructions in reverse order.
Annulation : je n'ai pas terminé ce tutoriel.
Une autre personne a terminé cette réparation.
Équipe

UW Stout, Team 5-5, Zhou Fall 2011 Membre de l'équipe UW Stout, Team 5-5, Zhou Fall 2011
UWSTOUT-ZHOU-F11S5G5
3 membres
2 tutoriels rédigés