
Afridev Axle and Handle Replacement

Aucune estimation
Modérée
Introduction
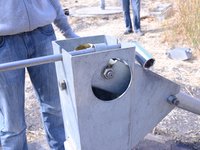
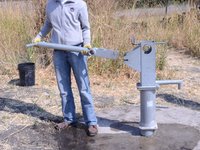
Passez à l'étape 1This guide will show you how to remove both the axle and the handle, so that you can replace either one or both.
Ce dont vous avez besoin
Outils


Afficher plus…
iFixit touche une commission lorsque vous achetez par l'intermédiaire de ces liens.
-
-
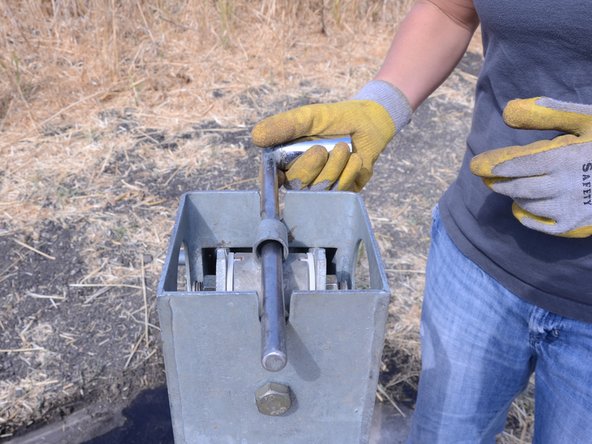
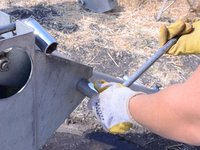
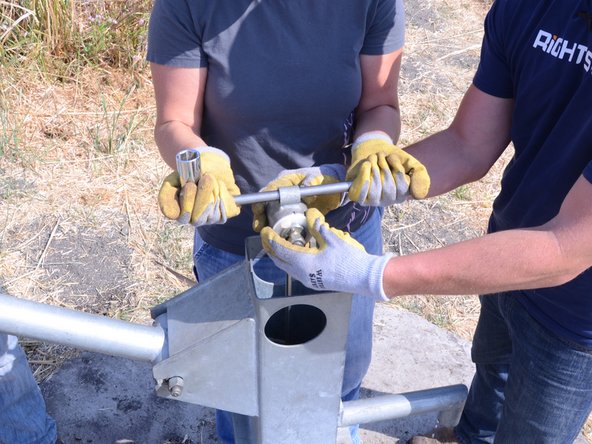
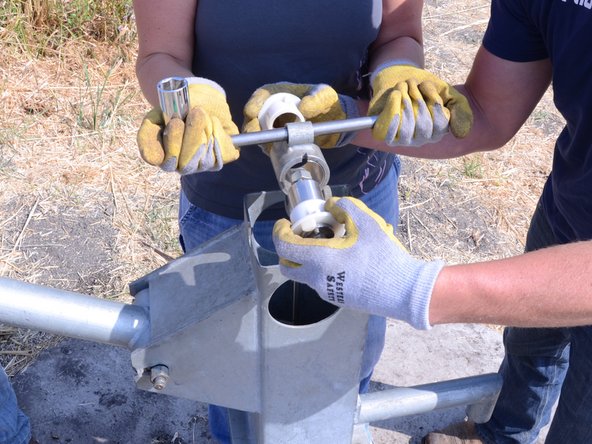
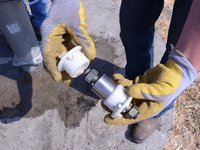
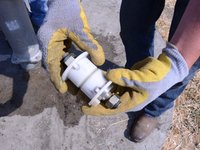
Assemble the required tools, including the Afridev tool and crescent wrenches.
-
-


Presque terminé !
To reassemble your device, follow these instructions in reverse order.
Conclusion
To reassemble your device, follow these instructions in reverse order.
