
Amazon Echo Dot 5th Generation Switch PCB Replacement Replacement

Introduction
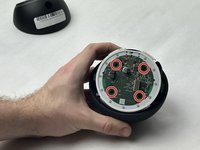
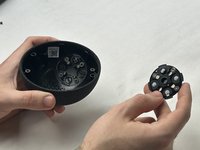
Passez à l'étape 1The smaller of the PCB's in the Amazon Echo Dot is used to coordinate the button functions. Removing it is very simple but can be a bit tricky due to the method of removal. The screws holding in the PCB are very small so it is recommended that extra care is taken when replacing this component.


-
-
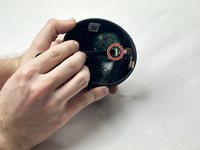
Using a spudger, remove the rubber footing around the base of the Echo Dot. This will reveal the four T8 1.25 cm Torx screws.
-
-
-
-
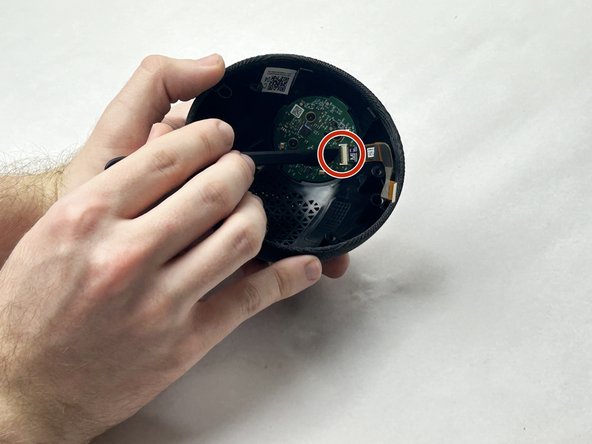
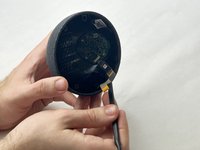
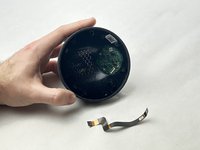
Now, use a plastic prying tool to remove the ribbon cable from the speaker housing.
-
-
-
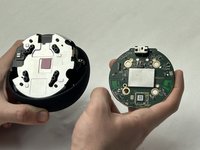
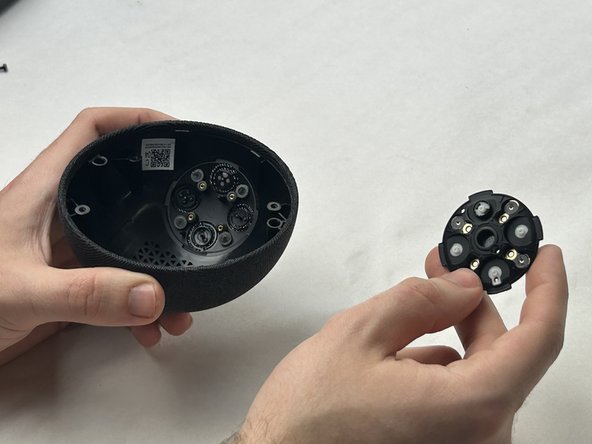
Remove the upper switch PCB using the T4 Torx bit to unscrew the four 5 mm screws.
-
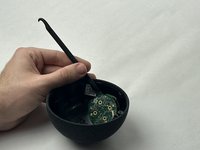
Push down on the buttons through the top of the case and pry lightly with plastic tools until loose, then remove.
-


To reassemble your device, follow these instructions in reverse order.
To reassemble your device, follow these instructions in reverse order.

Équipe

UMass Dartmouth, Team 3-4, Konn Fall 2023 Membre de l'équipe UMass Dartmouth, Team 3-4, Konn Fall 2023
UMASSD-KONN-F23S3G4
4 membres
7 tutoriels rédigés