
Asus 1015E-DS03 Keyboard Replacement
Introduction
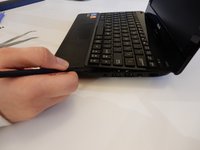
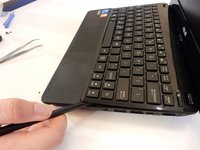
Passez à l'étape 1After the battery has been removed, this guide will show the user how to remove the keyboard. A spudger and a screwdriver will be needed for this guide.
Ce dont vous avez besoin
Outils


Afficher plus…
-
-
-
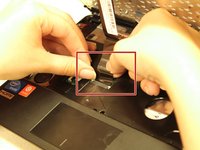
Once the battery is removed, unscrew the highlighted 3mm screws (4) using a #0 Phillps head screwdriver.
-


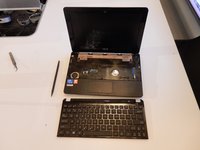
To reassemble your device, follow these instructions in reverse order.
To reassemble your device, follow these instructions in reverse order.
Annulation : je n'ai pas terminé ce tutoriel.
2 autres ont terminé cette réparation.
Équipe

Clemson, Team 7-4, Benson Spring 2016 Membre de l'équipe Clemson, Team 7-4, Benson Spring 2016
CLEM-BENSON-S16S7G4
5 membres
7 tutoriels rédigés