Aller au contenu principal
Asus A53U-ES21 Motherboard Replacement

Asus A53U-ES21 Motherboard Replacement

Chase Poirier

Chase Poirier et 3 autres contributeurs

Dernière mise à jour le December 18, 2018

15 - 20 minutes
Modérée

Is your computer experiencing problems with loading or booting up? Consider using this guide to replace the motherboard of your device.

Ce dont vous avez besoin

Outils

Afficher plus…

  1. Asus A53U-ES21 Motherboard Replacement, Battery: étape 1, image 1 de 2 Asus A53U-ES21 Motherboard Replacement, Battery: étape 1, image 2 de 2
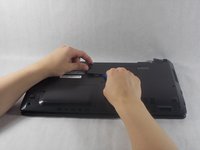
    • Make sure the laptop is off.

    • Flip the laptop upside down so that the battery is facing you.

  2. Asus A53U-ES21 Motherboard Replacement: étape 2, image 1 de 2 Asus A53U-ES21 Motherboard Replacement: étape 2, image 2 de 2
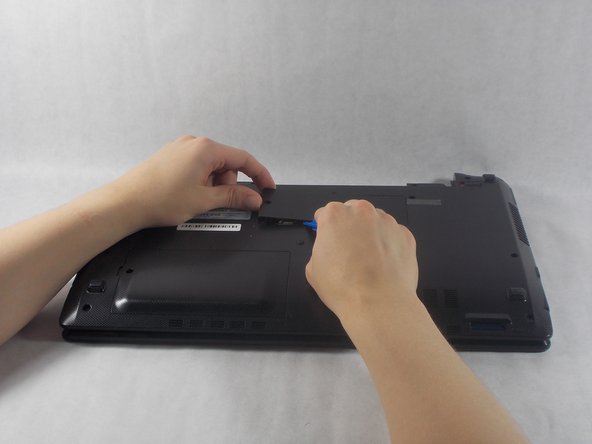
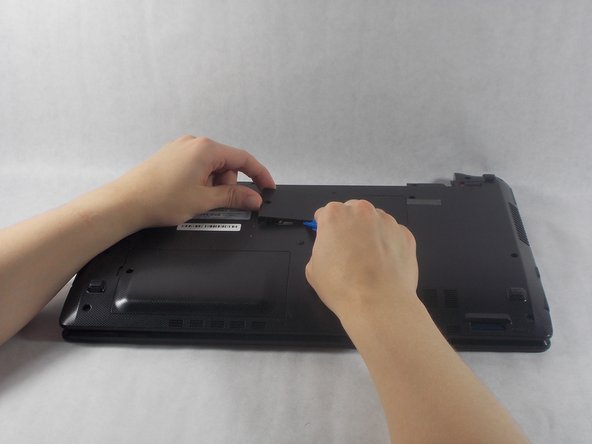
    • Move the two sliders towards the outer edge of the laptop.

    • Pull the battery out with your left hand while holding the right slider.

  3. Asus A53U-ES21 Motherboard Replacement, Optical Drive: étape 3, image 1 de 3 Asus A53U-ES21 Motherboard Replacement, Optical Drive: étape 3, image 2 de 3 Asus A53U-ES21 Motherboard Replacement, Optical Drive: étape 3, image 3 de 3
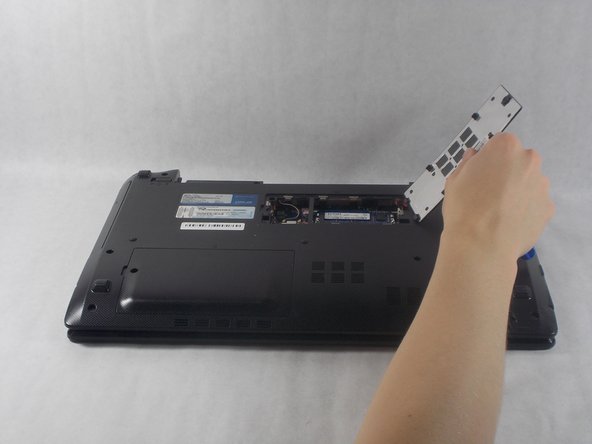
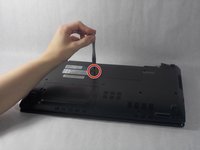
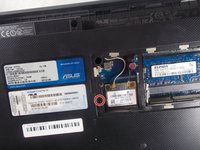
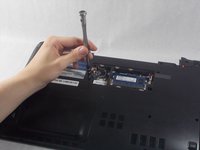
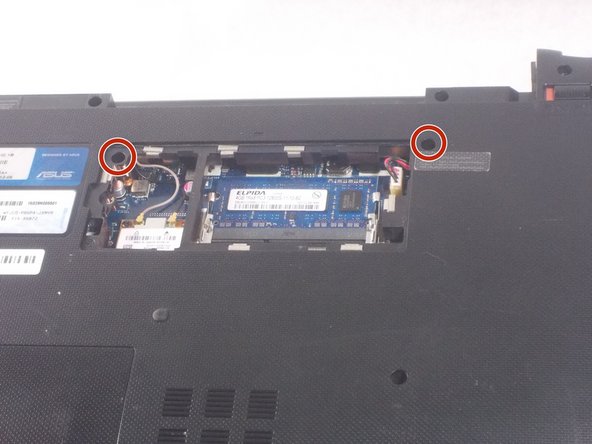
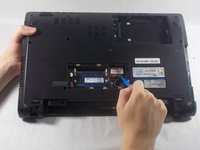
    • Remove the 5mm screw using a Phillips #1 screwdriver.

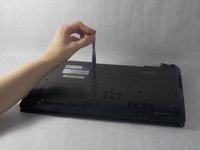
    • Use the iFixit opening tools to remove the RAM panel.

  4. Asus A53U-ES21 Motherboard Replacement: étape 4, image 1 de 3 Asus A53U-ES21 Motherboard Replacement: étape 4, image 2 de 3 Asus A53U-ES21 Motherboard Replacement: étape 4, image 3 de 3
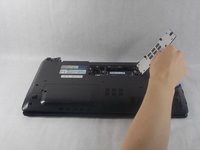
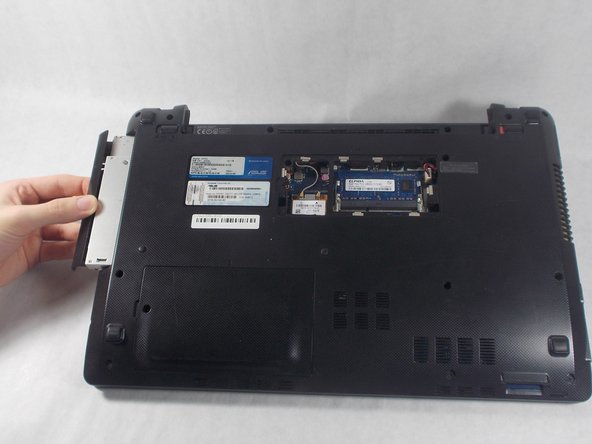
    • Remove the 7mm screw using a Phillips #1 screwdriver.

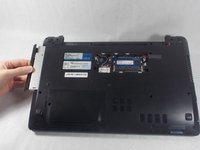
    • Pull the optical drive out from the side of the laptop.

  5. Asus A53U-ES21 Motherboard Replacement, Keyboard: étape 5, image 1 de 3 Asus A53U-ES21 Motherboard Replacement, Keyboard: étape 5, image 2 de 3 Asus A53U-ES21 Motherboard Replacement, Keyboard: étape 5, image 3 de 3
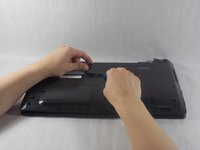
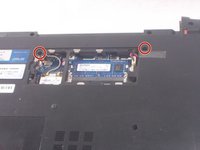
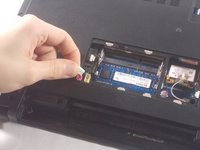
    • Remove the RAM cover from the bottom of the keyboard.

    • Remove the 5mm screw keeping the panel in place using a Phillips #1 screwdriver.

    • Work the pry tool along the edge to finish removal.

    • Unscrew the two 7mm screws marked with an engraved "K" using a #1 Phillips screwdriver.

  6. Asus A53U-ES21 Motherboard Replacement: étape 6, image 1 de 3 Asus A53U-ES21 Motherboard Replacement: étape 6, image 2 de 3 Asus A53U-ES21 Motherboard Replacement: étape 6, image 3 de 3
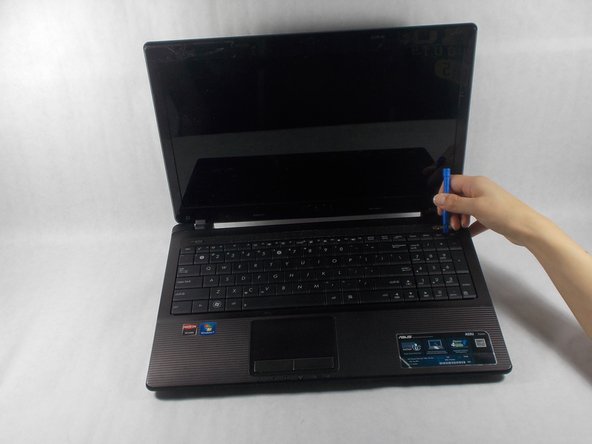
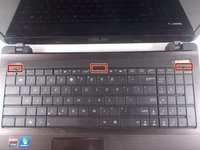
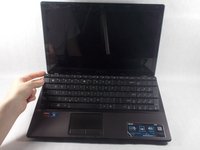
    • Orient the computer so the keyboard is facing toward you with the screen at the top.

    • Find the three buttons to depress at top of the keyboard, set in the crack between the casing and the keyboard, highlighted here in red.

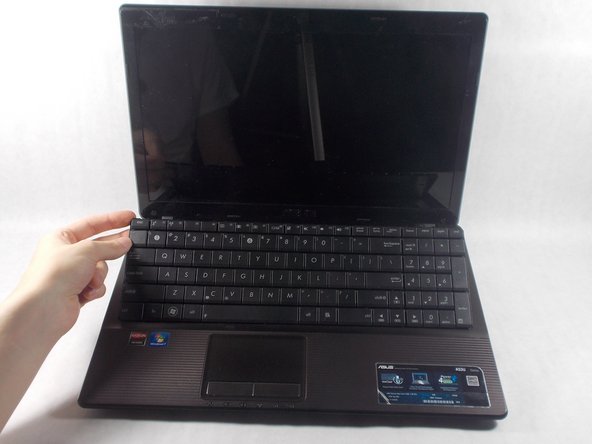
    • Use the pry tool to depress the buttons. The keyboard should pop out.

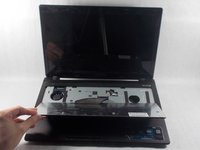
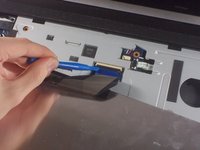
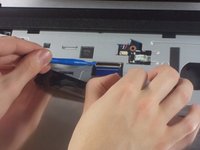
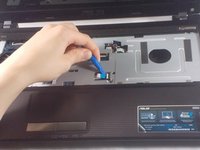
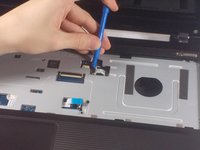
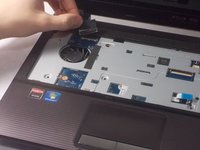
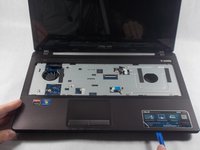
  7. Asus A53U-ES21 Motherboard Replacement: étape 7, image 1 de 3 Asus A53U-ES21 Motherboard Replacement: étape 7, image 2 de 3 Asus A53U-ES21 Motherboard Replacement: étape 7, image 3 de 3
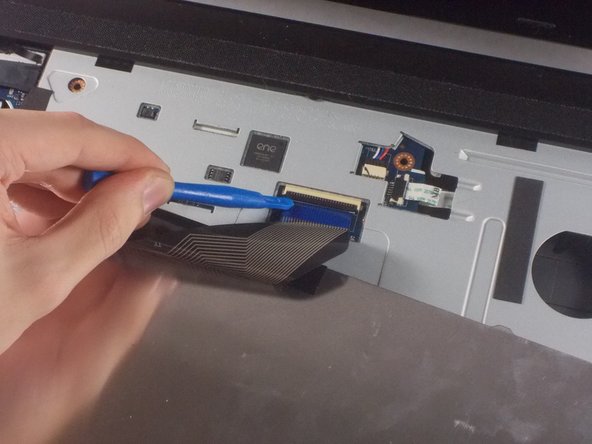
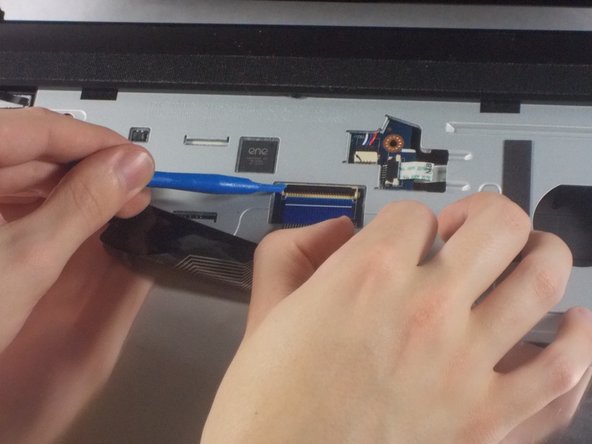
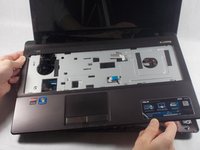
    • Fold the keyboard out towards you. It should still be connected by a ribbon to the rest of the computer.

    • Gently use the opening tool to lift the black piece holding the ribbon down and remove the ribbon.

    • The black piece should cover the white line on the ribbon when it is replaced.

  8. Asus A53U-ES21 Motherboard Replacement, Motherboard: étape 8, image 1 de 1
    • Close the laptop and place it upside down.

    • Remove the twelve 7mm screws using a Phillips #1 screwdriver.

  9. Asus A53U-ES21 Motherboard Replacement: étape 9, image 1 de 1
    • Remove the two 2mm screws using a Phillips #1 screwdriver.

  10. Asus A53U-ES21 Motherboard Replacement: étape 10, image 1 de 2 Asus A53U-ES21 Motherboard Replacement: étape 10, image 2 de 2
    • Pull the connectors away from the wireless card using the plastic opening tools.

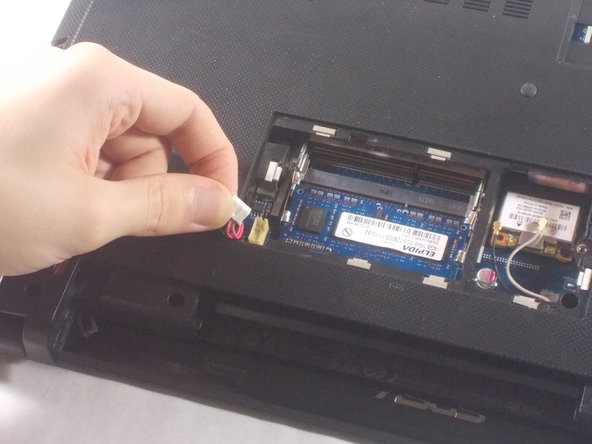
    • Pull the white connector from its socket in the RAM panel.

  11. Asus A53U-ES21 Motherboard Replacement: étape 11, image 1 de 1
    • Flip the laptop over again, open it, and unscrew the three 7mm screws using a Phillips #1 screwdriver.

  12. Asus A53U-ES21 Motherboard Replacement: étape 12, image 1 de 3 Asus A53U-ES21 Motherboard Replacement: étape 12, image 2 de 3 Asus A53U-ES21 Motherboard Replacement: étape 12, image 3 de 3
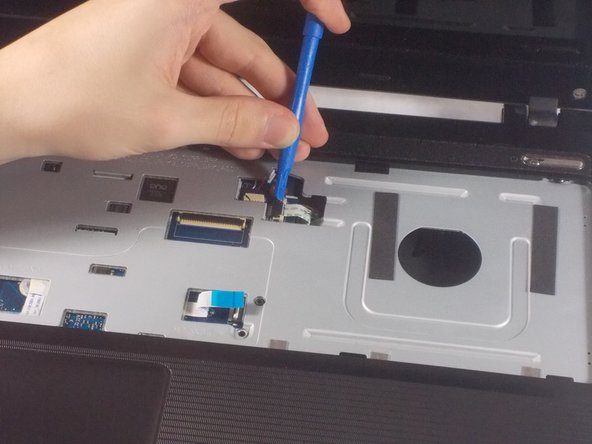
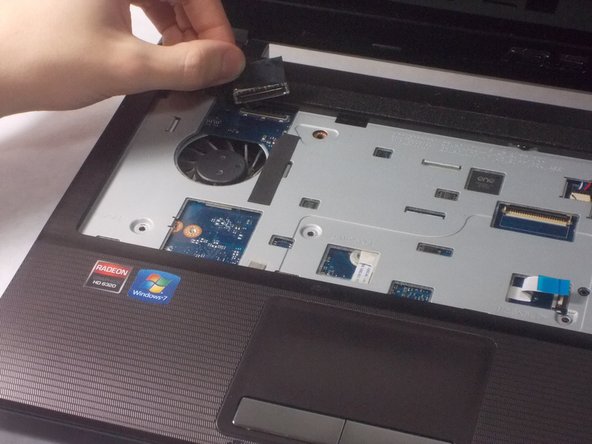
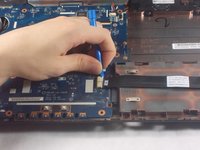
    • Gently pull the tan flap off of the cable using the plastic opening tool.

    • Push the tan piece towards the cable and release it using the plastic opening tool.

    • Pull the black flap off of its connector.

  13. Asus A53U-ES21 Motherboard Replacement: étape 13, image 1 de 2 Asus A53U-ES21 Motherboard Replacement: étape 13, image 2 de 2
    • Separate the front plate of the laptop from the back using the plastic opening tool.

  14. Asus A53U-ES21 Motherboard Replacement: étape 14, image 1 de 3 Asus A53U-ES21 Motherboard Replacement: étape 14, image 2 de 3 Asus A53U-ES21 Motherboard Replacement: étape 14, image 3 de 3
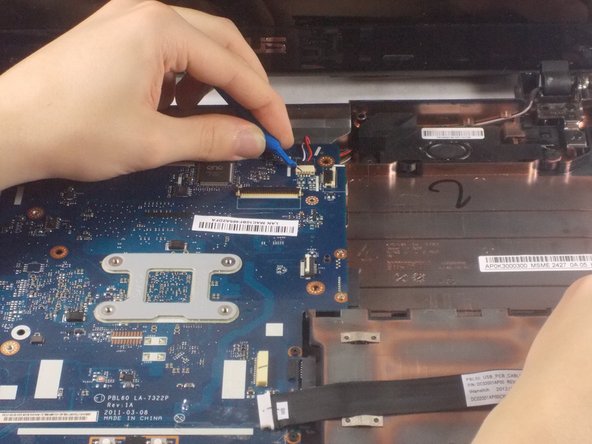
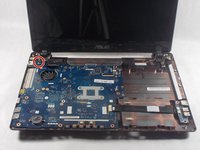
    • Remove the single 7mm screw from the motherboard using a Phillips #1 screwdriver.

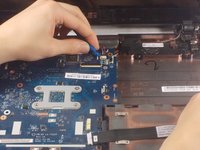
    • Pull to two shown cables from their sockets using the plastic opening tools.

    • Gently remove the motherboard from the laptop.

Conclusion

To reassemble your device, follow these instructions in reverse order.

2 autres ont terminé cette réparation.

Chase Poirier

Membre depuis le 10/23/18

547 Réputation

5 tutoriels rédigés

Équipe

UMass Dartmouth, Team S1-G3, Simcock Fall 2018 Membre de l'équipe UMass Dartmouth, Team S1-G3, Simcock Fall 2018

UMASSD-SIMCOCK-F18S1G3

3 membres

7 tutoriels rédigés

0 commentaires

Ajouter un commentaire

Nombre de vues :

Dernières 24 heures : 0

7 derniers jours : 5

30 derniers jours : 22

Total : 1,010