
Asus MeMO Pad 7 ME170C Motherboard Replacement

Introduction
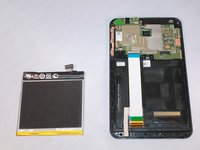
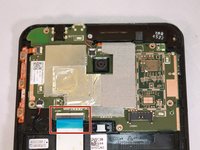
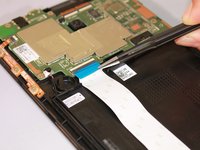
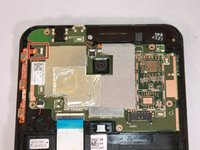
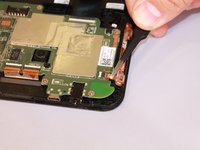
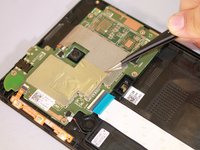
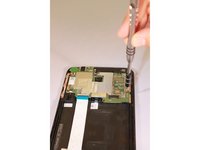
Passez à l'étape 1The motherboard is where all of the action takes place. It connects you to the internet and video streaming as well as running electricity to other parts of the device including the speakers and battery.
Ce dont vous avez besoin


-
-
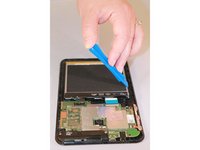
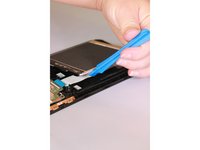
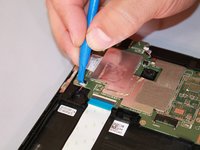
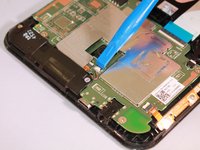
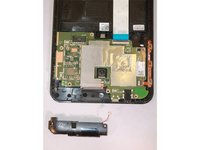
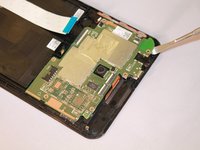
Gently pry a Jimmy all around the seam of the device until the back panel detaches.
-
-


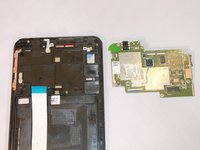
To reassemble your device, follow these instructions in reverse order.
To reassemble your device, follow these instructions in reverse order.
Annulation : je n'ai pas terminé ce tutoriel.
6 autres ont terminé cette réparation.

Équipe

Eastern Washington University, Team 2-3, Plummer Fall 2015 Membre de l'équipe Eastern Washington University, Team 2-3, Plummer Fall 2015
EWU-PLUMMER-F15S2G3
5 membres
9 tutoriels rédigés
1 commentaire de tutoriel
You are amazing!! Please make the tutorial "how change ASUS ME170 Touch Screen Digitizer". Thanks!!!