Aller au contenu principal
Asus Z54C-JS31 WiFi Card Replacement

Asus Z54C-JS31 WiFi Card Replacement

Mark DeSimone

Mark DeSimone et 2 autres contributeurs

Dernière mise à jour le December 21, 2017

5 minutes
Facile

The WiFi card allows the laptop to connect to the Internet wirelessly. If you're experiencing network connection issues you may need to replace your WiFi card.

Ce dont vous avez besoin

Outils

Afficher plus…

  1. Asus Z54C-JS31 WiFi Card Replacement, Battery: étape 1, image 1 de 3 Asus Z54C-JS31 WiFi Card Replacement, Battery: étape 1, image 2 de 3 Asus Z54C-JS31 WiFi Card Replacement, Battery: étape 1, image 3 de 3
    • Turn the laptop upside down so that the underside is facing up and locate the two switches that are on each side of the battery.

    • Slide the switch on the top right corner to the right.

    • Slide and hold the switch on the top left corner to the left and carefully remove the battery.

  2. Asus Z54C-JS31 WiFi Card Replacement, HDD/RAM Cover Panel: étape 2, image 1 de 2 Asus Z54C-JS31 WiFi Card Replacement, HDD/RAM Cover Panel: étape 2, image 2 de 2
    • Use a Phillips #000 screwdriver to remove the two 9mm screws from the HDD/RAM cover panel.

  3. Asus Z54C-JS31 WiFi Card Replacement: étape 3, image 1 de 2 Asus Z54C-JS31 WiFi Card Replacement: étape 3, image 2 de 2
    • Slide the back panel off by placing a hand on each corner and pulling the panel towards you.

  4. Asus Z54C-JS31 WiFi Card Replacement, WiFi Card: étape 4, image 1 de 3 Asus Z54C-JS31 WiFi Card Replacement, WiFi Card: étape 4, image 2 de 3 Asus Z54C-JS31 WiFi Card Replacement, WiFi Card: étape 4, image 3 de 3
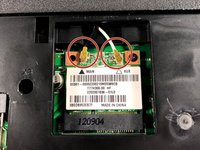
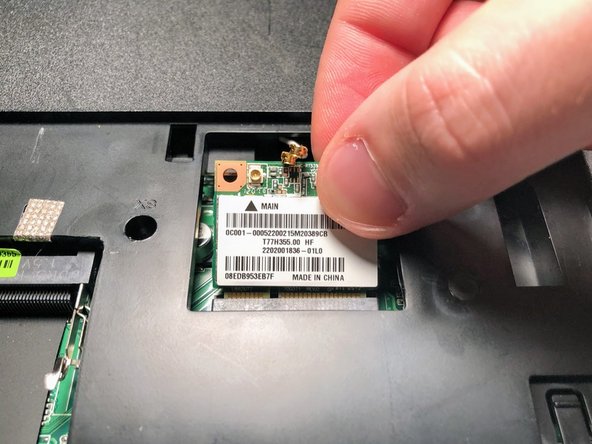
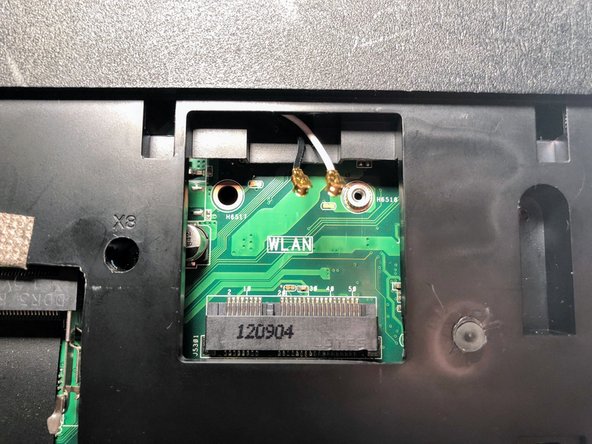
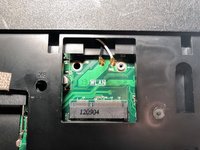
    • Disconnect both the black and white coaxial connectors from the WiFi card by pulling up on the gold colored piece.

  5. Asus Z54C-JS31 WiFi Card Replacement: étape 5, image 1 de 3 Asus Z54C-JS31 WiFi Card Replacement: étape 5, image 2 de 3 Asus Z54C-JS31 WiFi Card Replacement: étape 5, image 3 de 3
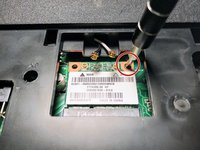
    • Remove the 3mm screw from the top right corner of the WiFi card using a Phillips #0 screwdriver.

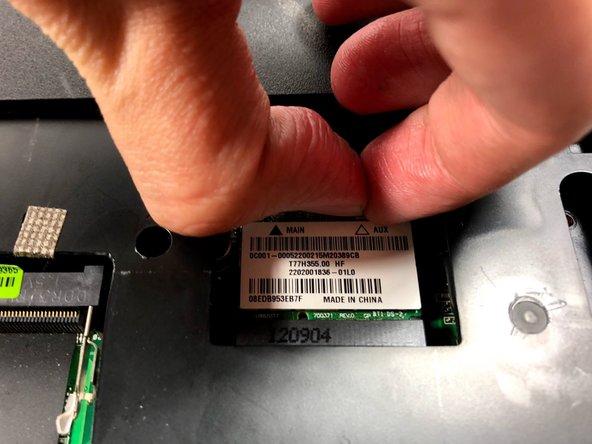
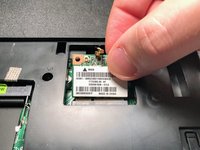
    • The WiFi card will pop up. Grasp it and pull it out of its slot.

Conclusion

To reassemble your device, follow these instructions in reverse order.

Mark DeSimone

Membre depuis le 10/19/17

801 Réputation

8 tutoriels rédigés

Équipe

UMass Dartmouth, Team S3-G1, Bailey Fall 2017 Membre de l'équipe UMass Dartmouth, Team S3-G1, Bailey Fall 2017

UMASSD-BAILEY-F17S3G1

2 membres

8 tutoriels rédigés

0 commentaires de tutoriel

Ajouter un commentaire

Nombre de vues :

Dernières 24 heures : 0

7 derniers jours : 1

30 derniers jours : 11

Total : 1,557