
Bissell Air180 Power Supply Replacement

Introduction
Passez à l'étape 1The power supply on the Bissell Air180 is the housing on the bottom half of the device housing the air filter. Through this housing, the power cord that is plugged into the wall sends power through the device. Removing the power supply will allow you to replace the entire power supply housing or replace the power cord.
Ce dont vous avez besoin
Outils

-
-
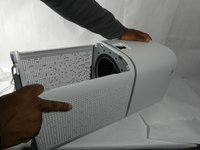
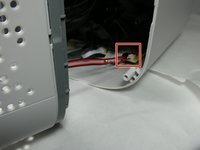
Squeeze the clip on the back panel of the bottom housing and pull the panel away from the housing, exposing the air filter.
-
-
-
-
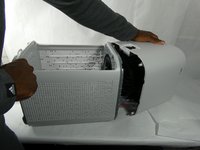
Remove the four 18mm Phillips #1 screws connecting the bottom housing to the rest of the device.
-


To reassemble your device, follow these instructions in reverse order.
To reassemble your device, follow these instructions in reverse order.

Équipe

UMass Dartmouth, Team 3-4, Botvin Fall 2022 Membre de l'équipe UMass Dartmouth, Team 3-4, Botvin Fall 2022
UMASSD-BOTVIN-F22S3G4
4 membres
5 tutoriels rédigés