
Braven BRV-HD Speakers Replacement
Introduction
Passez à l'étape 1Following this guide will show you how to access and replace the speakers.
Ce dont vous avez besoin
Outils


Afficher plus…
-
-
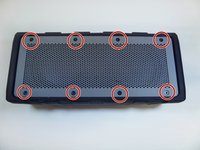
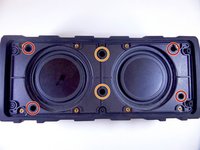
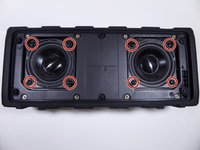
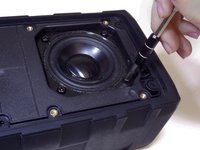
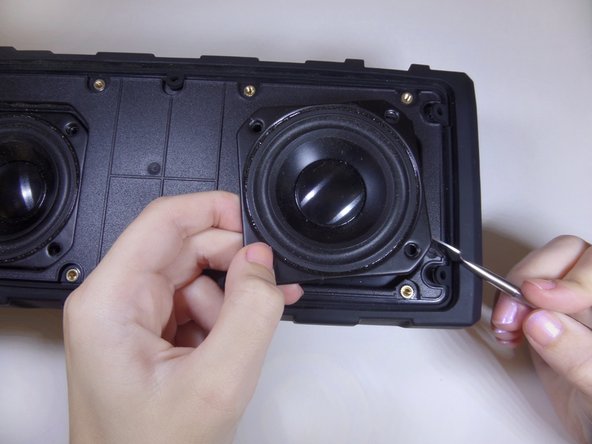
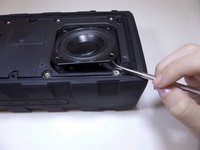
Placing the device on its back with the BRV-HD logo facing up, remove the eight 5mm hexagon 2.0 screws on the front panel.
-
-
-
-
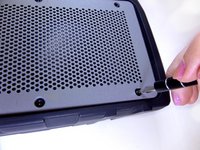
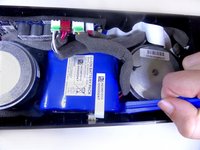
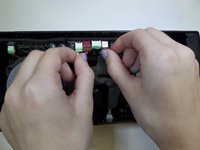
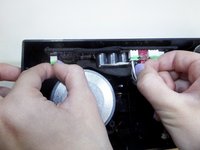
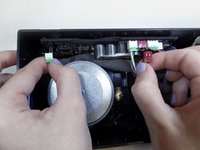
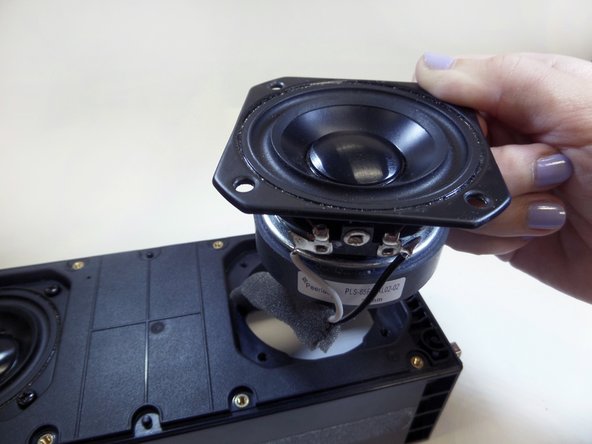
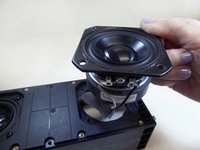
Locate the two wires that connect the right speaker to the motherboard.
-
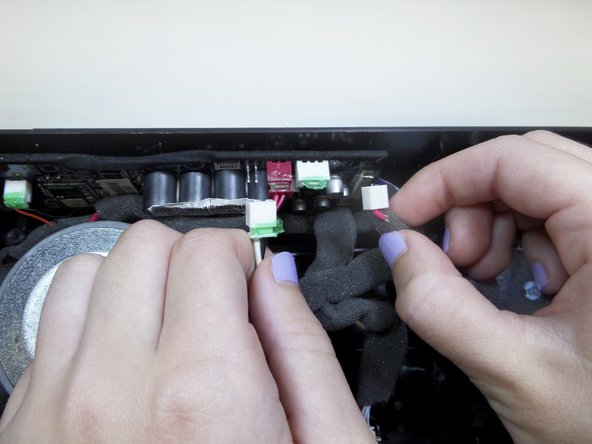
Gently disconnect the wires from the motherboard.
-


To reassemble your device, follow these instructions in reverse order.
To reassemble your device, follow these instructions in reverse order.
Annulation : je n'ai pas terminé ce tutoriel.
2 autres ont terminé cette réparation.
Équipe

CSU Fullerton, Team 1-5, Bruce Fall 2016 Membre de l'équipe CSU Fullerton, Team 1-5, Bruce Fall 2016
CSUF-BRUCE-F16S1G5
5 membres
5 tutoriels rédigés
3 commentaires
Where can I find a replacement speaker?
Peerless by Tymphany PLS-65F25AL01-02
Alex -
Where can I find or order a replacement speaker for BRV PRO