Aller au contenu principal

Canon PowerShot A540 Function Key Motherboard Replacement

Ce dont vous avez besoin

  1. Canon PowerShot A540 Function Key Motherboard Replacement, Back Cover: étape 1, image 1 de 2 Canon PowerShot A540 Function Key Motherboard Replacement, Back Cover: étape 1, image 2 de 2
    • Turn off the camera.

    • Turn the camera upside-down and press the tab to release the battery cover. Remove the batteries.

  2. Canon PowerShot A540 Function Key Motherboard Replacement: étape 2, image 1 de 1
    • Turn the camera upside down to view the "Card/Batt. Open" Cover.

    • Use a Phillips head #000 screwdriver to remove the three (3) 4.0 mm screws.

  3. Canon PowerShot A540 Function Key Motherboard Replacement: étape 3, image 1 de 1
    • Open "Card/Batt. Open" Cover.

    • Remove the one (1) 5.0 mm screw with the Phillips head #000 screwdriver.

  4. Canon PowerShot A540 Function Key Motherboard Replacement: étape 4, image 1 de 1
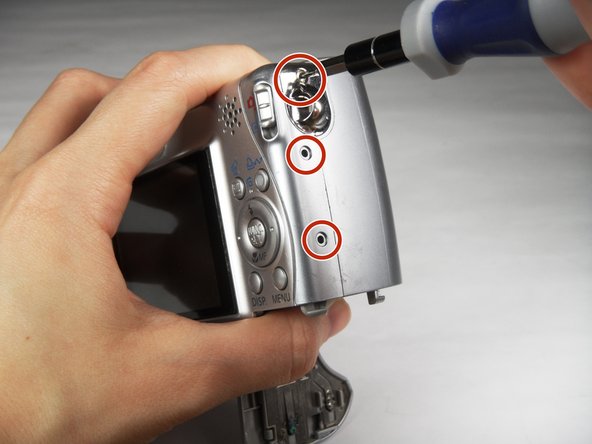
    • Turn the camera to the right side of the LCD screen.

    • Remove the three (3) 4.0 mm screws with the Phillips head #000 screwdriver.

  5. Canon PowerShot A540 Function Key Motherboard Replacement: étape 5, image 1 de 3 Canon PowerShot A540 Function Key Motherboard Replacement: étape 5, image 2 de 3 Canon PowerShot A540 Function Key Motherboard Replacement: étape 5, image 3 de 3
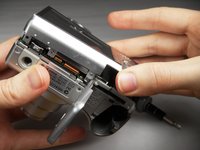
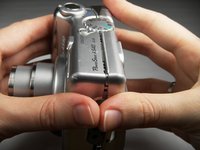
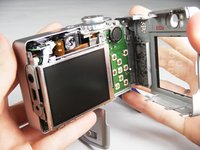
    • Gently remove the back cover.

    • Start at the bottom at the corner of the "Card/Batt. Open" Cover.

    • Then move onto the other edges and the top.

    • It may be tight at the top!

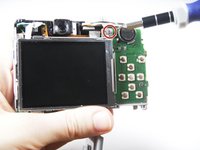
  6. Canon PowerShot A540 Function Key Motherboard Replacement, Function Key Motherboard: étape 6, image 1 de 2 Canon PowerShot A540 Function Key Motherboard Replacement, Function Key Motherboard: étape 6, image 2 de 2
    • Turn the camera to view the back.

    • Remove the one (1) 3.0 mm screw on the top right corner of the screen.

    • There is a small metal bar that rests on this frame. Keep it with the screws that have been removed from the camera.

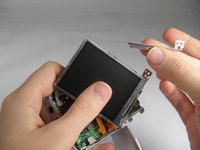
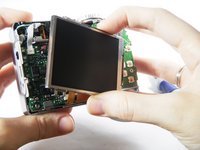
  7. Canon PowerShot A540 Function Key Motherboard Replacement: étape 7, image 1 de 2 Canon PowerShot A540 Function Key Motherboard Replacement: étape 7, image 2 de 2
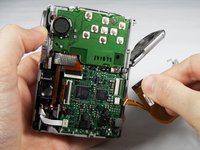
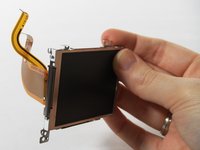
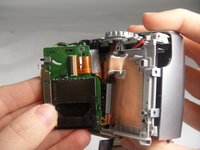
    • Lift the LCD Screen off of the back to view the attached ribbon cables.

    • Use tweezers to flip the black bar up.

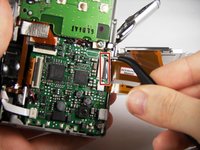
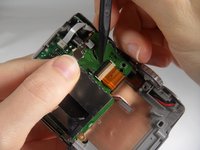
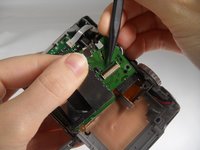
  8. Canon PowerShot A540 Function Key Motherboard Replacement: étape 8, image 1 de 3 Canon PowerShot A540 Function Key Motherboard Replacement: étape 8, image 2 de 3 Canon PowerShot A540 Function Key Motherboard Replacement: étape 8, image 3 de 3
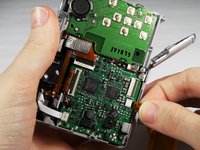
    • Gently pull the big ribbon out.

    • Gently pull the small ribbon out.

    • The small ribbon does not have a bar like the big ribbon.

  9. Canon PowerShot A540 Function Key Motherboard Replacement: étape 9, image 1 de 2 Canon PowerShot A540 Function Key Motherboard Replacement: étape 9, image 2 de 2
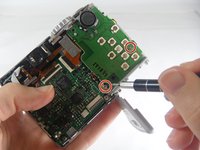
    • Remove the two (2) 3.0 mm screws with the Phillips head #000 screwdriver.

  10. Canon PowerShot A540 Function Key Motherboard Replacement: étape 10, image 1 de 2 Canon PowerShot A540 Function Key Motherboard Replacement: étape 10, image 2 de 2
    • Remove the orange ribbon from the clamp by using a Spudger to push the bar up.

  11. Canon PowerShot A540 Function Key Motherboard Replacement: étape 11, image 1 de 1
    • Remove the Function Key Motherboard and replace.

    • There is another metal bar that comes off of the SD Card reader when screws are removed.

Conclusion

To reassemble your device, follow these instructions in reverse order.

Cooper Hale

Membre depuis le 03/22/15

556 Réputation

3 tutoriels rédigés

Équipe

Baylor, Team 7-12, Williams Spring 2015 Membre de l'équipe Baylor, Team 7-12, Williams Spring 2015

BU-WILLIAMS-S15S7G12

3 membres

20 tutoriels rédigés

0 commentaires

Ajouter un commentaire

Nombre de vues :

Dernières 24 heures : 0

7 derniers jours : 0

30 derniers jours : 4

Total : 712