Canon PowerShot G1 X Motherboard Replacement
Introduction
Passez à l'étape 1Before starting this guide it is important to know that the screwdriver used on each screw is a Phillips #00 screwdriver. It is imperative to keep track of every screw, and to know where each screw was located.
Ce dont vous avez besoin
-
-
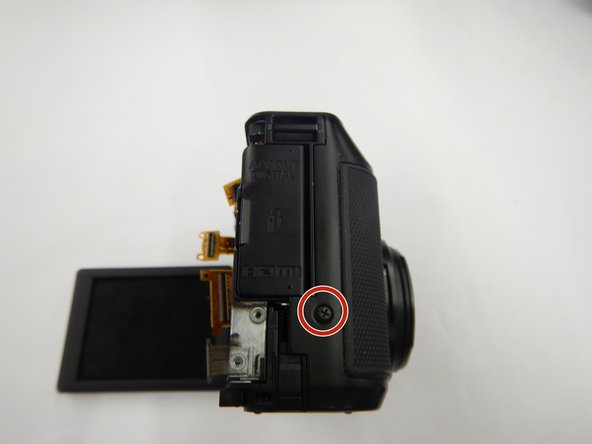
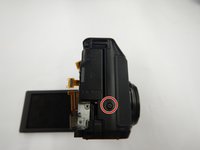
To begin removing the back camera casing, unscrew the Phillips screw underneath the panel covering the USB connections on the side of the camera. Use a Phillips Head 00 screwdriver for this screw.
-
Remove the screw located directly beneath the USB cover located in the second photo. Use a Phillips Head 00 screwdriver for this screw.
-
-
-
-
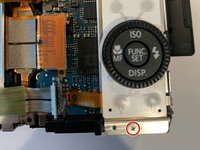
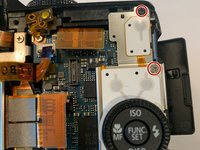
Remove the two screws above the buttons followed by the screw on the bottom, using a Phillips #00 screwdriver.
-
-
-
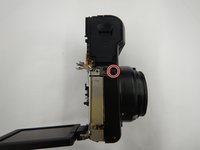
Remove the two screws on the front casing using a Phillips #00 screwdriver.
-
To reassemble your device, follow these instructions in reverse order.
To reassemble your device, follow these instructions in reverse order.


