
Canon PowerShot S230 Motherboard Replacement
Introduction
Passez à l'étape 1This guide will show you how to remove the motherboard.
Ce dont vous avez besoin


-
-
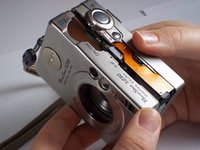
On the bottom of the camera, use your thumb to press the rubber battery cover towards the side of the camera with the strap base. The cover will shift to extend beyond the rest of the camera.
-
-
-
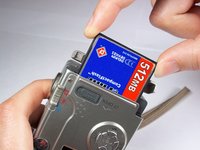
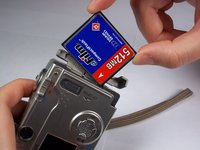
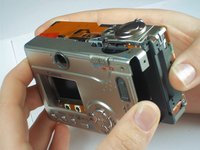
Locate the sliding button labeled "CF open" on the back of the camera.
-
Press and slide down the button labeled "CF open". The memory card cover will pop open.
-
-
-
-
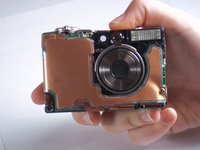
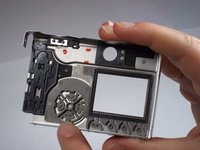
Locate the reverse side of the buttons by looking at the inside of the back camera casing.
-
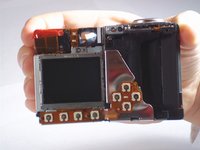
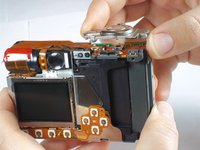
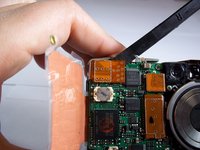
Locate the button sensors, which connect to the logic board by a connecting ribbon, by looking at the back of the camera once the back casing has been removed.
-
-
-
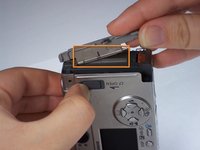
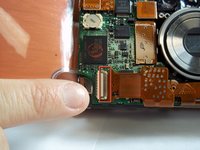
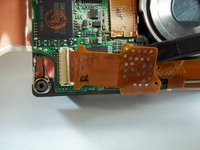
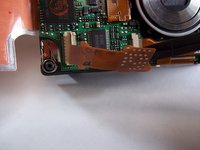
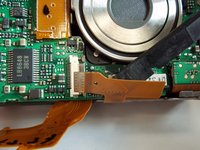
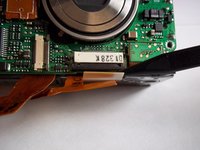
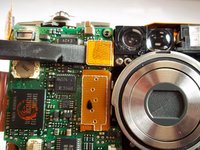
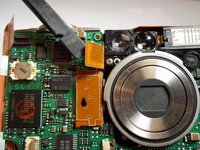
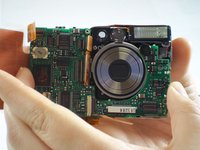
Remove the two 3.9mm screws holding down the copper flap that insulates the motherboard.
-
-
-
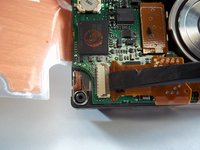
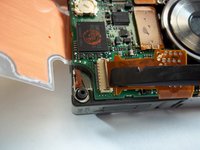
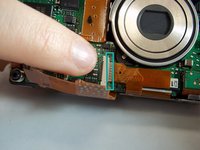
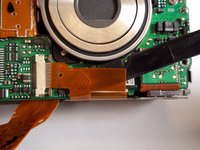
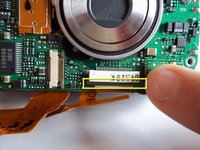
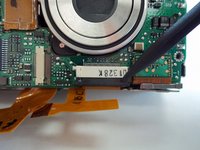
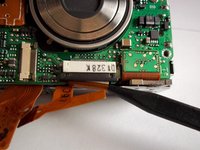
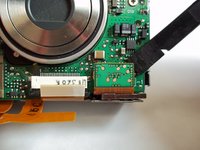
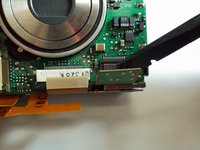
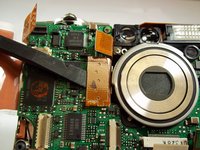
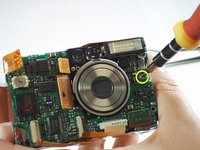
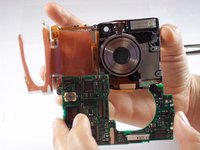
Release the ZIF connector securing the next ribbon cable. To do this, insert the flat end of a spudger between the dark brown piece and the white piece of the connector. Since the dark brown piece is under the ribbon cable, move this piece to the right by wedging one end at a time.
-


To reassemble your device, follow these instructions in reverse order.
To reassemble your device, follow these instructions in reverse order.
Équipe

Cal Poly, Team 13-1, Forte Winter 2011 Membre de l'équipe Cal Poly, Team 13-1, Forte Winter 2011
CPSU-FORTE-W11S13G1
4 membres
5 tutoriels rédigés