
Canon PowerShot SD1200 IS Motherboard
Aucune estimation
Modérée
Découpez pour améliorer
Introduction
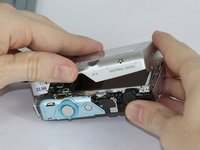
Passez à l'étape 1Use this guide to access the motherboard to reseat connections on the motherboard or to remove the motherboard for replacement.
Ce dont vous avez besoin


-
-
-
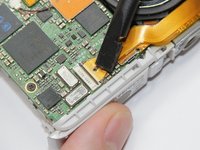
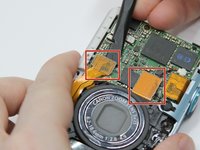
Remove the microphone connector by gripping it with the tool and gently, with a wiggling motion, pull it out.
-


Presque terminé !
To reassemble your device, follow these instructions in reverse order.
Conclusion
To reassemble your device, follow these instructions in reverse order.
Équipe

USF Tampa, Team 17-5, Blackwell Fall 2016 Membre de l'équipe USF Tampa, Team 17-5, Blackwell Fall 2016
USFT-BLACKWELL-F16S17G5
3 membres
7 tutoriels rédigés