
Canon PowerShot SD450 Lens Assembly Replacement
Introduction
Passez à l'étape 1This guide will walk you through a lens assembly replacement procedure.
Ce dont vous avez besoin


-
-
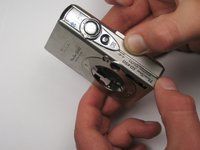
Unscrew the six screws on the casing. Two are on the bottom as pictured; two more are on each side of the camera.
-
-
-
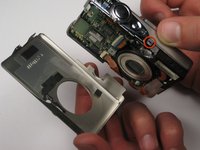
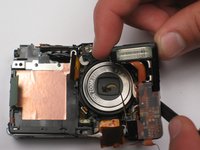
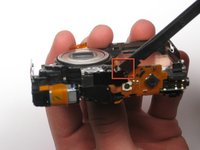
Find the line that separates the casing into its two halves. Hold each half separately, and gently pull apart.
-
Note that there is a small metal clip holding the two halves together. It might help to press down on the back half (indicated) while pulling upward slightly on the front half.
-
-
-
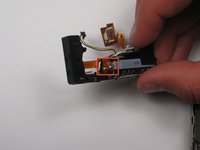
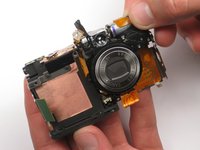
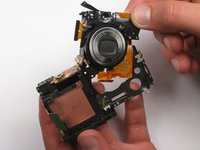
Remove the LCD cable by gently prying the hinge open with a spudger or your finger. The cable should easily slide out.
-
-


To reassemble your device, follow these instructions in reverse order.
To reassemble your device, follow these instructions in reverse order.
Annulation : je n'ai pas terminé ce tutoriel.
5 autres ont terminé cette réparation.
Équipe

Cal Poly, Team 25-85, Amido Spring 2010 Membre de l'équipe Cal Poly, Team 25-85, Amido Spring 2010
CPSU-AMIDO-S10S25G85
4 membres
5 tutoriels rédigés