
Canon PowerShot SD500 Digital ELPH LCD Replacement
Introduction
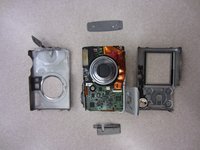
Passez à l'étape 1Many companies sell only LCD screens, not complete screen assemblies. When replacing your broken LCD screen, it may be necessary to tear down the screen even further.
Ce dont vous avez besoin


-
-
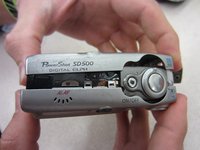
Slide open the battery cover.
-
Push the small orange tab to the side so the battery can be removed.
-
-
-
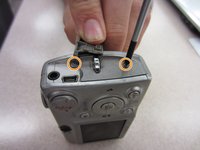
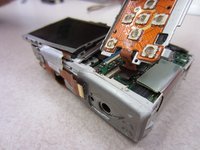
Two Phillips screws need to be removed using a #00 Phillips screwdriver. The upper screw is under the USB port cover, which can simply be pulled away gently from the casing. the lower screw is visible on the panel.
-
The screws are different sizes. The .125 inch screw is located under the USB port cover. The 0.85 inch screw goes in the lower hole on the panel.
-
-
-
-
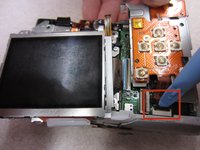
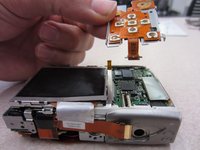
Carefully wedge the pry tool under the ribbon in the ribbon gate.
-
Gently remove the ribbon from the ribbon gate by pulling it away from the gate with the pry tool.
-


To reassemble your device, follow these instructions in reverse order.
To reassemble your device, follow these instructions in reverse order.
Annulation : je n'ai pas terminé ce tutoriel.
3 autres ont terminé cette réparation.
Équipe

Clemson, Team 2-1, Benson Fall 2014 Membre de l'équipe Clemson, Team 2-1, Benson Fall 2014
CLEM-BENSON-F14S2G1
4 membres
9 tutoriels rédigés