
Canon PowerShot SX620 HS LCD Screen Replacement

Introduction
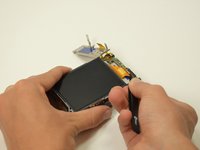
Passez à l'étape 1If your Canon PowerShot SX620 HS has a display screen that is broken or malfunctioning, use this guide to replace the display screen.
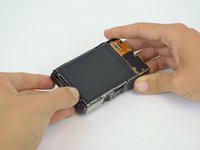
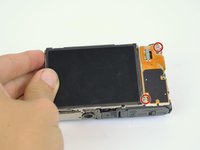
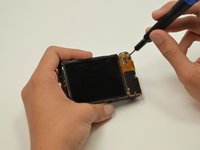
The LCD screen is the large screen on the back of the camera that allows the user to frame photos, view images, change camera settings, and more. The screen is glass, so it could also crack easily if dropped. It could also go black if an electronic component inside the screen fails. In these situations, you will need to replace your screen using the process in this guide.
Make sure your device is powered off and your SD card is removed before performing this fix.
Ce dont vous avez besoin


-
-
Open the battery door located on the bottom of the camera.
-
Push the orange tab until the battery springs upwards and out.
-
Remove the battery from the camera.
-
-


To reassemble your device, follow these instructions in reverse order.
To reassemble your device, follow these instructions in reverse order.

Équipe

Embry-Riddle Aeronautical University, Team 9-10, Rauch Fall 2021 Membre de l'équipe Embry-Riddle Aeronautical University, Team 9-10, Rauch Fall 2021
ERAU-RAUCH-F21S9G10
3 membres
1 tutoriel rédigé