
Canon Powershot A610 Flash Unit Replacement
Introduction
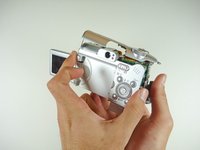
Passez à l'étape 1You will have to get into the inside of the camera before removing the flash bulb is possible. Some soldering may be required to completely remove the flash unit from the camera.
Ce dont vous avez besoin


-
-
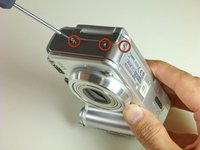
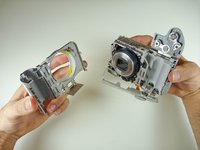
Remove the three 3 mm screws that attach the side panel to the body of the camera.
-
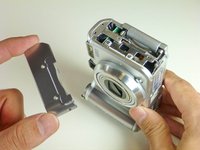
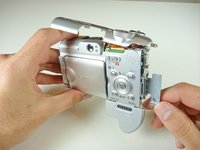
Using your fingernails, pull the side panel outward to remove it.
-
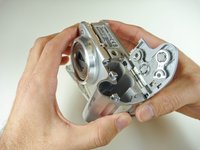
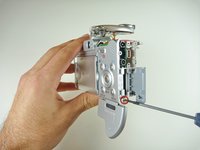
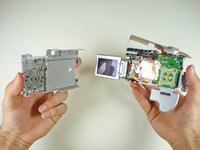
Remove the two remaining 2 mm screws that attach to the frame of the camera.
-
-


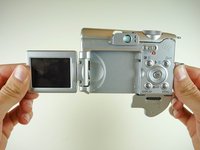


To reassemble your device, follow these instructions in reverse order.
To reassemble your device, follow these instructions in reverse order.
Équipe

Cal Poly, Team 11-26, Maness Winter 2011 Membre de l'équipe Cal Poly, Team 11-26, Maness Winter 2011
CPSU-MANESS-W11S11G26
3 membres
9 tutoriels rédigés