
Canon Powershot ELPH 100 HS LCD Display Replacement
Introduction
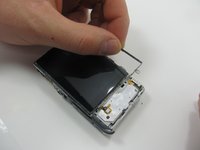
Passez à l'étape 1A common issue with this camera is a cracked display screen or the screen not showing the picture, meaning it is damaged. This guide will walk you through the process of replacing the screen.
Ce dont vous avez besoin
Pièces
Outils


Afficher plus…
-
-
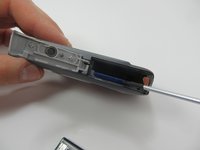
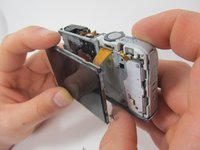
Locate the battery cover on the bottom of your camera.
-
Slide the tab to the right to open the battery cover.
-
-
-
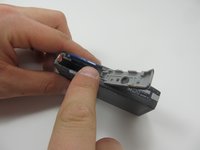
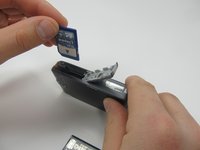
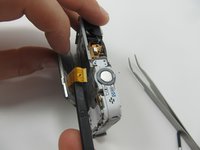
Push down on the memory card until it clicks and releases.
-
Pull up on the memory card to remove it.
-
-
-
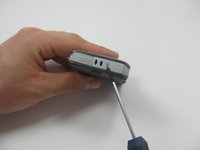
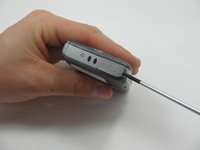
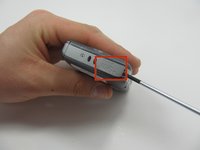
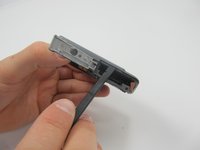
Using the Phillips #00 screwdriver, remove the two 3.1mm screws from the bottom of the camera.
-
-
-
-
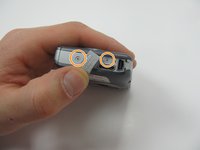
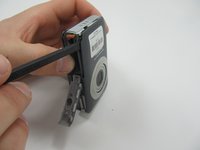
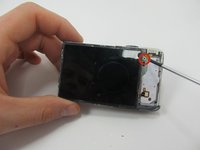
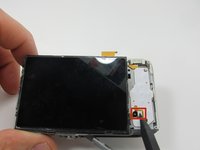
Remove the 3.1mm screw on the top-right side of the LCD display screen.
-


To reassemble your device, follow these instructions in reverse order.
To reassemble your device, follow these instructions in reverse order.
Annulation : je n'ai pas terminé ce tutoriel.
6 autres ont terminé cette réparation.
Équipe

Michigan Tech, Team 1-10, Lauer Spring 2015 Membre de l'équipe Michigan Tech, Team 1-10, Lauer Spring 2015
MTU-LAUER-S15S1G10
2 membres
5 tutoriels rédigés