
Capresso PerfecTea 260 Dial Replacement
Introduction
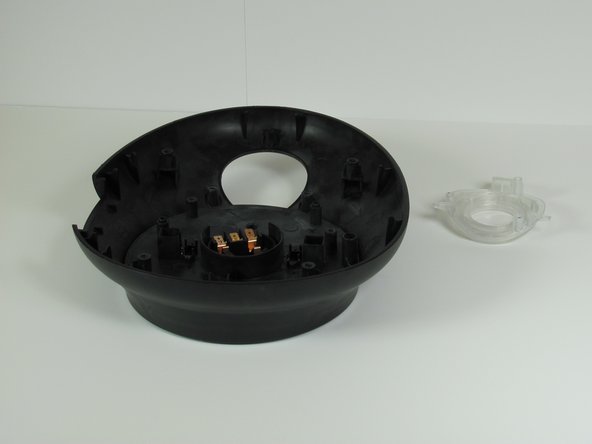
Passez à l'étape 1If you have a broken or loose dial, then this guide can help you replace it.
Ce dont vous avez besoin
Outils


Afficher plus…
-
-
-
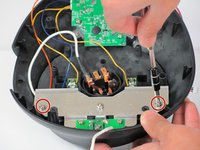
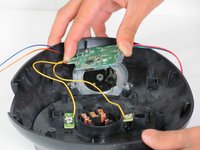
Remove the two 7.5mm Phillips #2 screws from the metal frame.
-
Remove the frame from the assembly.
-
-
-
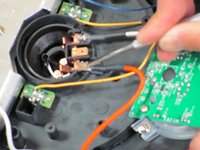
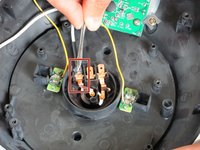
Find the cable that attaches the small computer chip to the heating element connections.
-
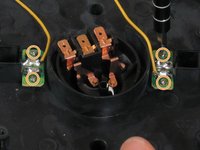
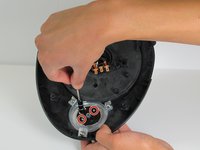
Use the spudger to cut open the rubber coating on the latch where it clamps onto the copper tab.
-
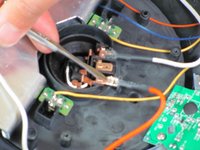
Insert the metal spudger into the rectangular hole on the latch and push toward the tab (away from the wire) to unbend the tab.
-
Push the latch off the tab with the spudger.
-
-
-
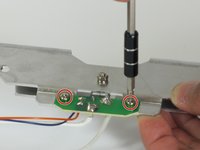
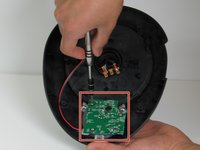
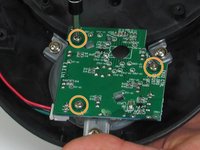
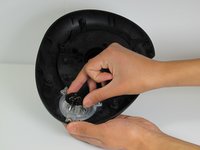
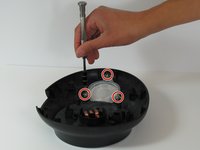
Remove the two 6 mm Phillips #1 screws from the black dial base plate.
-
6 mm Phillips #1 screws
-
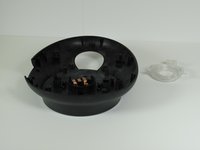
Remove the black dial base plate, metal spring, LED tube, and the actual dial.
-


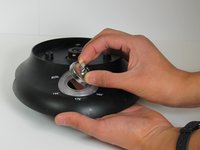

To reassemble your device, follow these instructions in reverse order.
To reassemble your device, follow these instructions in reverse order.
Équipe

Cal Poly, Team 6-17, Maness Spring 2015 Membre de l'équipe Cal Poly, Team 6-17, Maness Spring 2015
CPSU-MANESS-S15S6G17
4 membres
6 tutoriels rédigés