Aller au contenu principal
Cuisinart DGB-650 Motherboard Replacement

Cuisinart DGB-650 Motherboard Replacement

jake hardison

jake hardison et 3 autres contributeurs

Dernière mise à jour le December 31, 2024

55 minutes
Modérée

If the electronic panel on your Cuisinart DGB-650 is not turning on or working, you will need to replace the motherboard. Make sure everything is unplugged to ensure that you do not encounter any shocking.

Ce dont vous avez besoin

Outils

Afficher plus…

  1. Cuisinart DGB-650 Motherboard Replacement, Motherboard: étape 1, image 1 de 3 Cuisinart DGB-650 Motherboard Replacement, Motherboard: étape 1, image 2 de 3 Cuisinart DGB-650 Motherboard Replacement, Motherboard: étape 1, image 3 de 3
    • Turn the coffee maker upside down.

    • Remove the four 1.2 mm screws using a Phillips #0 screwdriver.

    • Remove the bottom cover to expose the heating element and pipes.

  2. Cuisinart DGB-650 Motherboard Replacement: étape 2, image 1 de 3 Cuisinart DGB-650 Motherboard Replacement: étape 2, image 2 de 3 Cuisinart DGB-650 Motherboard Replacement: étape 2, image 3 de 3
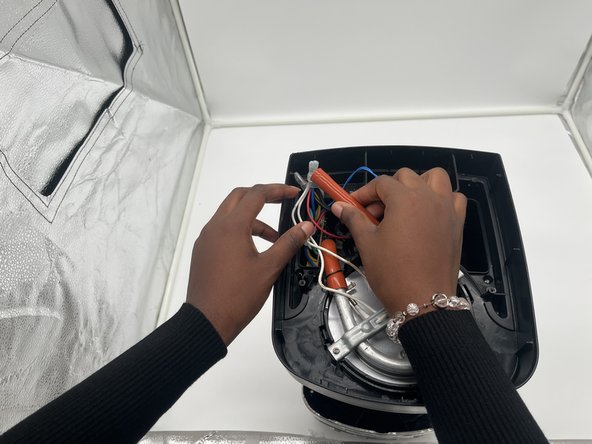
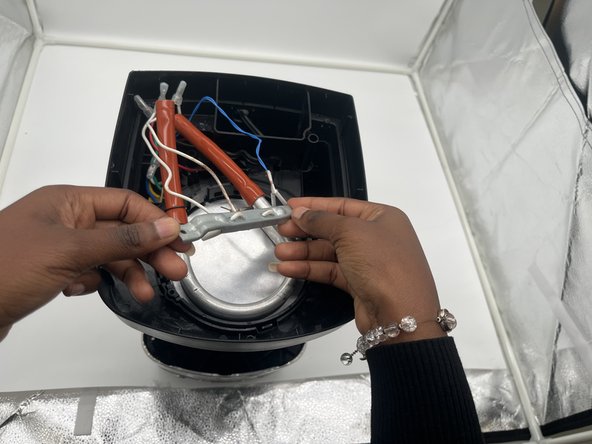
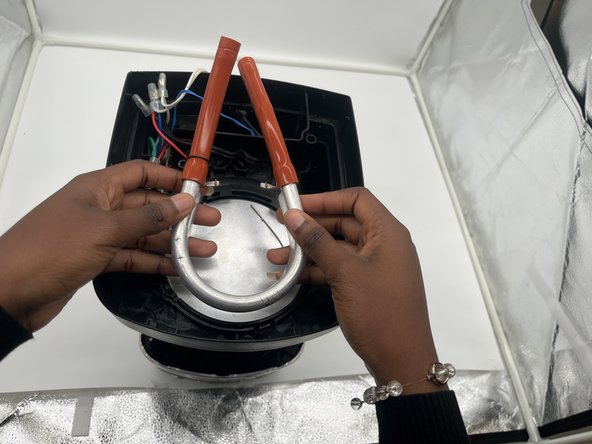
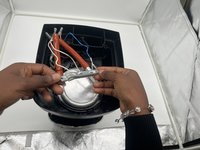
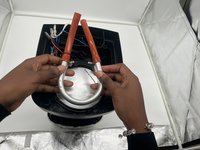
    • Firmly grasp both pipe endings next to the motherboard and gently pull both ends out.

  3. Cuisinart DGB-650 Motherboard Replacement: étape 3, image 1 de 3 Cuisinart DGB-650 Motherboard Replacement: étape 3, image 2 de 3 Cuisinart DGB-650 Motherboard Replacement: étape 3, image 3 de 3
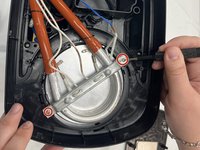
    • Remove the two 1.2 mm screws keeping the pipe clamp attached using a Phillips #0 screwdriver.

    • Lift the pipe clamp up and set it aside.

  4. Cuisinart DGB-650 Motherboard Replacement: étape 4, image 1 de 3 Cuisinart DGB-650 Motherboard Replacement: étape 4, image 2 de 3 Cuisinart DGB-650 Motherboard Replacement: étape 4, image 3 de 3
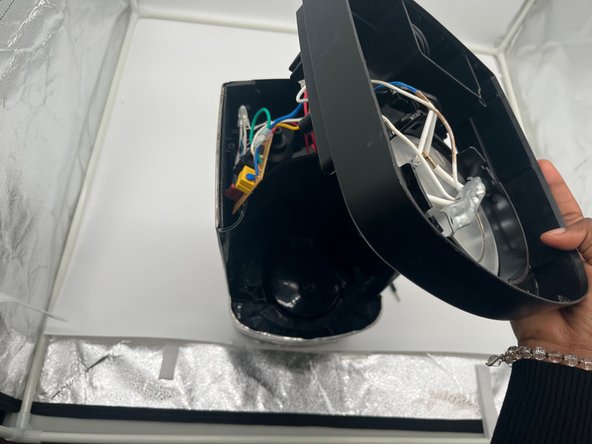
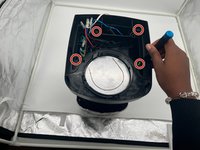
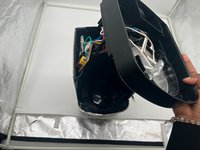
    • Remove the four 1.2 mm screws using a Phillips #0 screwdriver.

    • Remove the lid to get access to the motherboard.

  5. Cuisinart DGB-650 Motherboard Replacement: étape 5, image 1 de 2 Cuisinart DGB-650 Motherboard Replacement: étape 5, image 2 de 2
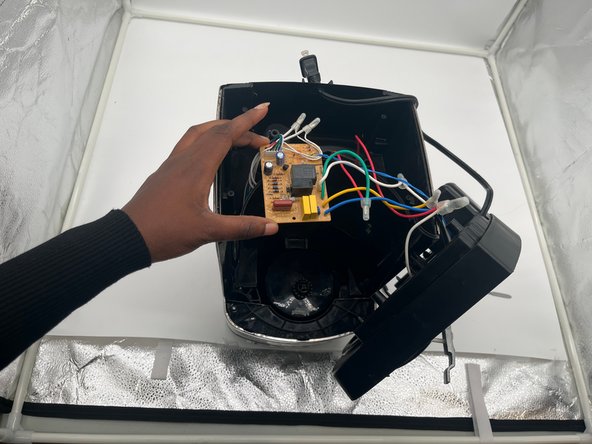
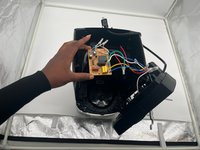
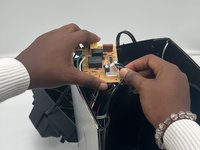
    • Gently grasp and remove the expansion slot on the motherboard with the six colorful wires intertwined together.

    • Gently grasp and remove the expansion slot.

  6. Cuisinart DGB-650 Motherboard Replacement: étape 6, image 1 de 3 Cuisinart DGB-650 Motherboard Replacement: étape 6, image 2 de 3 Cuisinart DGB-650 Motherboard Replacement: étape 6, image 3 de 3
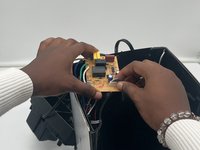
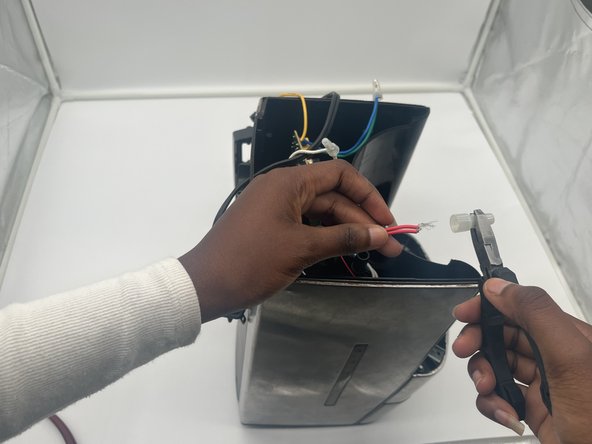
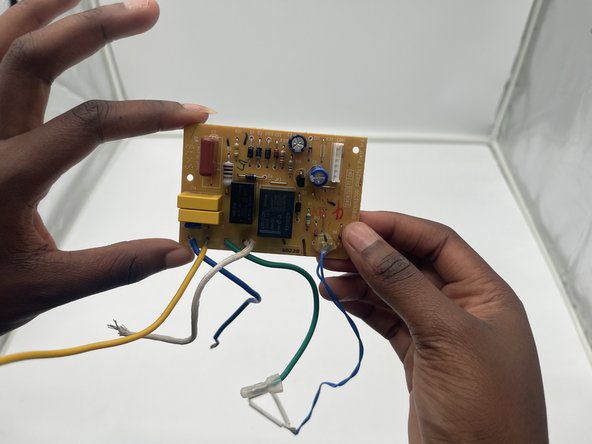
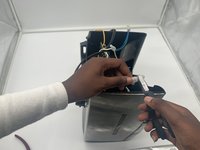
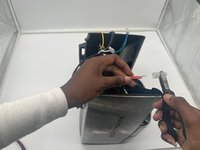
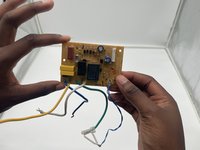
    • Use pliers to remove the plastic clamps from each of the six wires connected to the motherboard.

    • The motherboard should now be completely separated from the coffee maker.

Conclusion

To reassemble your device, follow these instructions in reverse order.

jake hardison

Membre depuis le 10/01/24

220 Réputation

2 tutoriels rédigés

Équipe

0 commentaires

Ajouter un commentaire

Nombre de vues :

Dernières 24 heures : 0

7 derniers jours : 0

30 derniers jours : 11

Total : 67