Aller au contenu principal
Cuisinart Smart Stick CSB-75 Power Switch Board Replacement

Cuisinart Smart Stick CSB-75 Power Switch Board Replacement

Jordan Robinson

Jordan Robinson et 5 autres contributeurs

Dernière mise à jour le July 18, 2023

1 heure
Difficile

This guide will show you how to replace the switch board inside your Cuisinart Smart Stick. If power is not being supplied to the Smart Stick, the switch board could be unresponsive.

Ce dont vous avez besoin

Outils

Afficher plus…

  1. Cuisinart Smart Stick CSB-75 Power Switch Board Replacement, Power Switch Board: étape 1, image 1 de 3 Cuisinart Smart Stick CSB-75 Power Switch Board Replacement, Power Switch Board: étape 1, image 2 de 3 Cuisinart Smart Stick CSB-75 Power Switch Board Replacement, Power Switch Board: étape 1, image 3 de 3
    • Located on the back of the motor body are three screw covers. To remove the three grey screw covers, use a Flat Head Screwdriver (1.0mm or 1.5mm).

    • After prying these off, the screws will be exposed.

  2. Cuisinart Smart Stick CSB-75 Power Switch Board Replacement: étape 2, image 1 de 2 Cuisinart Smart Stick CSB-75 Power Switch Board Replacement: étape 2, image 2 de 2
    • Remove three 13.3 mm Phillips PH#2 screws.

  3. Cuisinart Smart Stick CSB-75 Power Switch Board Replacement: étape 3, image 1 de 3 Cuisinart Smart Stick CSB-75 Power Switch Board Replacement: étape 3, image 2 de 3 Cuisinart Smart Stick CSB-75 Power Switch Board Replacement: étape 3, image 3 de 3
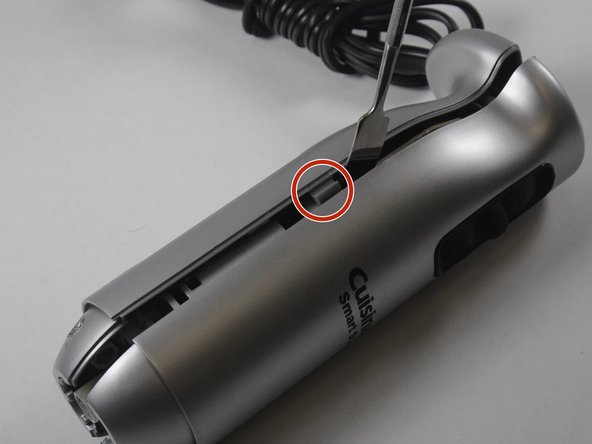
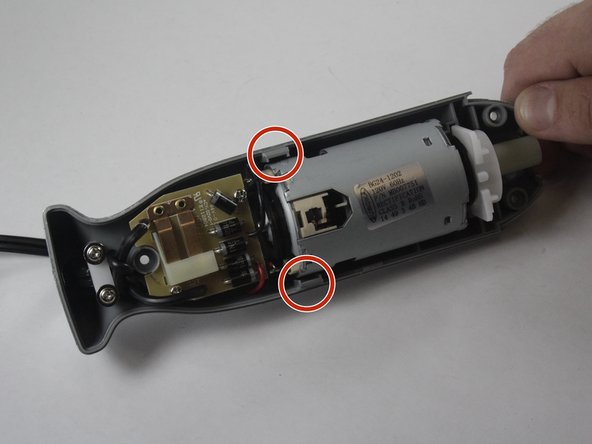
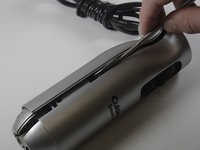
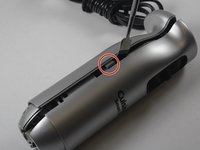
    • Pry open Cuisinart using a plastic opening tool.

    • The metal spudger is great when you need serious prying power, but the regular black nylon spudger or a plastic opening tool should be used whenever possible.

    • Make sure to pry open near the clips of the smart stick for easy opening.

  4. Cuisinart Smart Stick CSB-75 Power Switch Board Replacement: étape 4, image 1 de 3 Cuisinart Smart Stick CSB-75 Power Switch Board Replacement: étape 4, image 2 de 3 Cuisinart Smart Stick CSB-75 Power Switch Board Replacement: étape 4, image 3 de 3
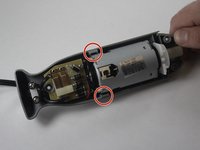
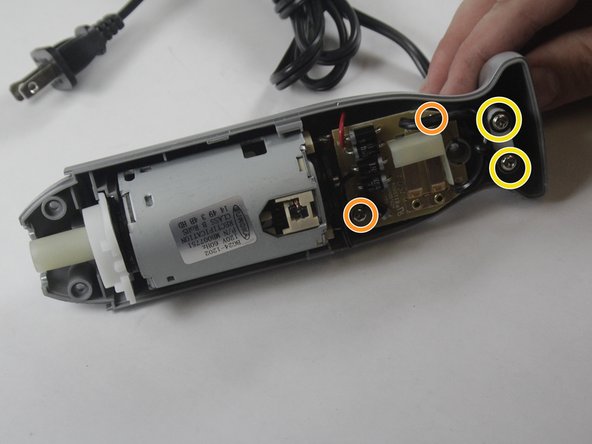
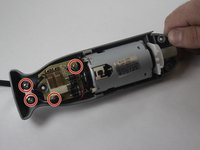
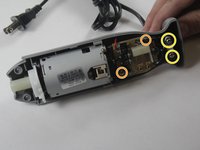
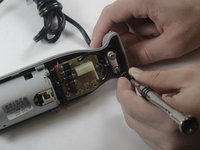
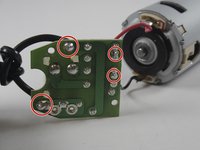
    • Unscrew the 4 screws on the inside.

    • Remove 2 13.3mm Phillips PH#2 screws.

    • Remove 2 17.5 mm Phillips PH#2 screws.

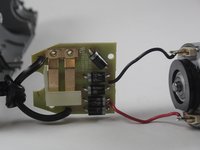
    • Unscrewing these screws will isolate the switch board.

  5. Cuisinart Smart Stick CSB-75 Power Switch Board Replacement: étape 5, image 1 de 2 Cuisinart Smart Stick CSB-75 Power Switch Board Replacement: étape 5, image 2 de 2
    • Refer to these steps on Soldering to replace the switch board in the smart stick.

    • Be careful when soldering. Metal components will become very hot.

Conclusion

To reassemble your device, follow these instructions in reverse order.

Une autre personne a terminé cette réparation.

Jordan Robinson

Membre depuis le 09/02/15

596 Réputation

4 tutoriels rédigés

Équipe

USF Tampa, Team 16-2, Wollert Fall 2015 Membre de l'équipe USF Tampa, Team 16-2, Wollert Fall 2015

USFT-WOLLERT-F15S16G2

4 membres

5 tutoriels rédigés

0 commentaires de tutoriel

Ajouter un commentaire

Nombre de vues :

Dernières 24 heures : 3

7 derniers jours : 12

30 derniers jours : 41

Total : 2,018