
Dell Inspiron 14z-5423 Palm Rest Assembly Replacement
Introduction
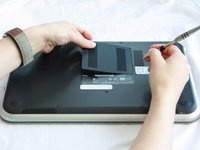
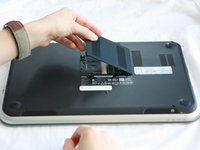
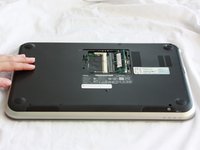
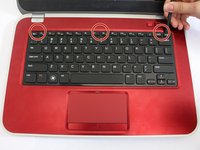
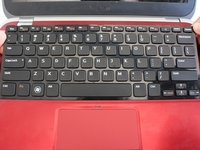
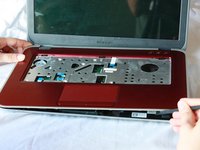
Passez à l'étape 1The palm rest assembly is the casing surrounding the keyboard. This may become worn down, scratched, or cracked over time. Replacement of this part is mainly cosmetic but may enhance the user experience.
Ce dont vous avez besoin


-
-
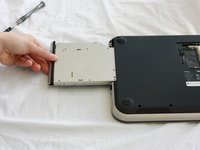
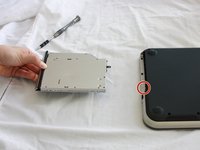
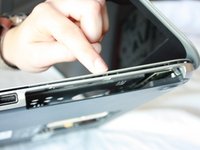
Slide the CD/DVD drive on the side of the laptop out using your fingers.
-
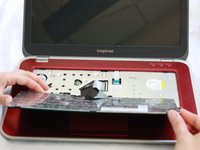
Using a J0 bit screwdriver, unscrew the one 2 mm Phillips screw.
-
-
-
-
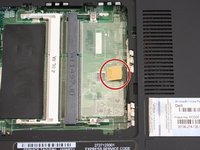
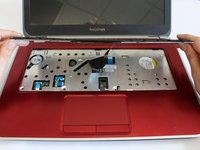
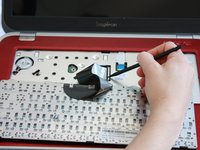
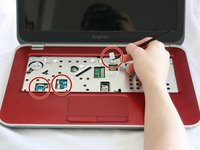
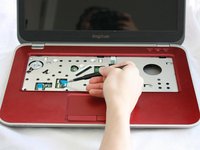
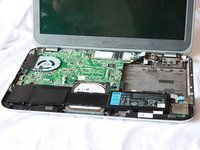
Lift the plastic yellow flap on the system board.
-
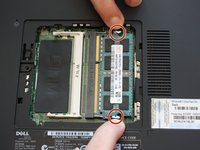
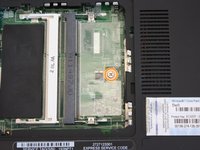
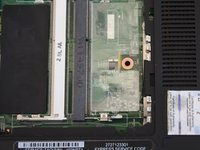
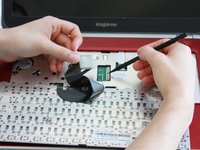
Use the J0 Bit screwdriver to remove the one 6 mm Phillips screw in center of the system board that is connected to the keyboard.
-


To reassemble your device, follow these instructions in reverse order.
To reassemble your device, follow these instructions in reverse order.
Équipe

CSU Fullerton, Team 2-2, Bruce Fall 2016 Membre de l'équipe CSU Fullerton, Team 2-2, Bruce Fall 2016
CSUF-BRUCE-F16S2G2
5 membres
11 tutoriels rédigés