
Dell Inspiron 14z-5423 Hard Drive Replacement
Introduction
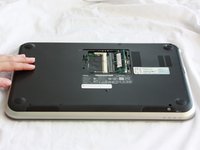
Passez à l'étape 1The hard drive is the main storage for the computer which includes the opperating system, files, photos, and videos. This is often replaced when the drive becomes full.
Ce dont vous avez besoin
Kits de réparation
Ces kits contiennent toutes les pièces et tous les outils nécessaires à la réalisation du tutoriel.


Pièces


Outils


Afficher plus…
-
-
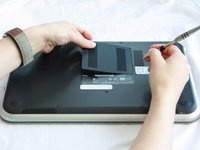
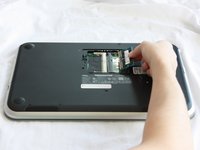
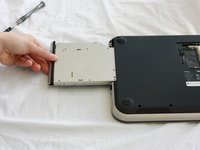
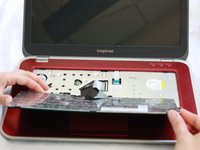
Slide the CD/DVD drive on the side of the laptop out using your fingers.
-
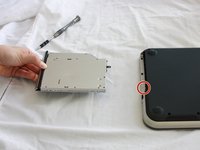
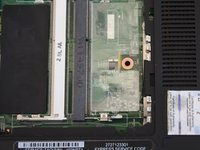
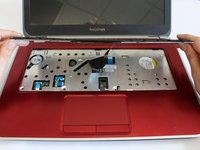
Using a J0 bit screwdriver, unscrew the one 2 mm Phillips screw.
-
-
-
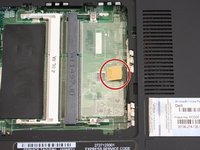
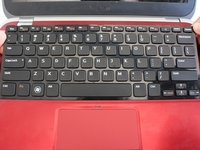
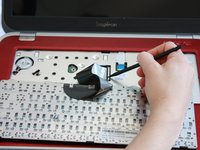
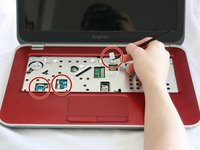
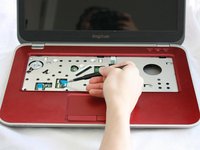
Lift the plastic yellow flap on the system board.
-
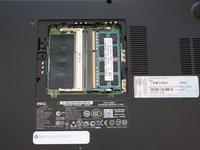
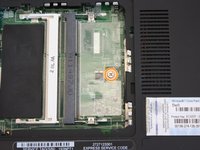
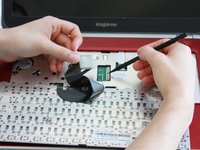
Use the J0 Bit screwdriver to remove the one 6 mm Phillips screw in center of the system board that is connected to the keyboard.
-
-
-
-
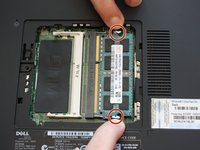
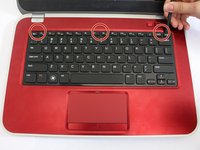
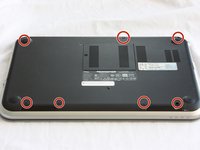
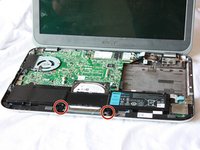
Use a J0 Bit screwdriver to remove the two 6 mm Phillips screws securing the battery located near the bottom of the laptop.
-
-
-
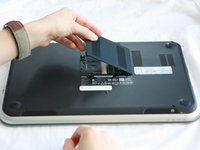
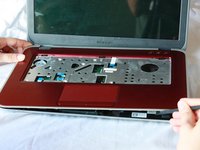
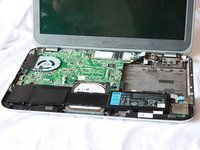
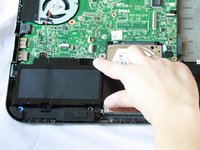
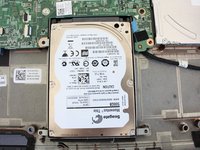
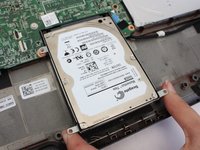
Lift up the bottom of the hard drive which is located at the bottom of the laptop.
-
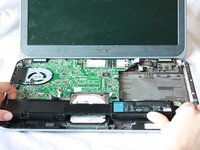
Gently pull the drive out at an angle using your fingers.
-


To reassemble your device, follow these instructions in reverse order.
To reassemble your device, follow these instructions in reverse order.
Annulation : je n'ai pas terminé ce tutoriel.
16 autres ont terminé cette réparation.
Équipe

CSU Fullerton, Team 2-2, Bruce Fall 2016 Membre de l'équipe CSU Fullerton, Team 2-2, Bruce Fall 2016
CSUF-BRUCE-F16S2G2
5 membres
11 tutoriels rédigés
5 commentaires
Worked perfectly, right down to the last screw under the memory.
You are a lifesaver! Thank you.
Thanks! These instructions worked very well for me, and I performed my battery and disk upgrades successfully!
This guide was straight forward and gave me the exact step by step instructions! Good job!
Even a dumbass as myself would understand this and follow through. Thank you author!!!