
Dell Inspiron 15-5547 Motherboard Replacement
Ce dont vous avez besoin


-
-
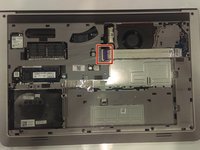
Flip the laptop on it's top and lay to a rest position.
-
Using the Phillips J0 screwdriver, remove the two indicated screws.
-
-
-
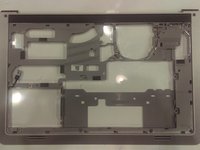
Use the spudger to carefully remove the back cover to get into the internals. Stick the spudger into the slot indicated in the photo by the marker.
-
Pry up from the slot, then pry up around the sides of the panel. The panel can then be removed by lifting the side with the slot and puling in that direction.
-
-
-
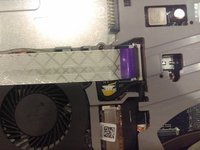
Start by removing the white ribbon cable. Lift up the black tab indicated by the red marker to disconnect the ribbon cable from the connector. Be careful while removing the ribbon cable, as it will possibly be taped to the fan.
-
-
-
-
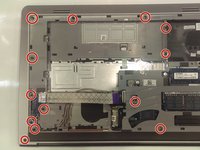
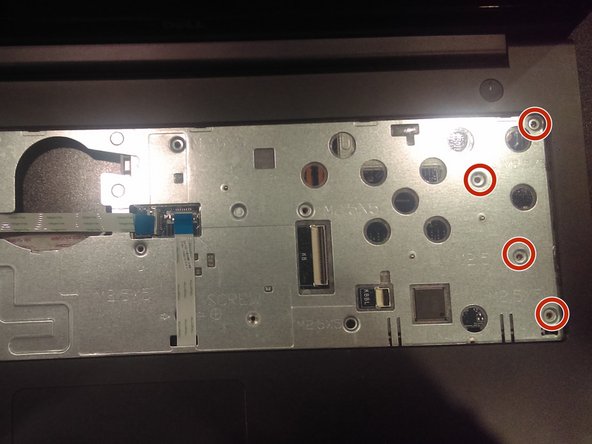
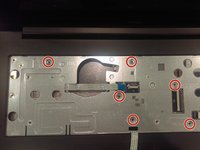
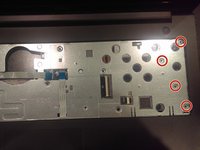
Using the Phillips J0 screwdriver, remove all the screws from the case. There is a total of 16 screws. CAUTION: The bottom left screw does not remove from the laptop.
-
-
-
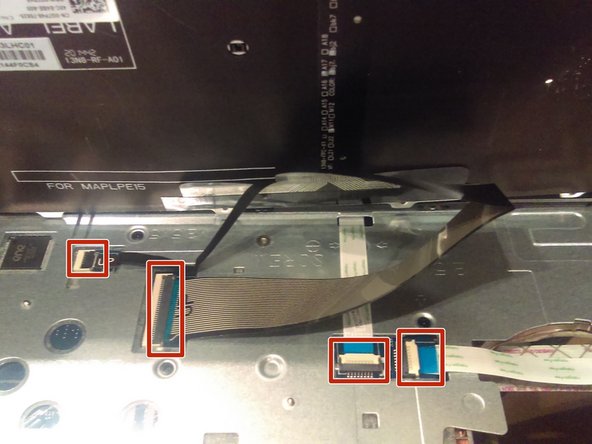
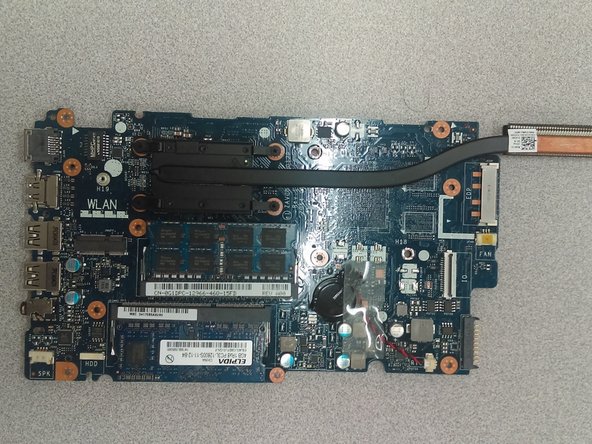
The motherboard can then be removed. This involves puling it to the right to disconnect the ports on the left, downward to get it out from under the hinge, and then up.
-
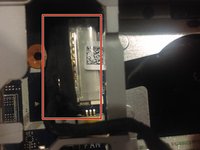
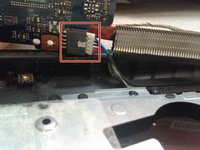
Once removed, do not pull it too far. Raise only the lower edge of the board, and disconnect the indicated wire from underneath the board.
-
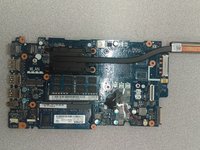
The board is then free from any attachment and can be fully removed.
-


To reassemble your device, follow these instructions in reverse order.
To reassemble your device, follow these instructions in reverse order.
Annulation : je n'ai pas terminé ce tutoriel.
8 autres ont terminé cette réparation.
Équipe

University of North Texas, Team S1-G7, Thompson Fall 2017 Membre de l'équipe University of North Texas, Team S1-G7, Thompson Fall 2017
UNT-THOMPSON-F17S1G7
3 membres
3 tutoriels rédigés
2 commentaires
Thank you for this guide! I added two small corrections but the guide was very helpful as-is.
Thank you very much for this guide! It helped me a lot!