
Dell Inspiron 1521 Central Processing Unit (CPU) Replacement
Introduction
Passez à l'étape 1This guide will show you how to remove a few components of your laptop in order to gain access to the CPU.
Ce dont vous avez besoin


-
-
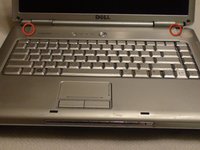
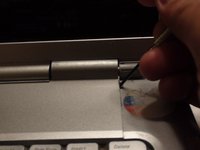
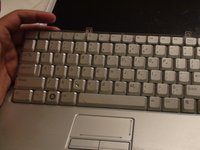
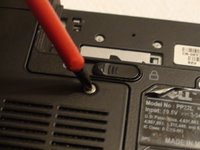
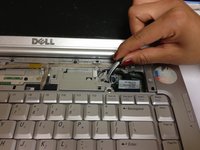
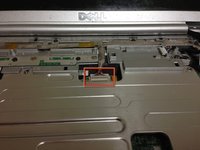
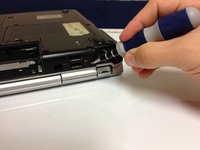
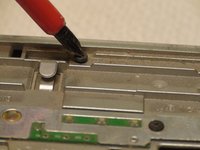
Find the two small indentations of the sides of the panel covering the power button.
-
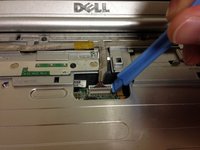
Pry up both sides of the panel by sticking the plastic opener tool in each indentation and prying up.
-
-
-
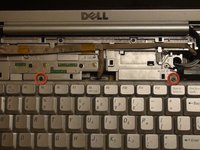
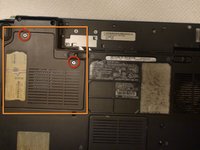
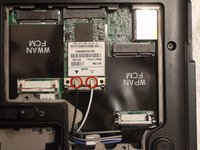
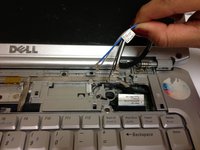
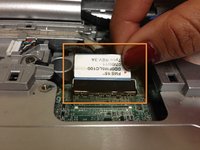
Locate the two Phillips #1 screws holding the Wireless Local Area Network (WLAN) panel in place.
-
Remove these two screws with a Phillips #1 screwdriver.
-
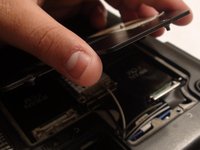
Remove the WLAN panel by pulling it up with your hand.
-
-
-
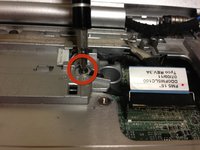
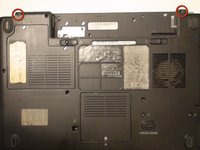
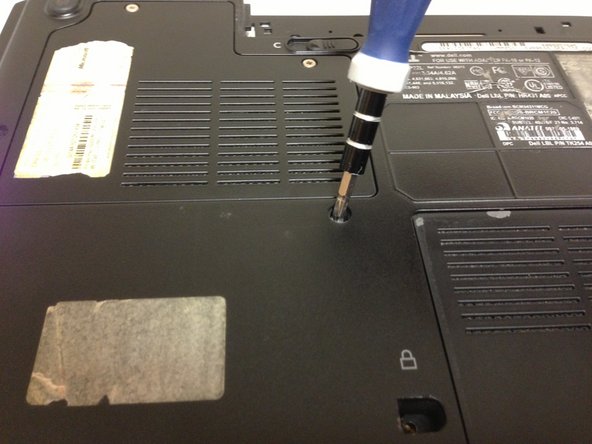
Remove the two 10 mm Phillips #1 screws from the bottom of the laptop that attach the lid assembly to the laptop with a Phillips #1 screwdriver.
-
Remove the two 10 mm Phillips #1 screws from the back of the laptop that also attach the lid assembly to the laptop with a Phillips #1 screwdriver.
-
-
-
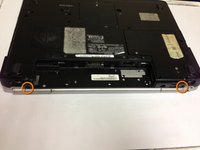
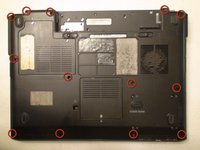
Locate the thirteen 10 mm Phillips #1 screws securing the bottom panel of the laptop.
-
Remove the thirteen indicated screws with a Phillips #1 screwdriver.
-
-
-
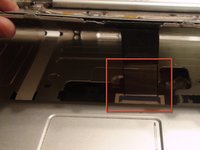
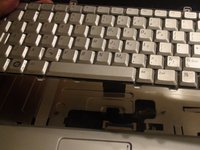
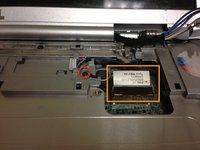
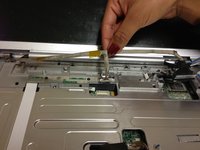
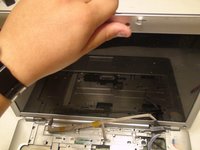
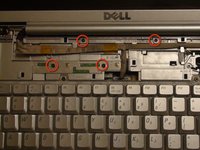
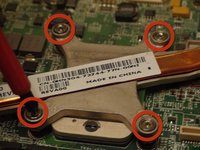
Locate the four 4 mm Phillips #1 screws securing the panel underneath the keyboard.
-
Remove the four screws with a Phillips #1 screwdriver.
-
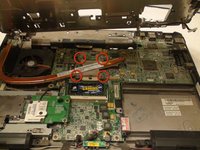
Gently lift panel underneath the keyboard with both hands, thus removing it from the laptop.
-


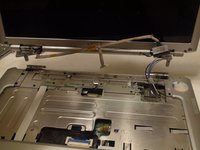


To reassemble your device, follow these instructions in reverse order.
To reassemble your device, follow these instructions in reverse order.
Annulation : je n'ai pas terminé ce tutoriel.
4 autres ont terminé cette réparation.
Équipe

Cal Poly, Team 15-47, Forte Fall 2012 Membre de l'équipe Cal Poly, Team 15-47, Forte Fall 2012
CPSU-FORTE-F12S15G47
5 membres
9 tutoriels rédigés